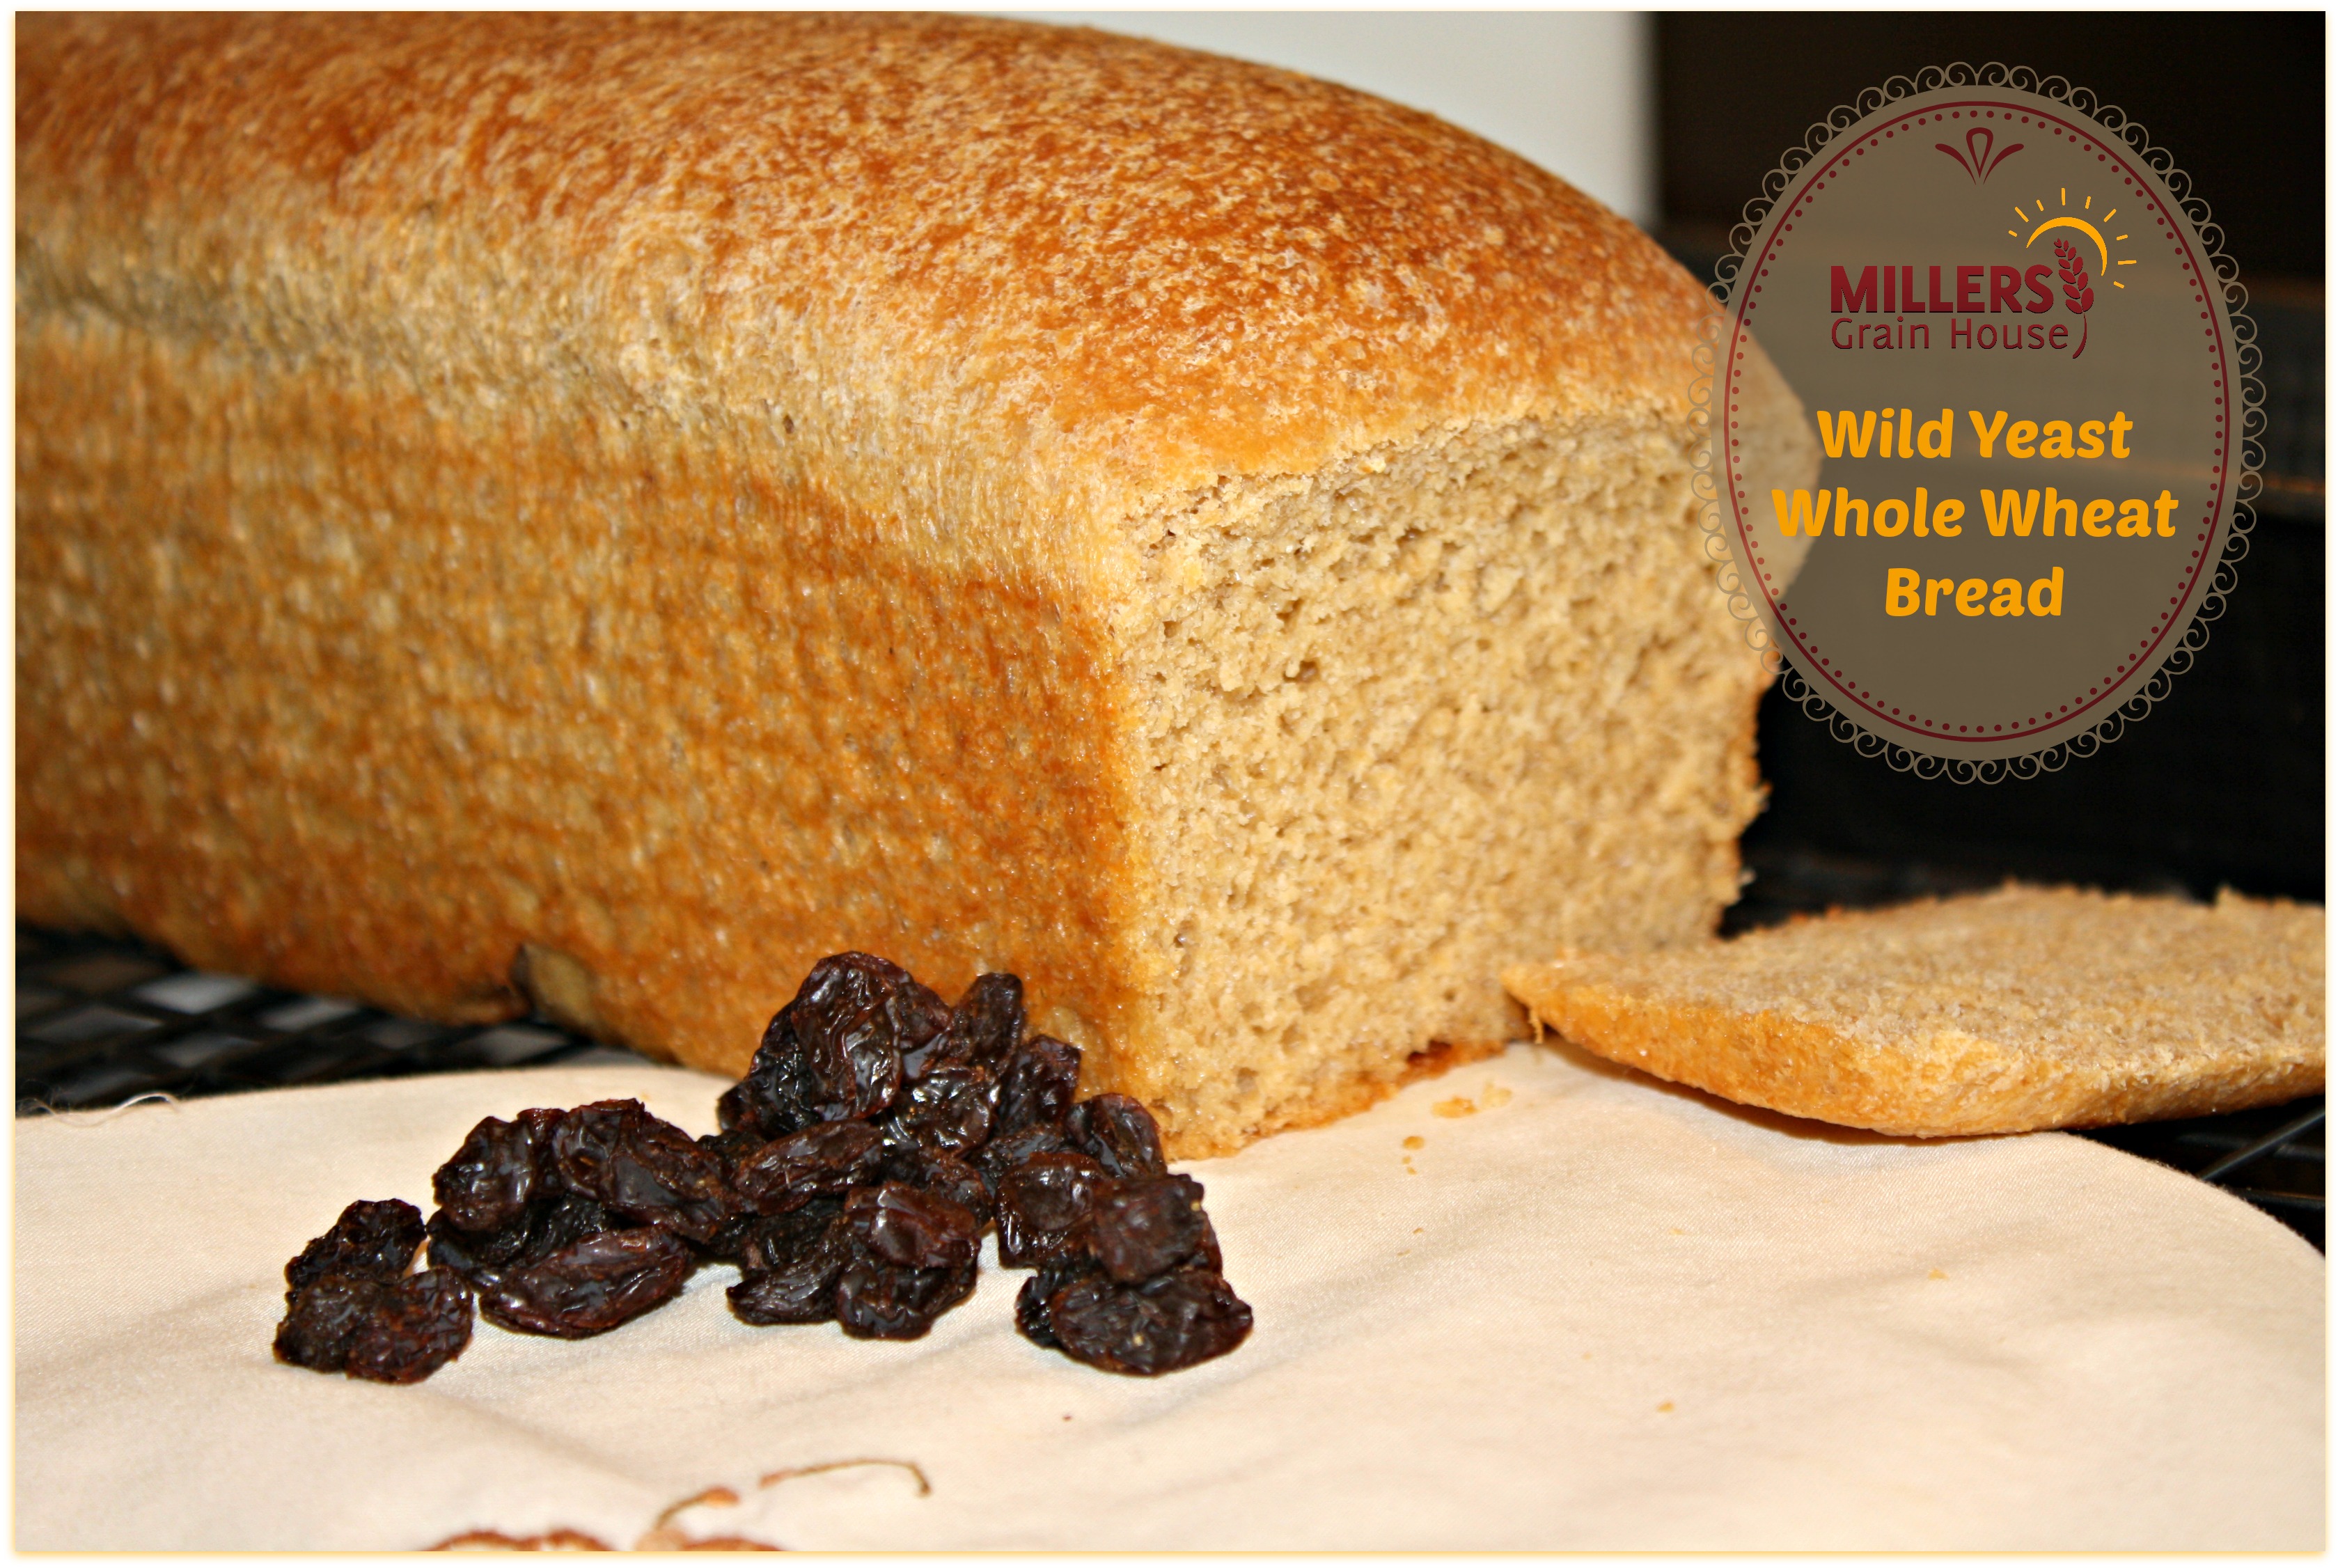
 No yeast? No problem! I’m often asked what to do if there isn’t any yeast available to buy or you run out in your food storage. Well the fix is simply to revert to using whole foods and capturing wild yeast.
The process takes a bit longer (ok days longer) but it can be done with very good results. Here’s how to cultivate the wild yeast and a recipe to try your own wild yeast.
 This is a 5 -7 day process. Did I say it took a good bit longer? That’s an understatement.
Day 1: 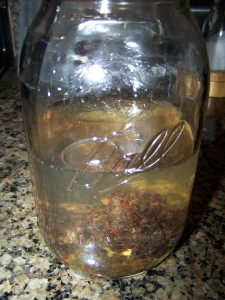
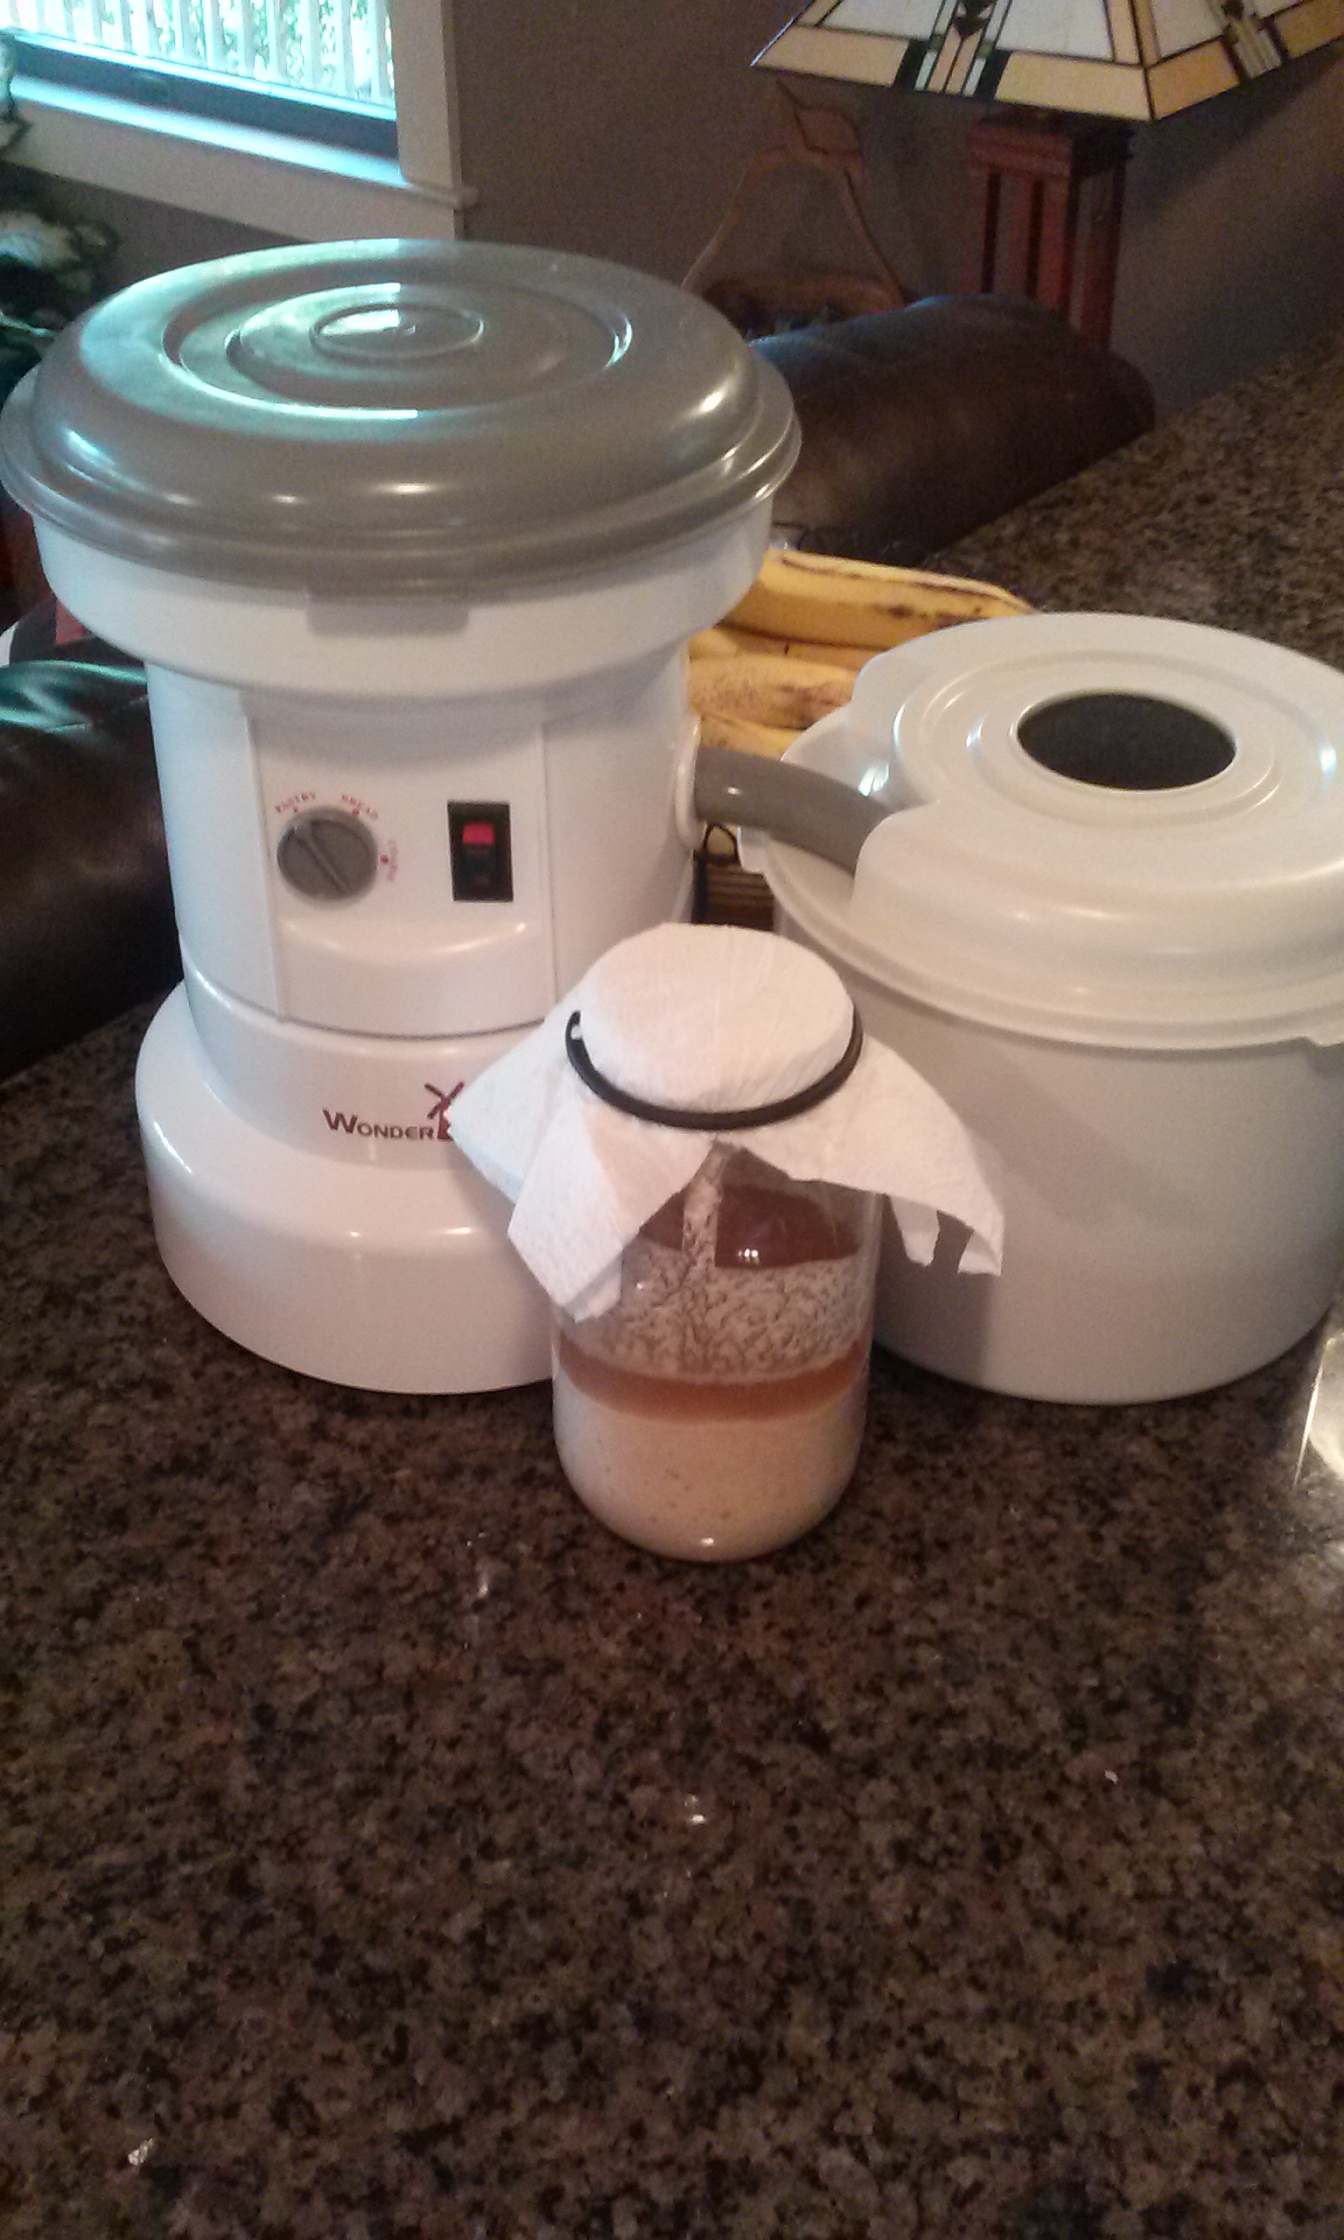
In a glass jar with a lid, that is large enough to contain a pint – put 1/4 Cup of Organic Raisins and 1. 5 Cups of water.
Screw the lid on the top and place in a moderately warm area of the kitchen. I keep mine beside the refrigerator.
Two or three times today (Day 1) swirl the raisins around to loosen them. Each time taking off the lid and replacing to allow some fresh air in.
Repeat this swirling and refreshing and visiting of these little ‘yeast seedlings’ called raisins for the next 2-3 days. Each time giving them a swirl, a breather and replace the lid.
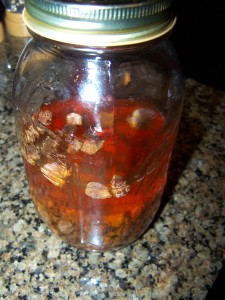 By Day 2 or 3: You should see the water has turned a deep tea color and some of the raisins are floating! YAY! You’re doing it right!
This is not an exact science though, so don’t be dismayed if yours doesn’t look quite like this. It will get there soon.
Keep the raisins in the water for up to 4 days or until most of the raisins are re-hydrated and floating. They will resemble brown mini-grapes.
Now you’re ready to move to the next phase!
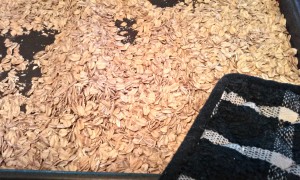
Before doing this next step – take the lid off of this concoction and take a good sniff. 🙂 There should be a slight fermented scent if not a strong one. If you don’t smell it AND if most of the raisins are not floating – you will need to start over. This time leaving the lid off of the jar (replacing with a napkin or coffee filter) for part of the day each day to allow more airborne yeast to make it’s way into the mix. Put these raisins (that didn’t work) in some oatmeal or something.
Now. The next phase of cultivating your wild yeast.
Strain the liquid out into a new clean jar that is capable of holding a quart. Re-purpose the raisins in another recipe. Don’t be tempted to use them again for cultivating yeast; they won’t work as well the second time. I know. I tried. :/
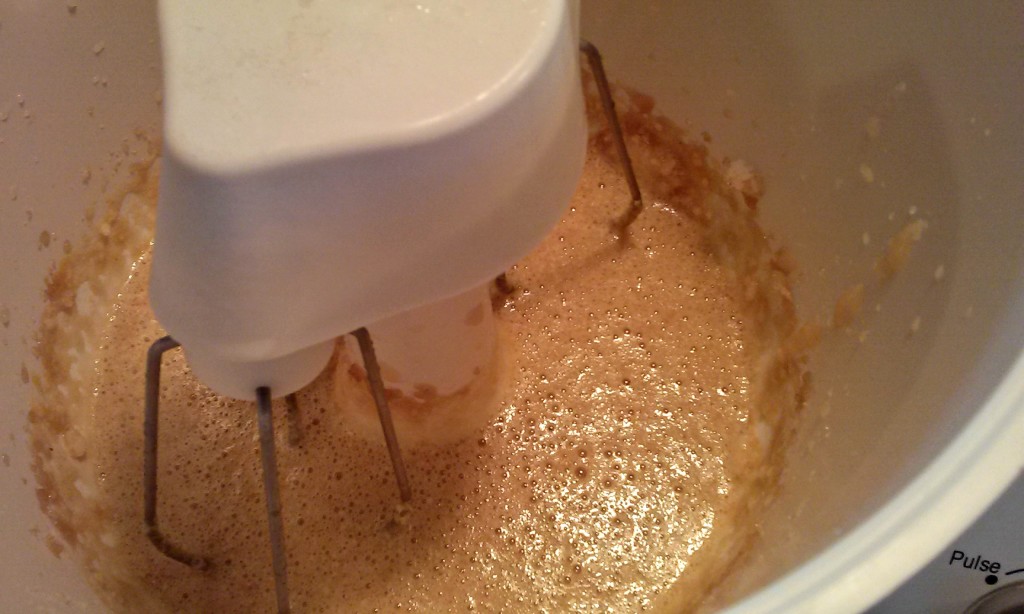
Another 2-3 days of waiting, watching, swirling, lid-lifting and sniffing are ahead. Yes, you read that right. But the good news is – when you begin to see bubbles that stay on the top (they’re there when you wake in the morning) then it’s time to use the liquid gold wild yeast! FINALLY! Right?
Note – Be prepared to begin baking this bread in the next 12-24 hours before you select the time to start this next phase. You have another day or so that the liquid yeast can wait.
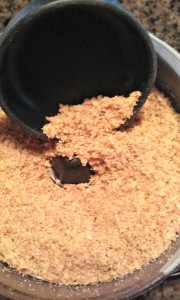
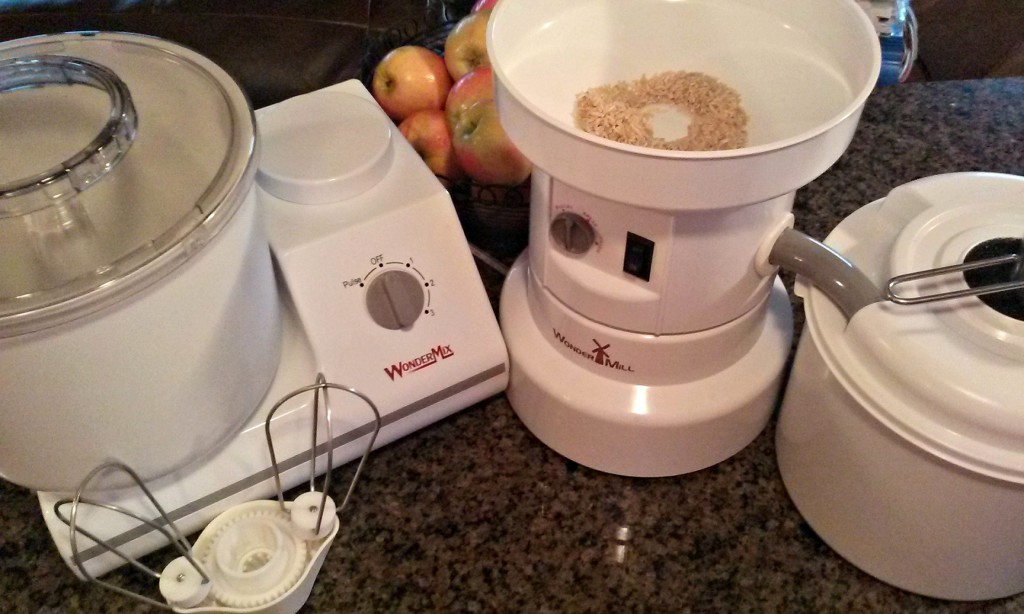
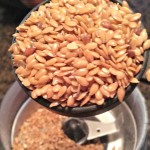
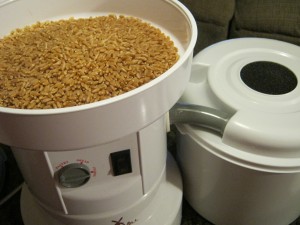
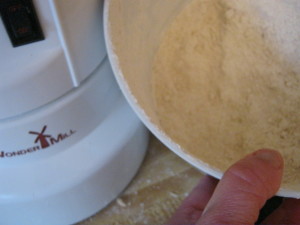
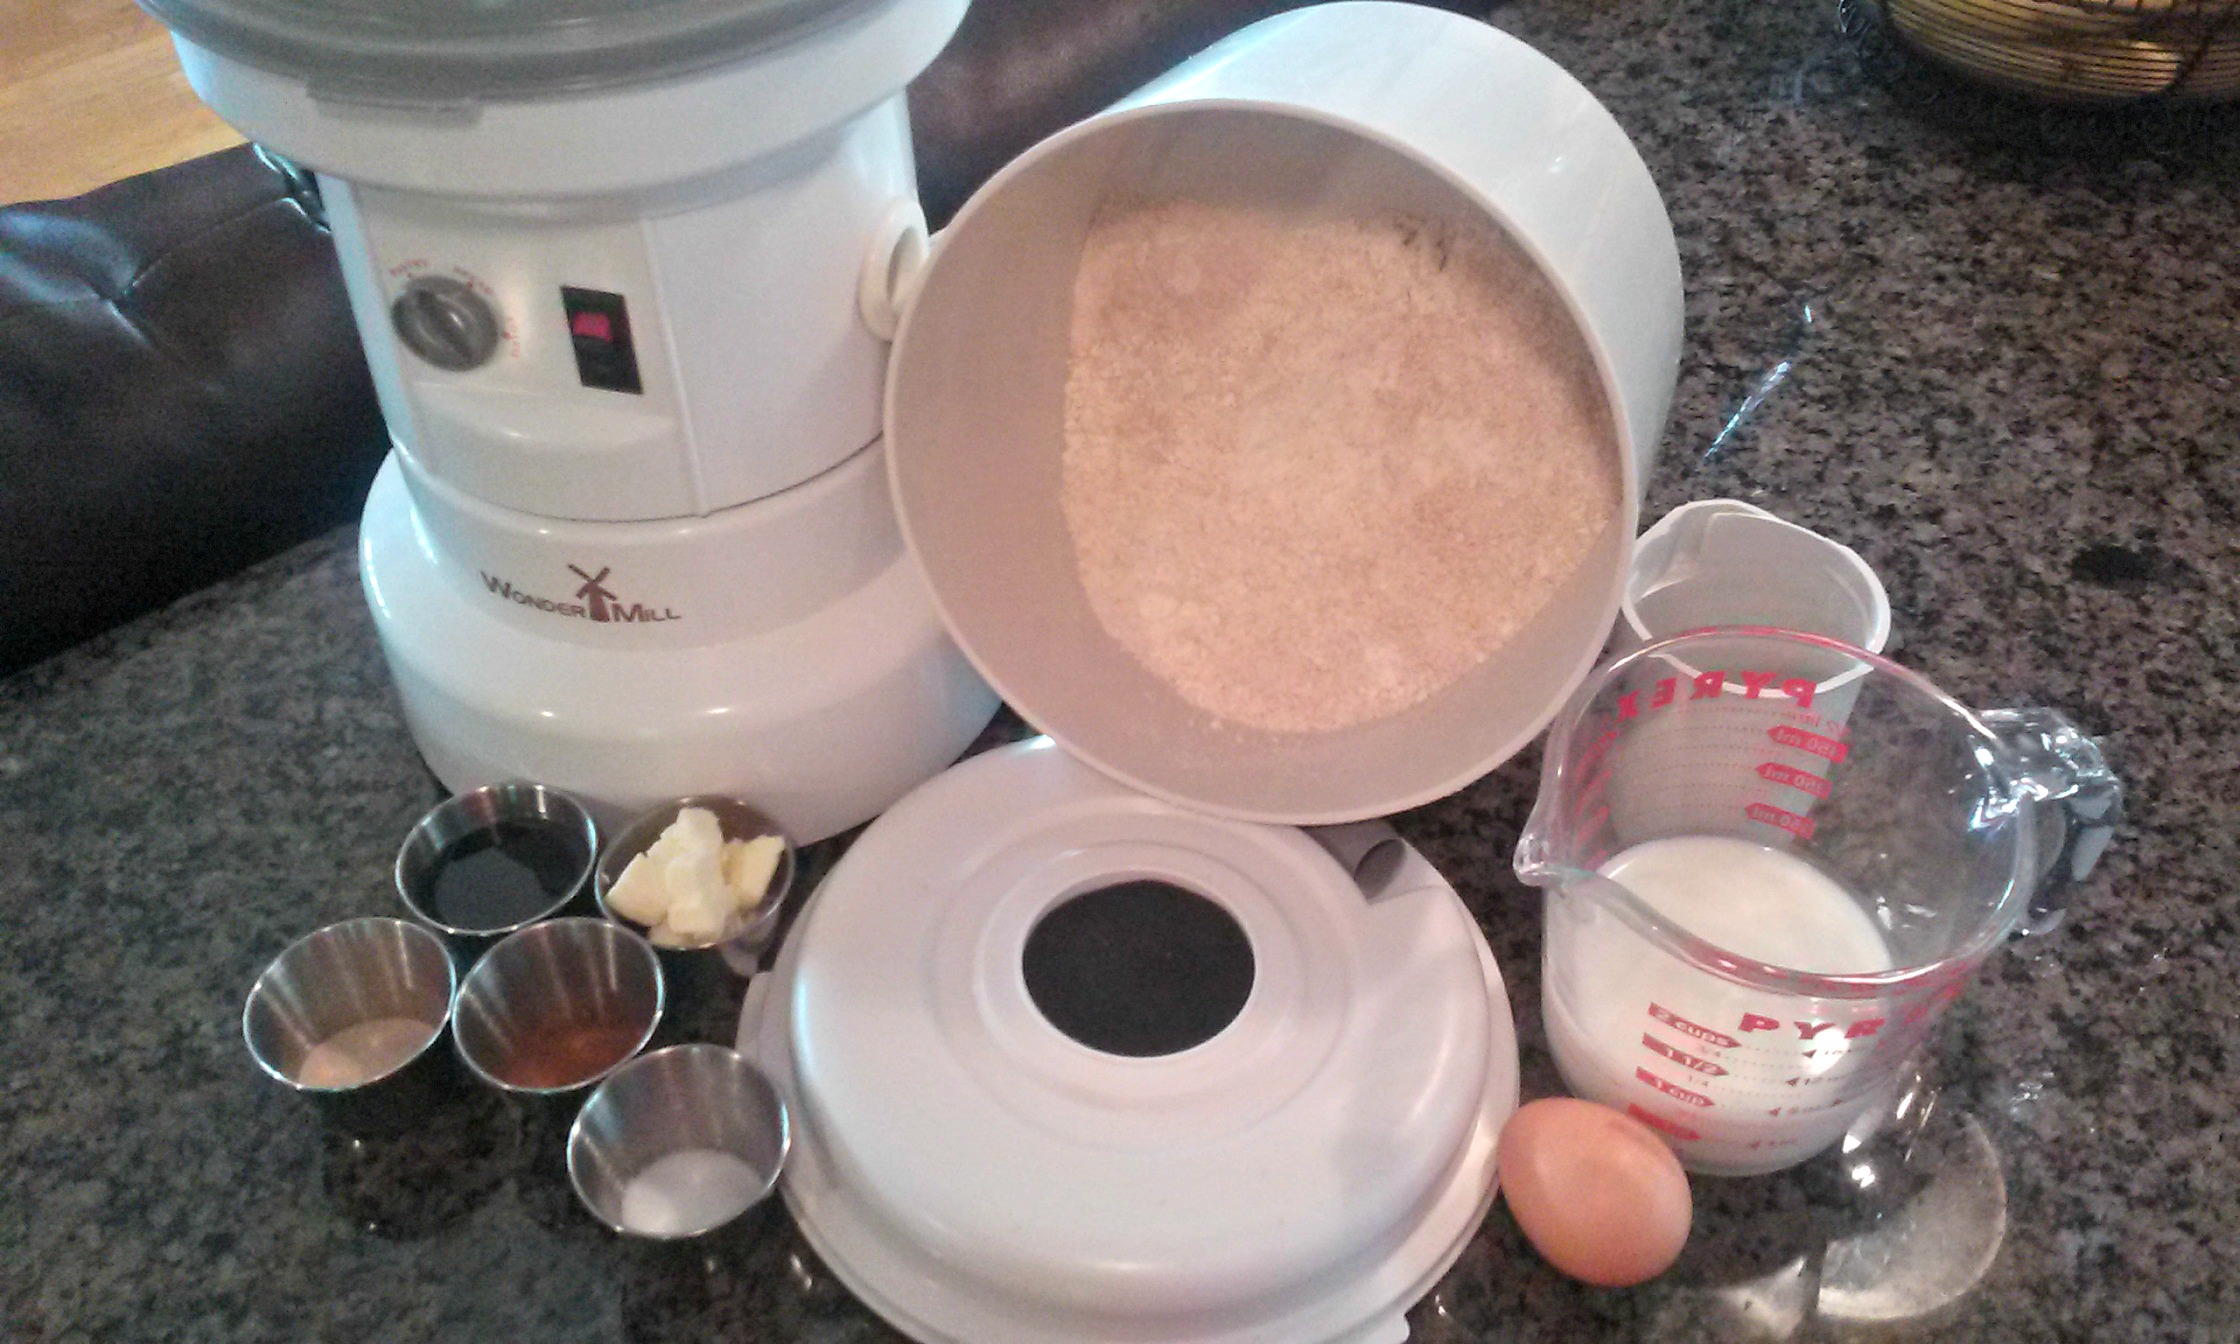
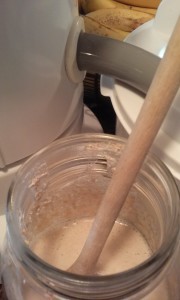
Thoroughly mix 1 Cup of Hard White Wheat Flour (that you’ve freshly milled in your Wondermill ) into the jar of liquid gold wild yeast, cover with a napkin or coffee filter and…. yes, wait. Wait between 12-24 hours for the mixture in the jar to make a sponge as the yeast begins to consume the flour making wonderful bubbles! 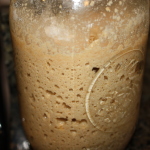
Ready? Set? Let’s make this bread already!
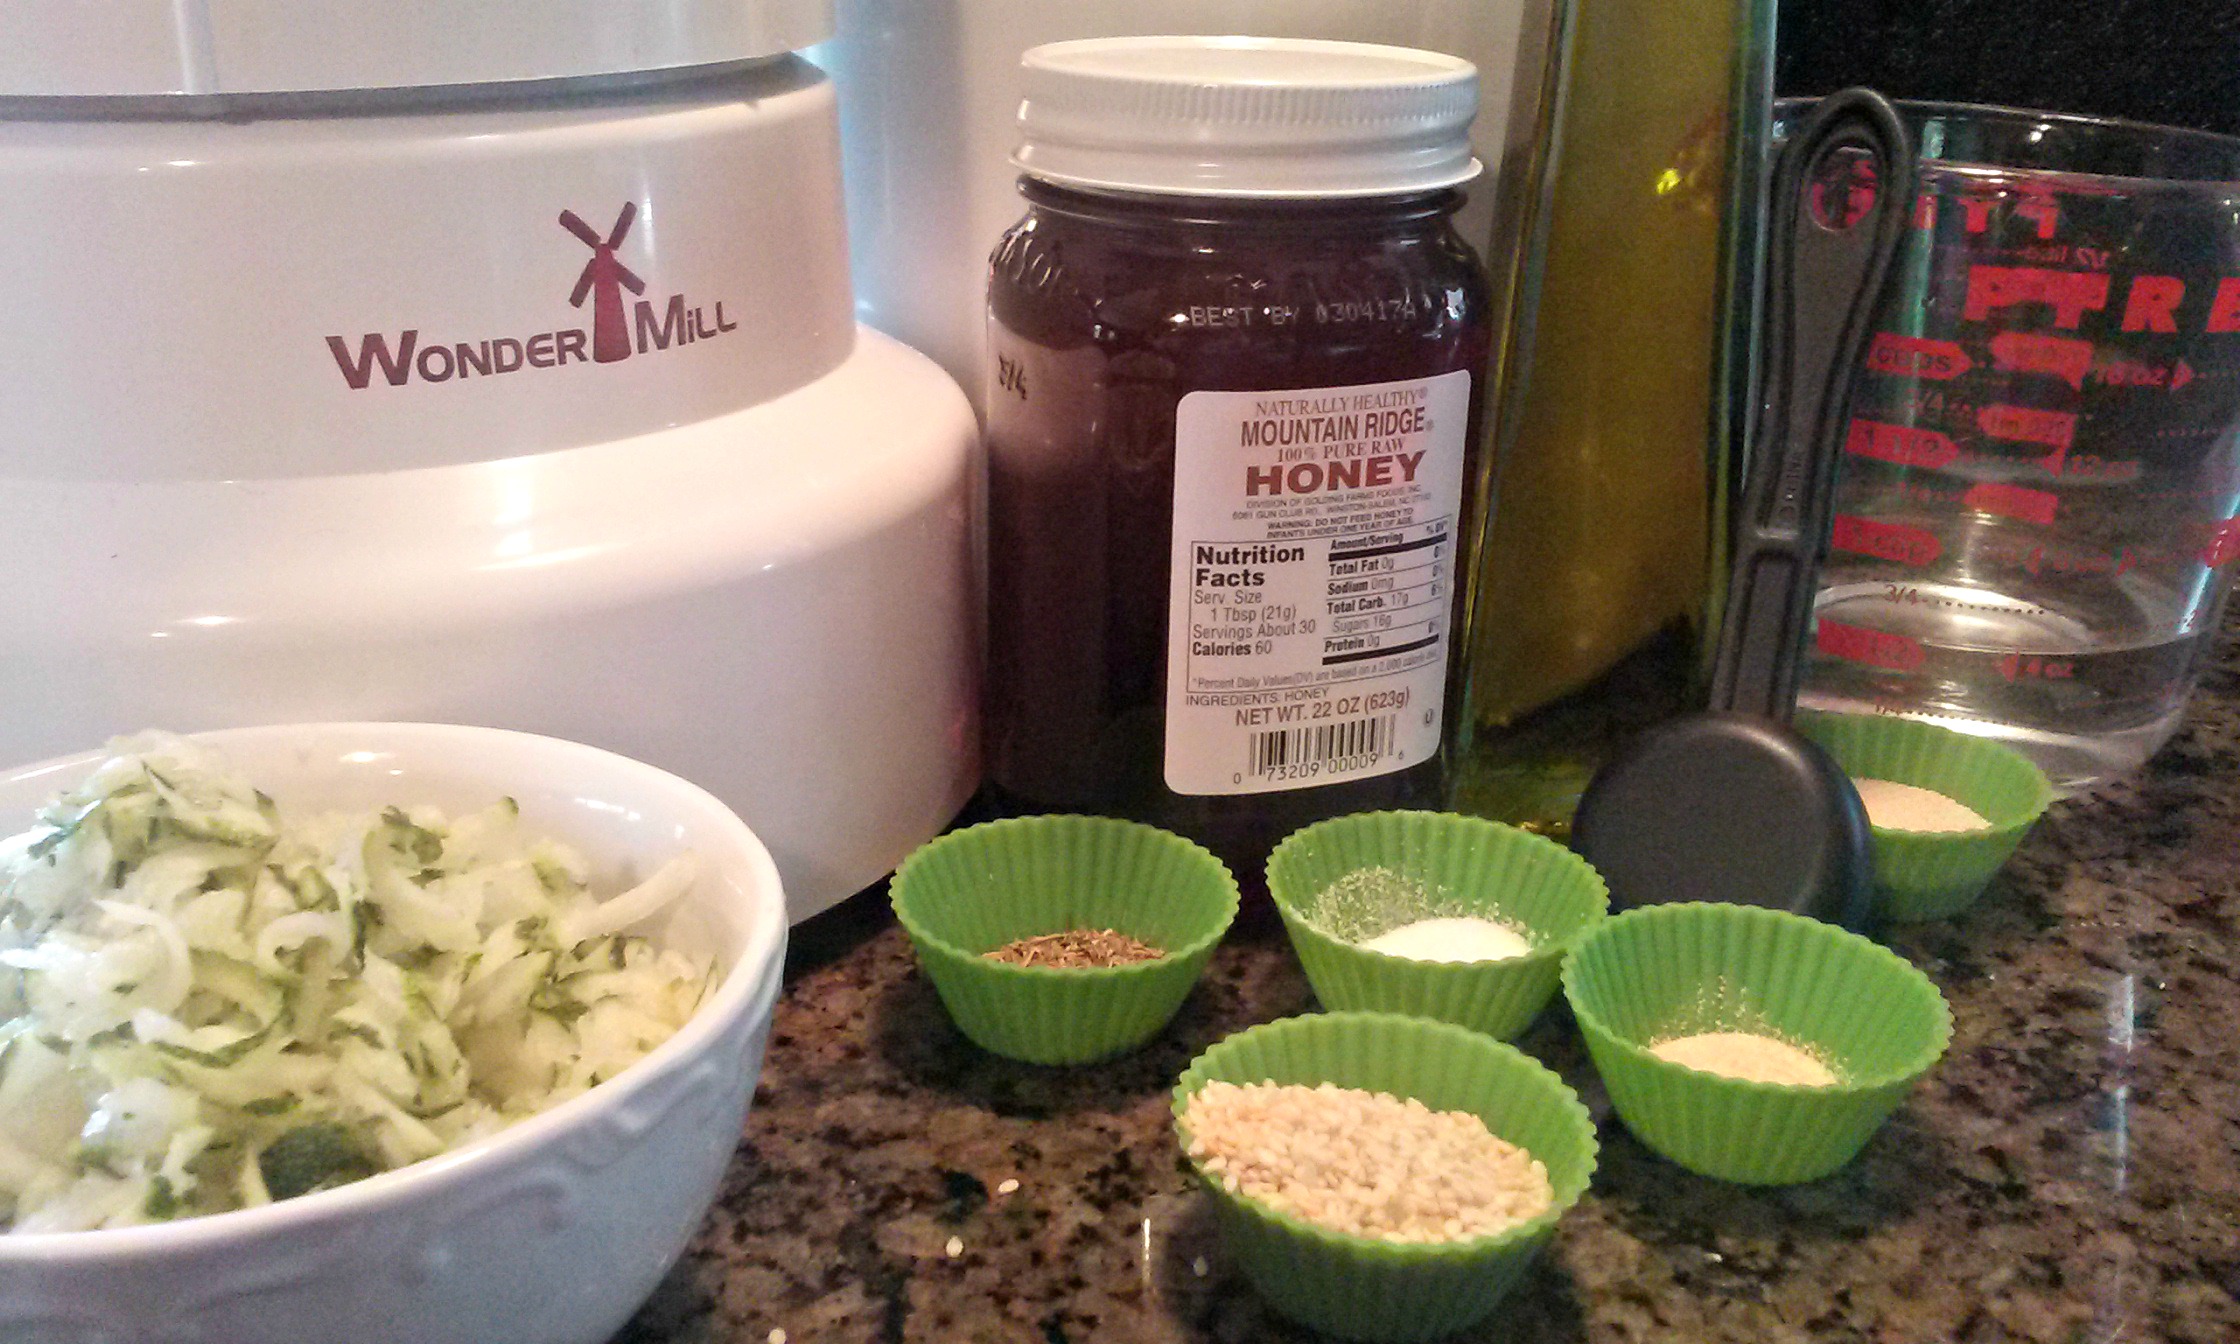
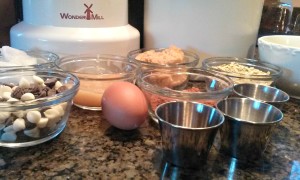
Ingredients:
- Your bubbly mixture of wild yeast and flour
- 1 Tablespoon Olive Oil
- 1/4 Cup Organic Sugar
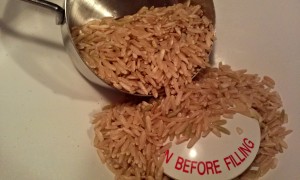
- 2 ½ Cups of Freshly Milled HARD (red or white) Flour
- ¼ Cup Gluten
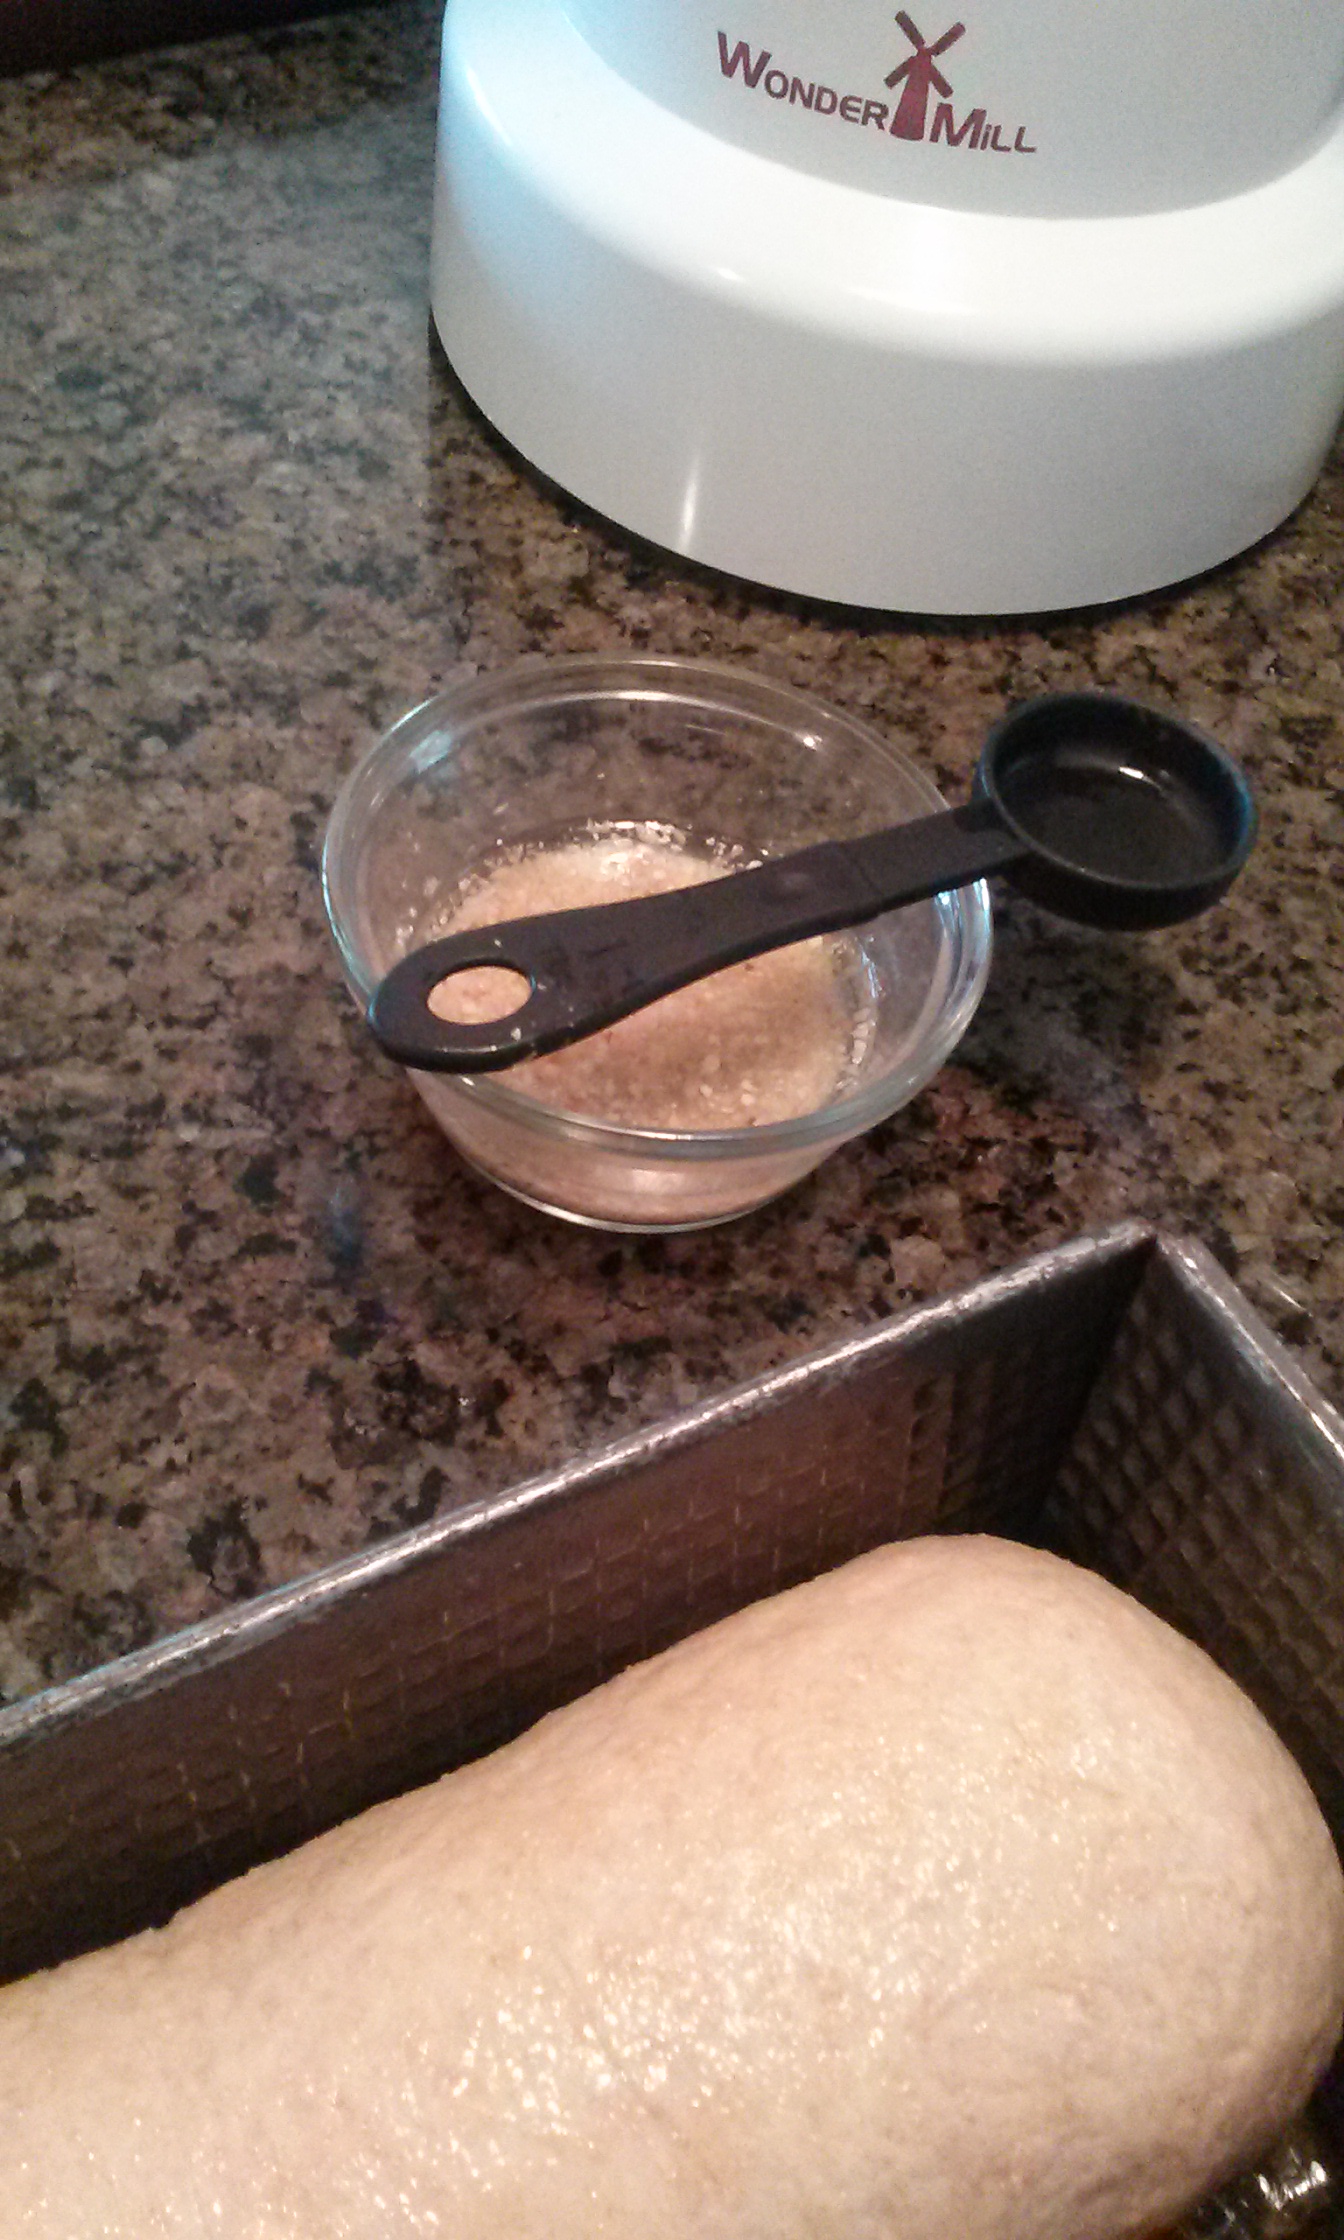
- ½ teaspoon Sea Salt
For Bread Machine: Put ingredients in in order given and set to ‘Dough Setting’ and be just a little more patient. After which jump down to the double asterisks below. **
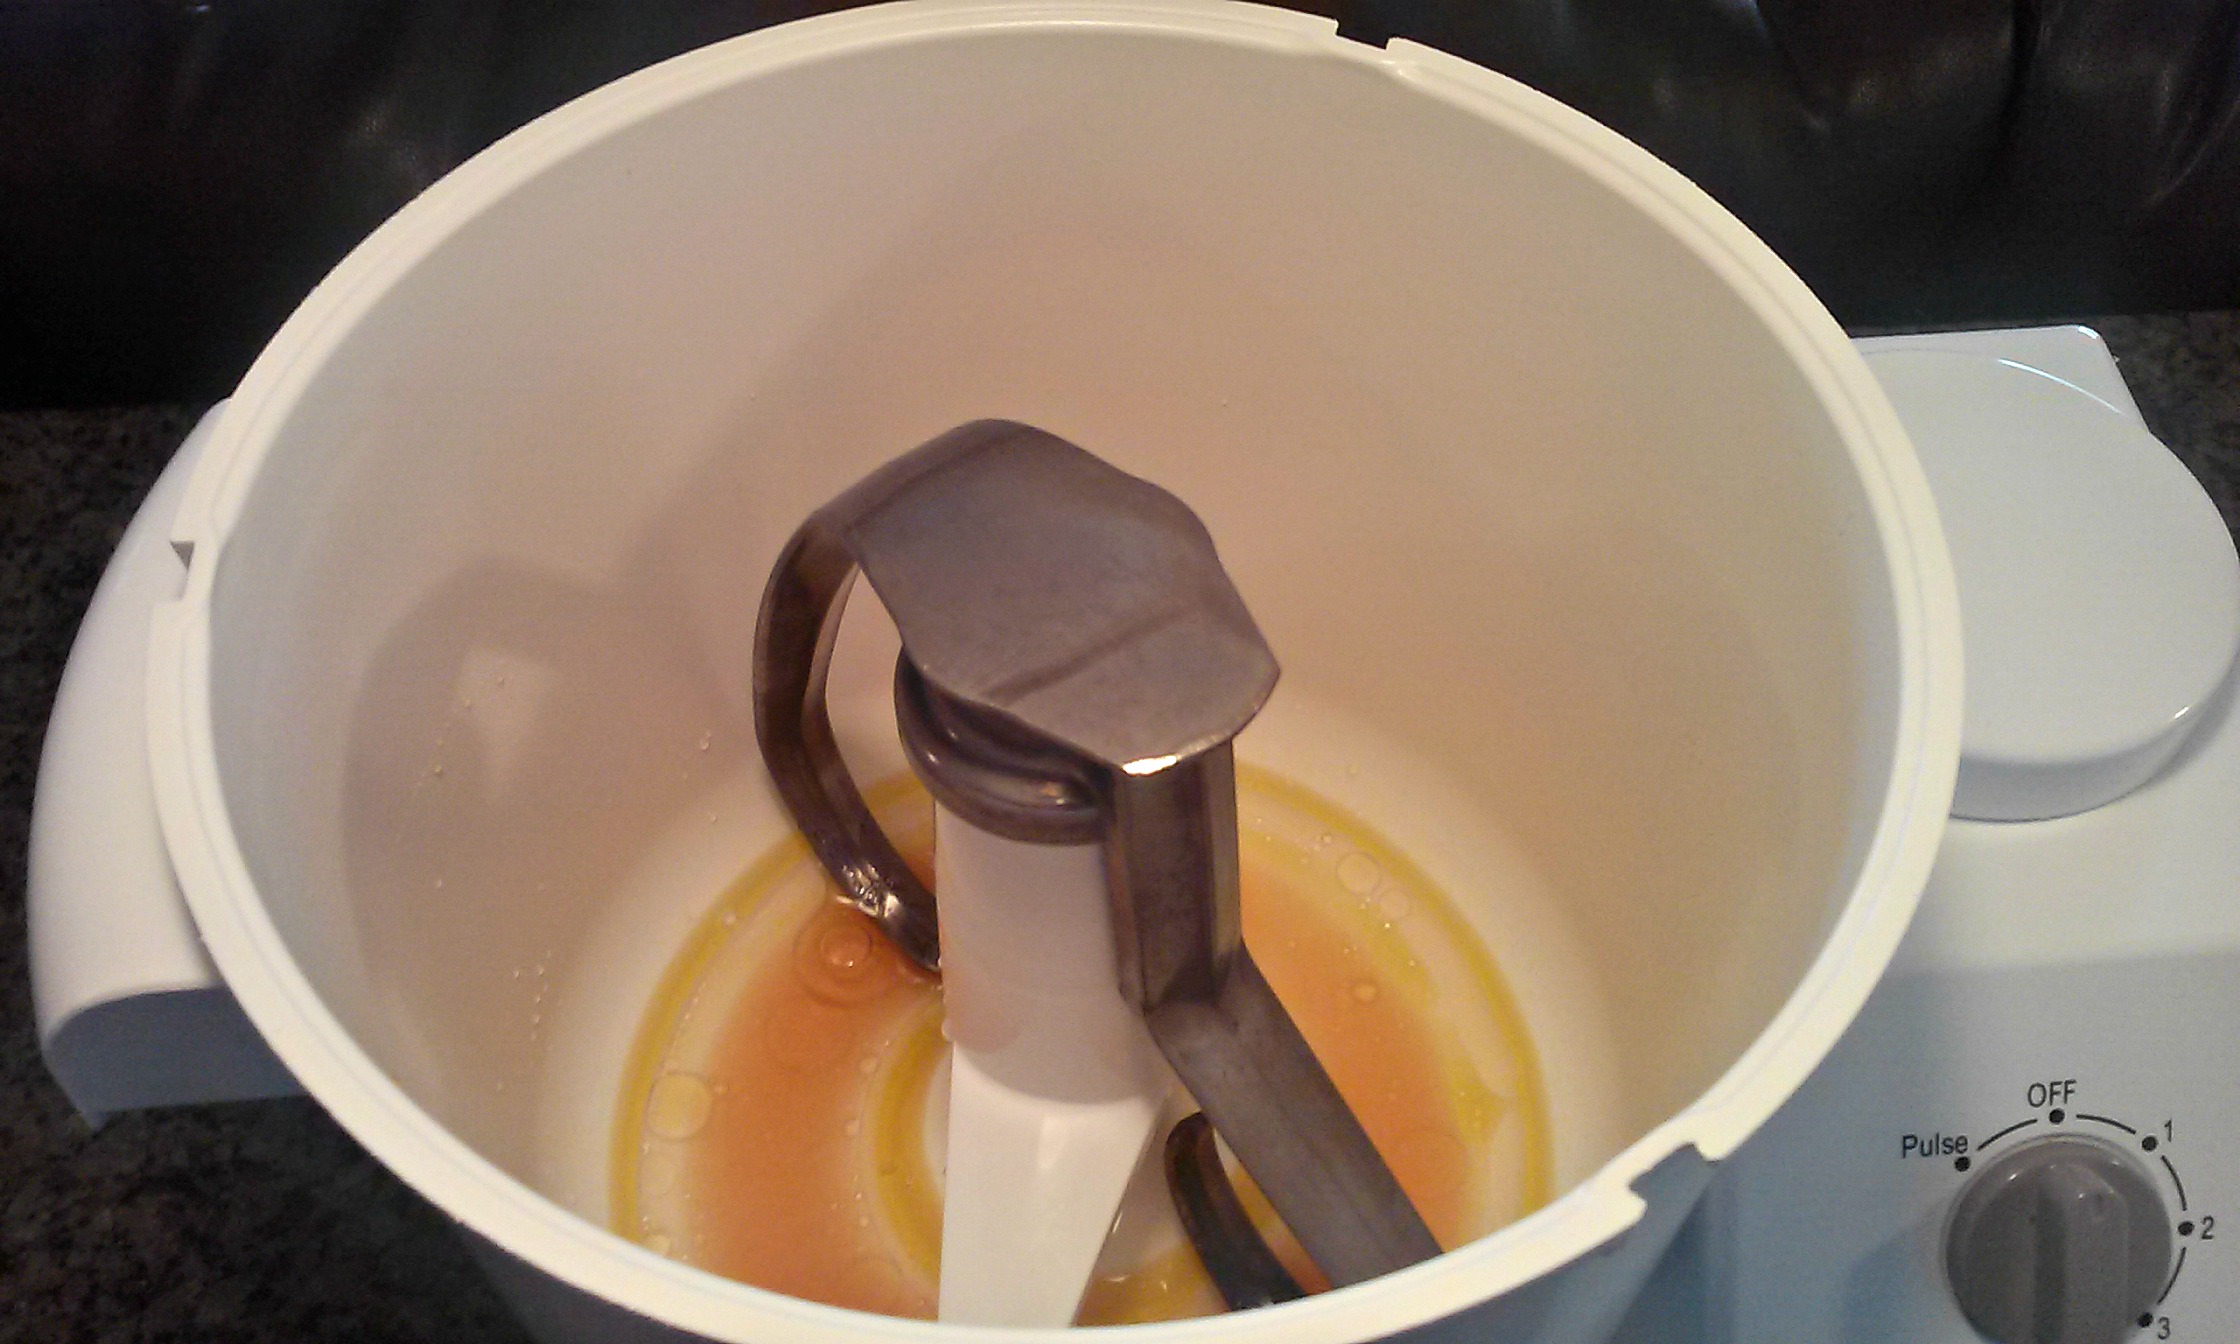
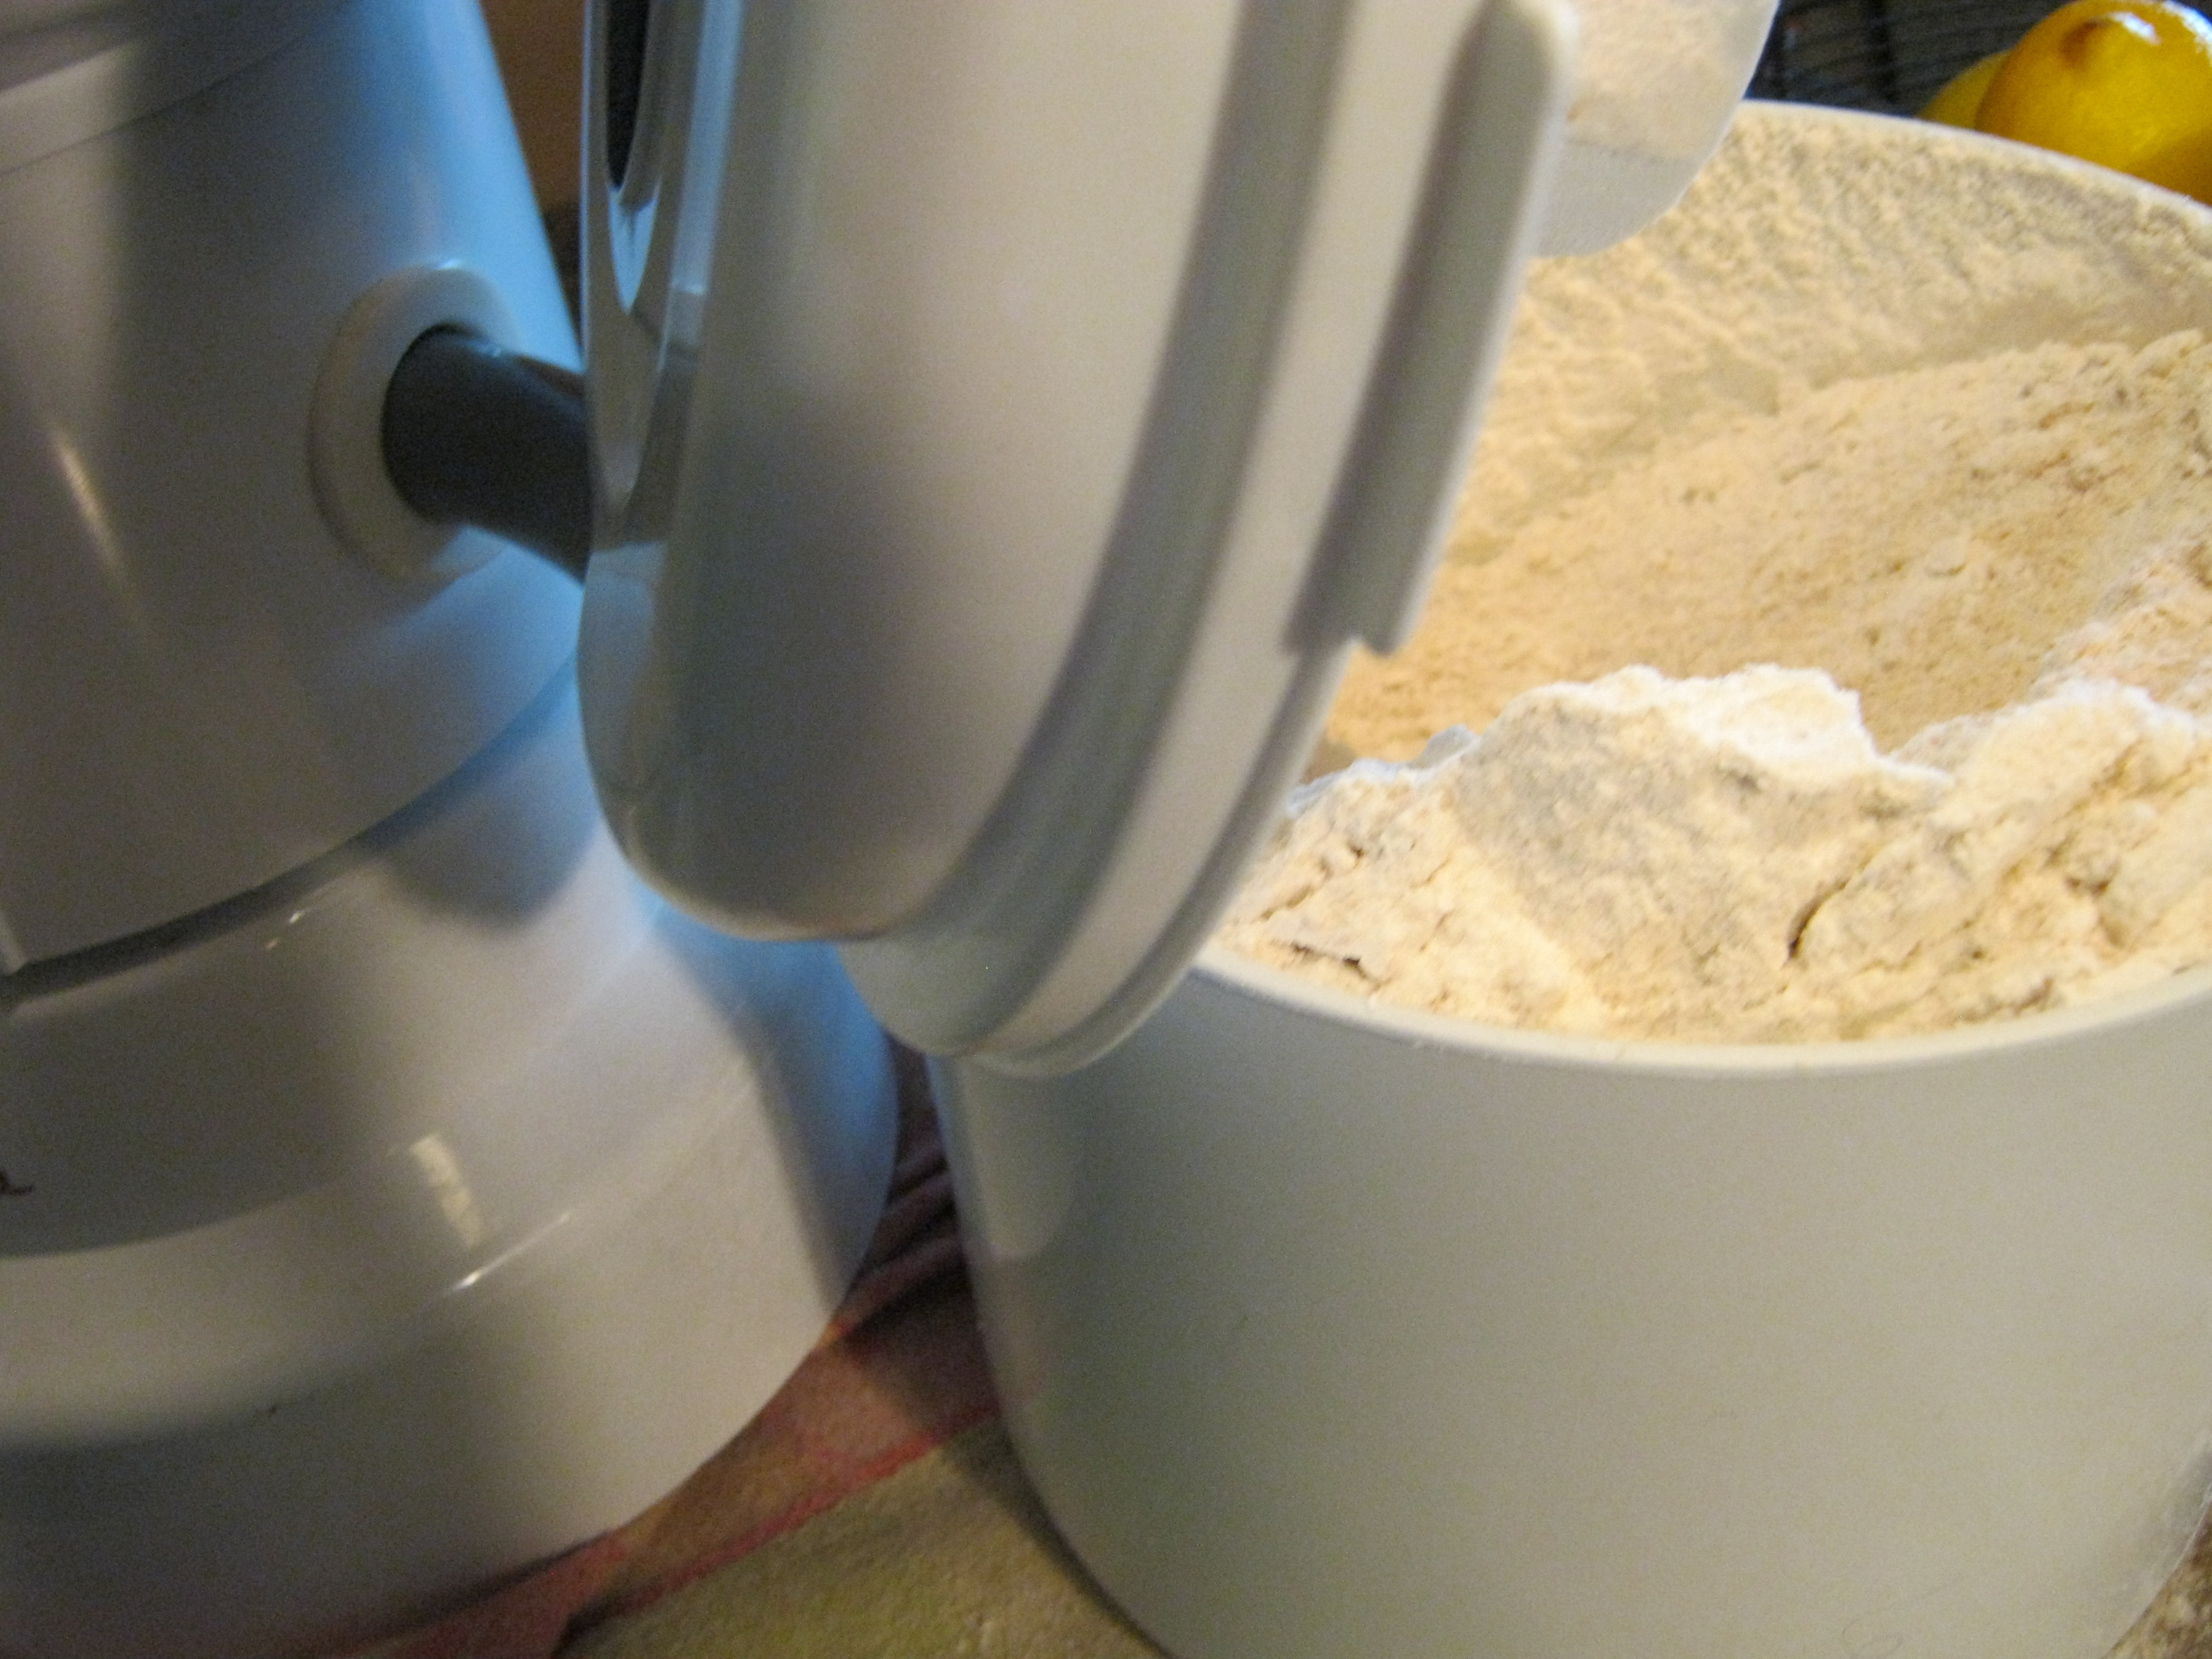
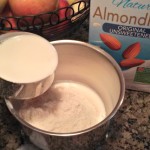
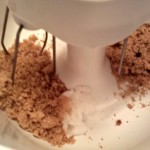
 By Hand or with the WonderMix Deluxe: Mix the mixture, oil, sugar together in your mixing bowl.
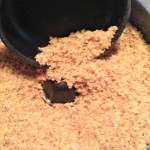
In a separate bowl, mix all your dry ingredients (flour, gluten, and salt)
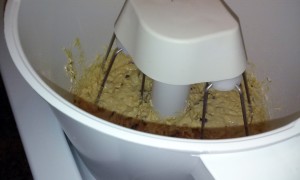
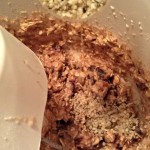
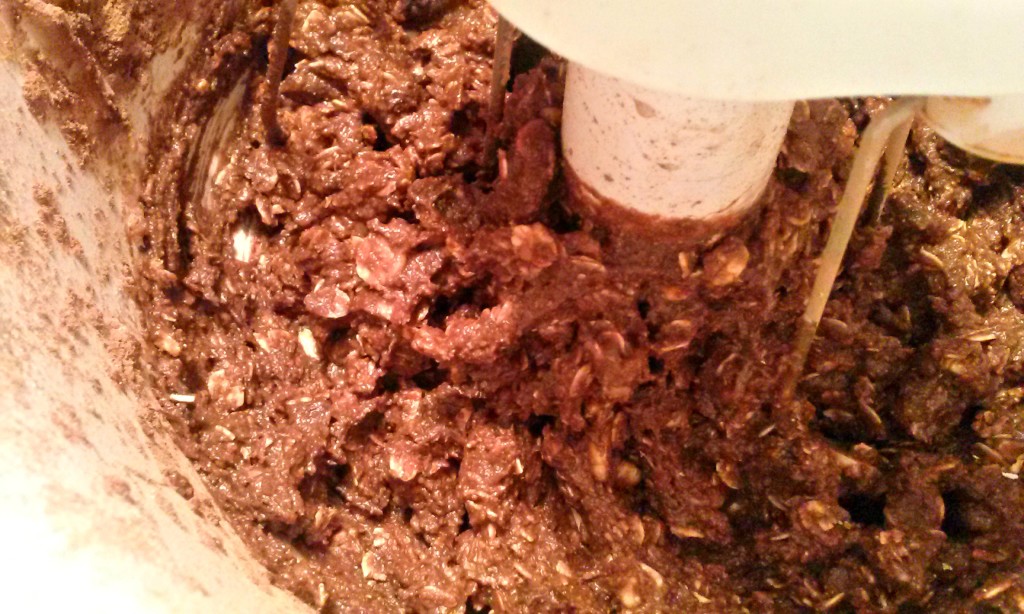
Slowly add dry to the liquid stirring until too hard to use a spoon, then start the hand kneading process (or if in the WonderMix Deluxe – start with the dough hook and just keep it going!)
Knead (by hand or by hook) minimum 10 minutes (remember this yeast is a little more dormant and the water is not as warm as usual) – up to 15 minutes – until dough feels elastic and looks somewhat satin.
Cover bowl with a clean cloth towel.
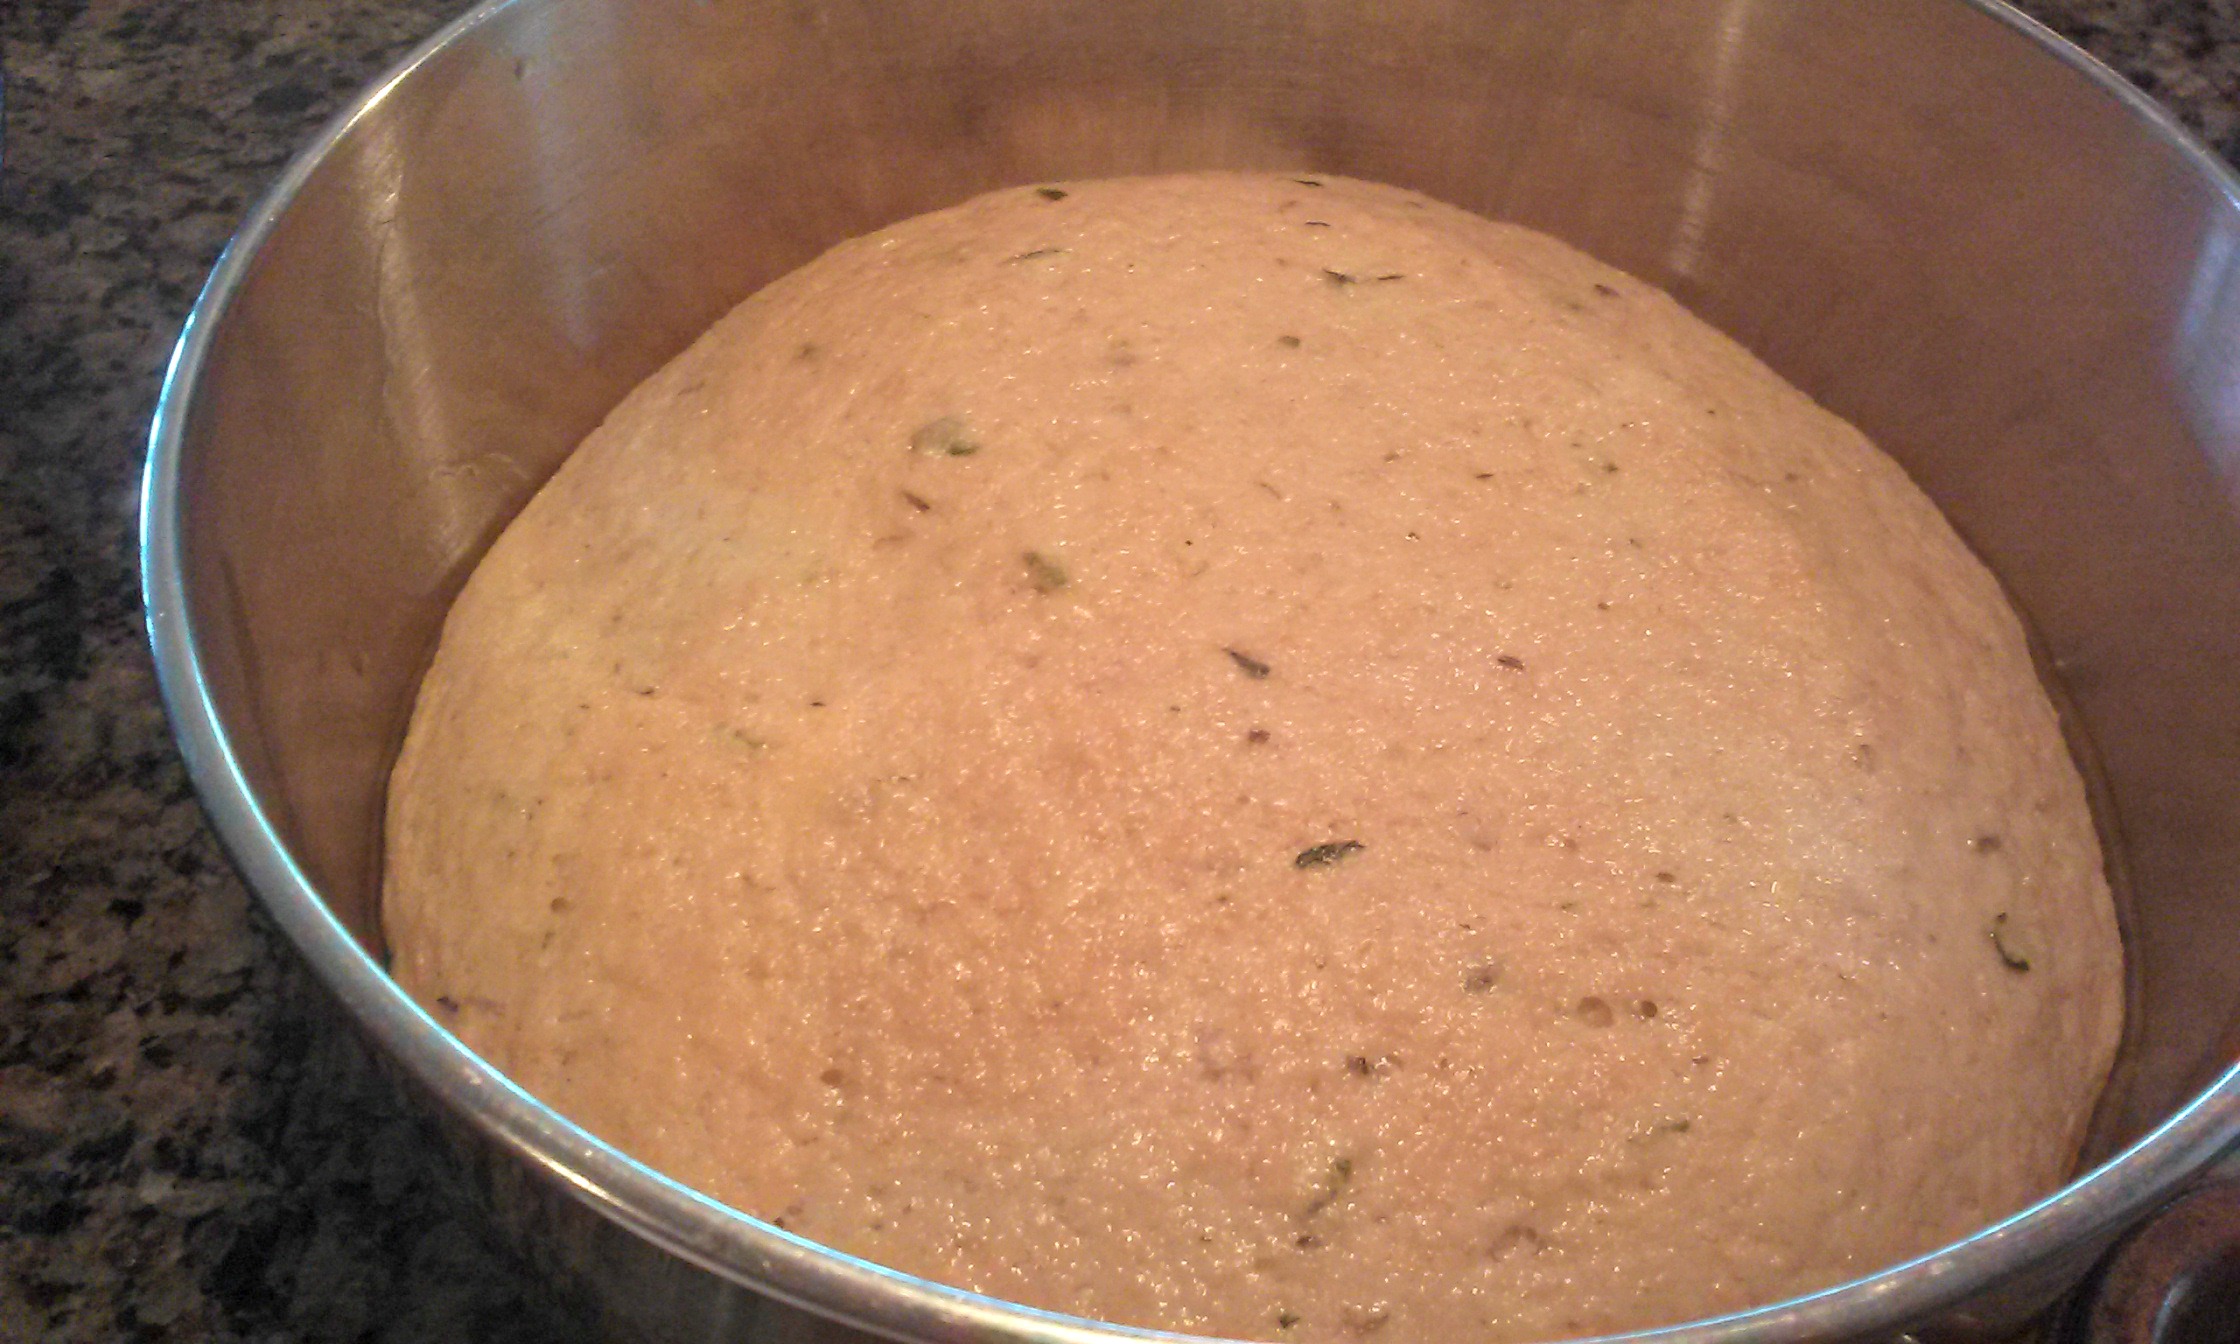
Let dough rise once in the bowl in semi warm place (approximately 85 degrees) approximately 30 minutes or until double the size it started.
LIGHTLY punch it down to get all the air out after it rose the first time.
**All above steps are usually done on ‘Dough Setting’ of your bread machine.
Turn out onto an OILED (not floured – it makes it heavy and dense) surface.
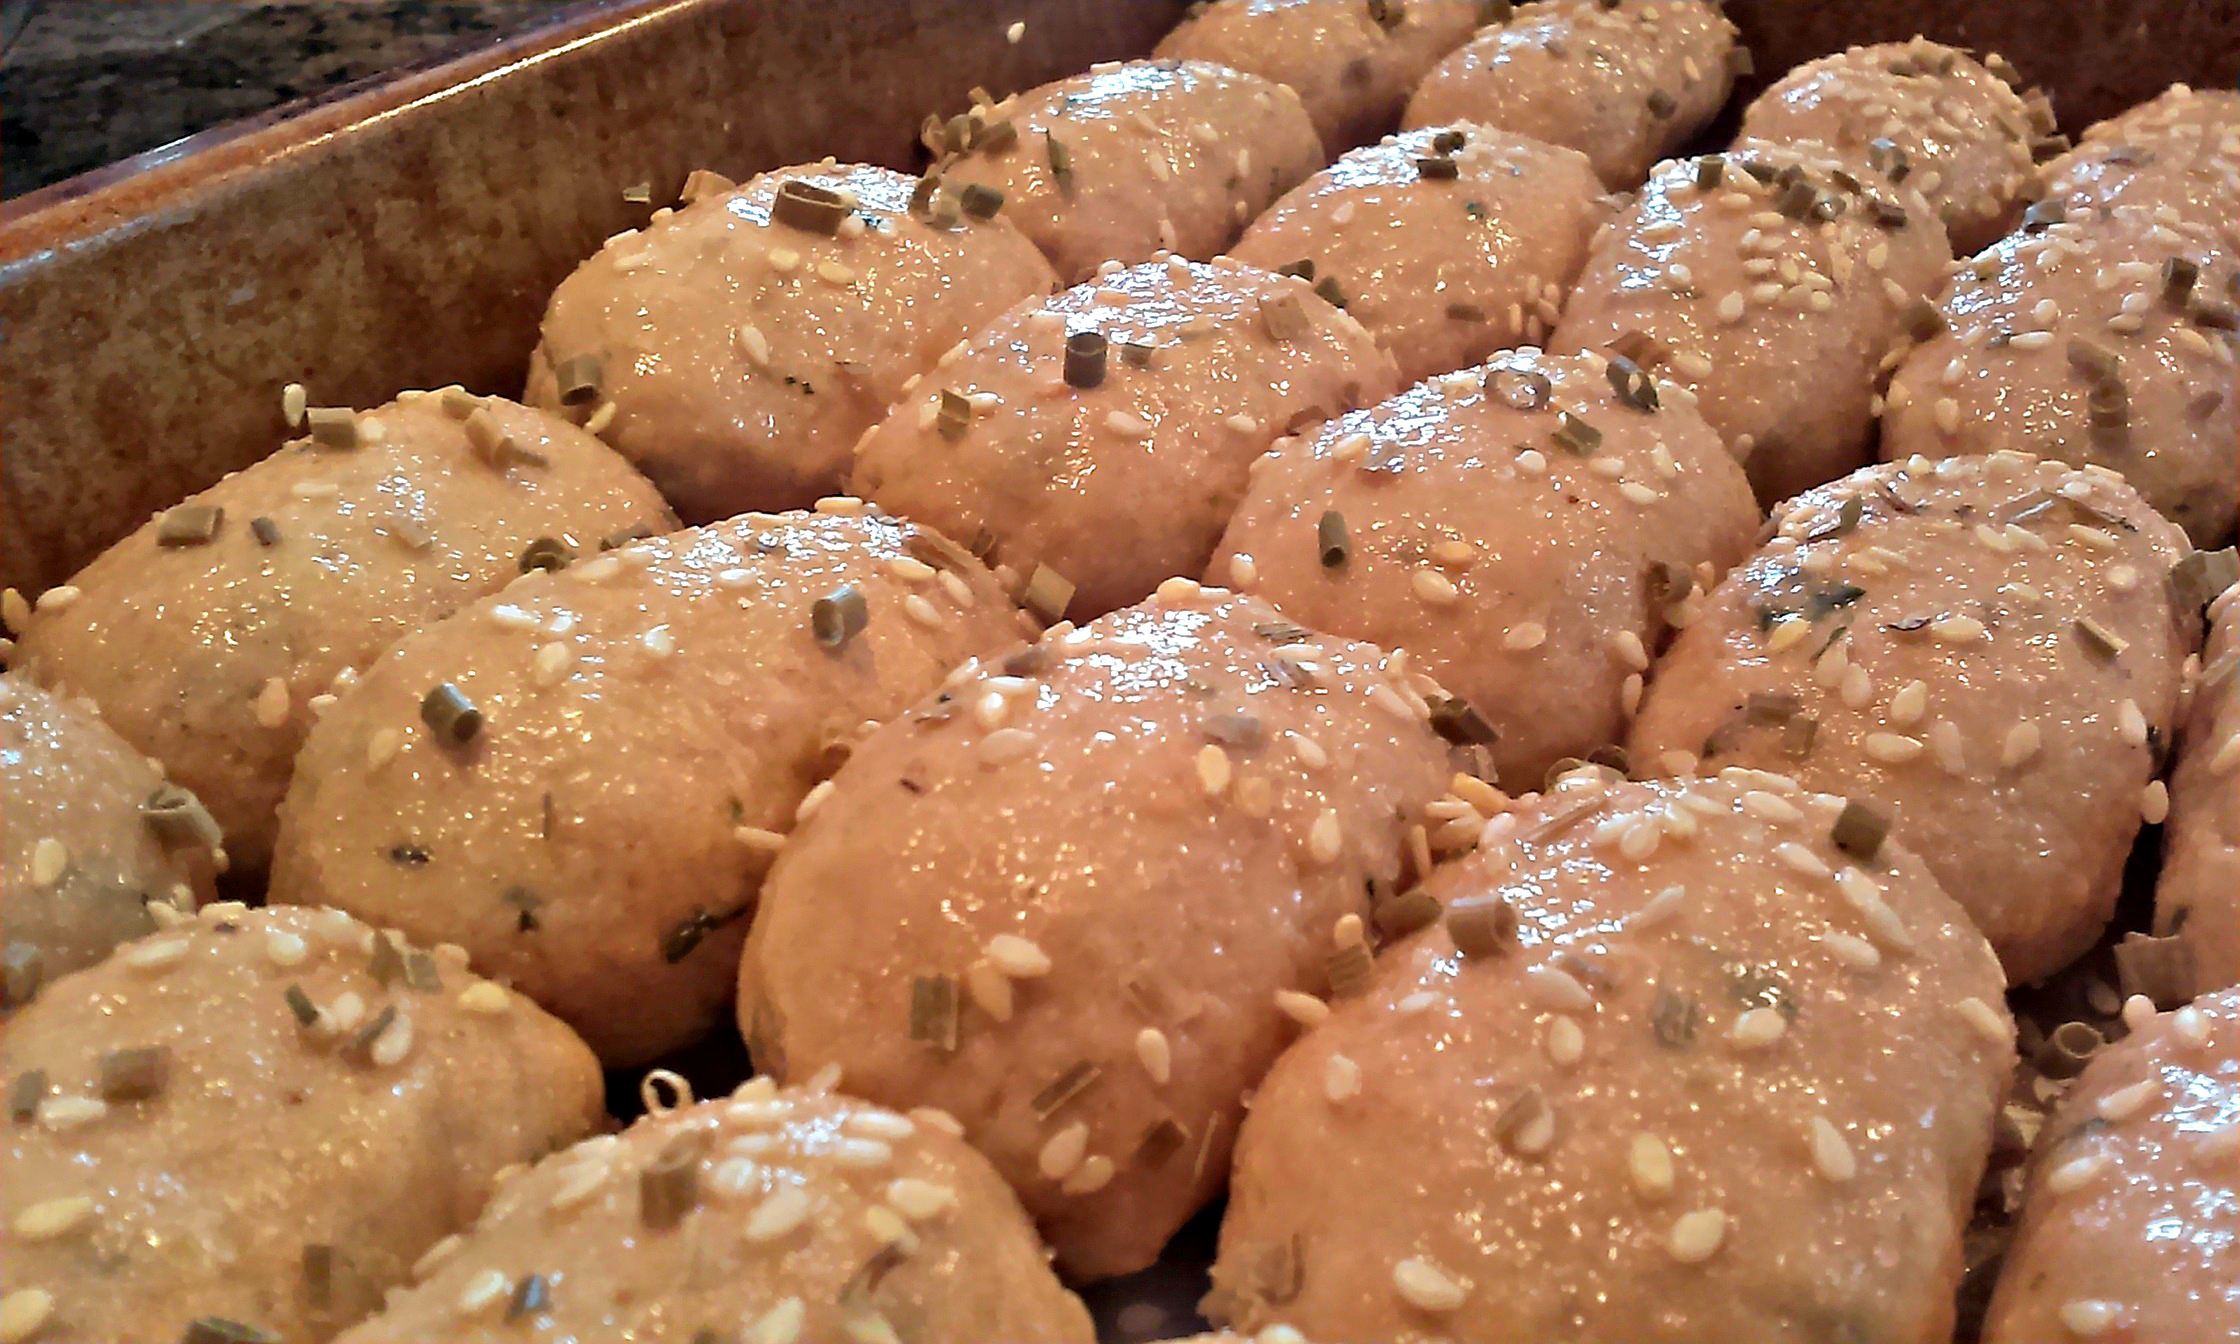
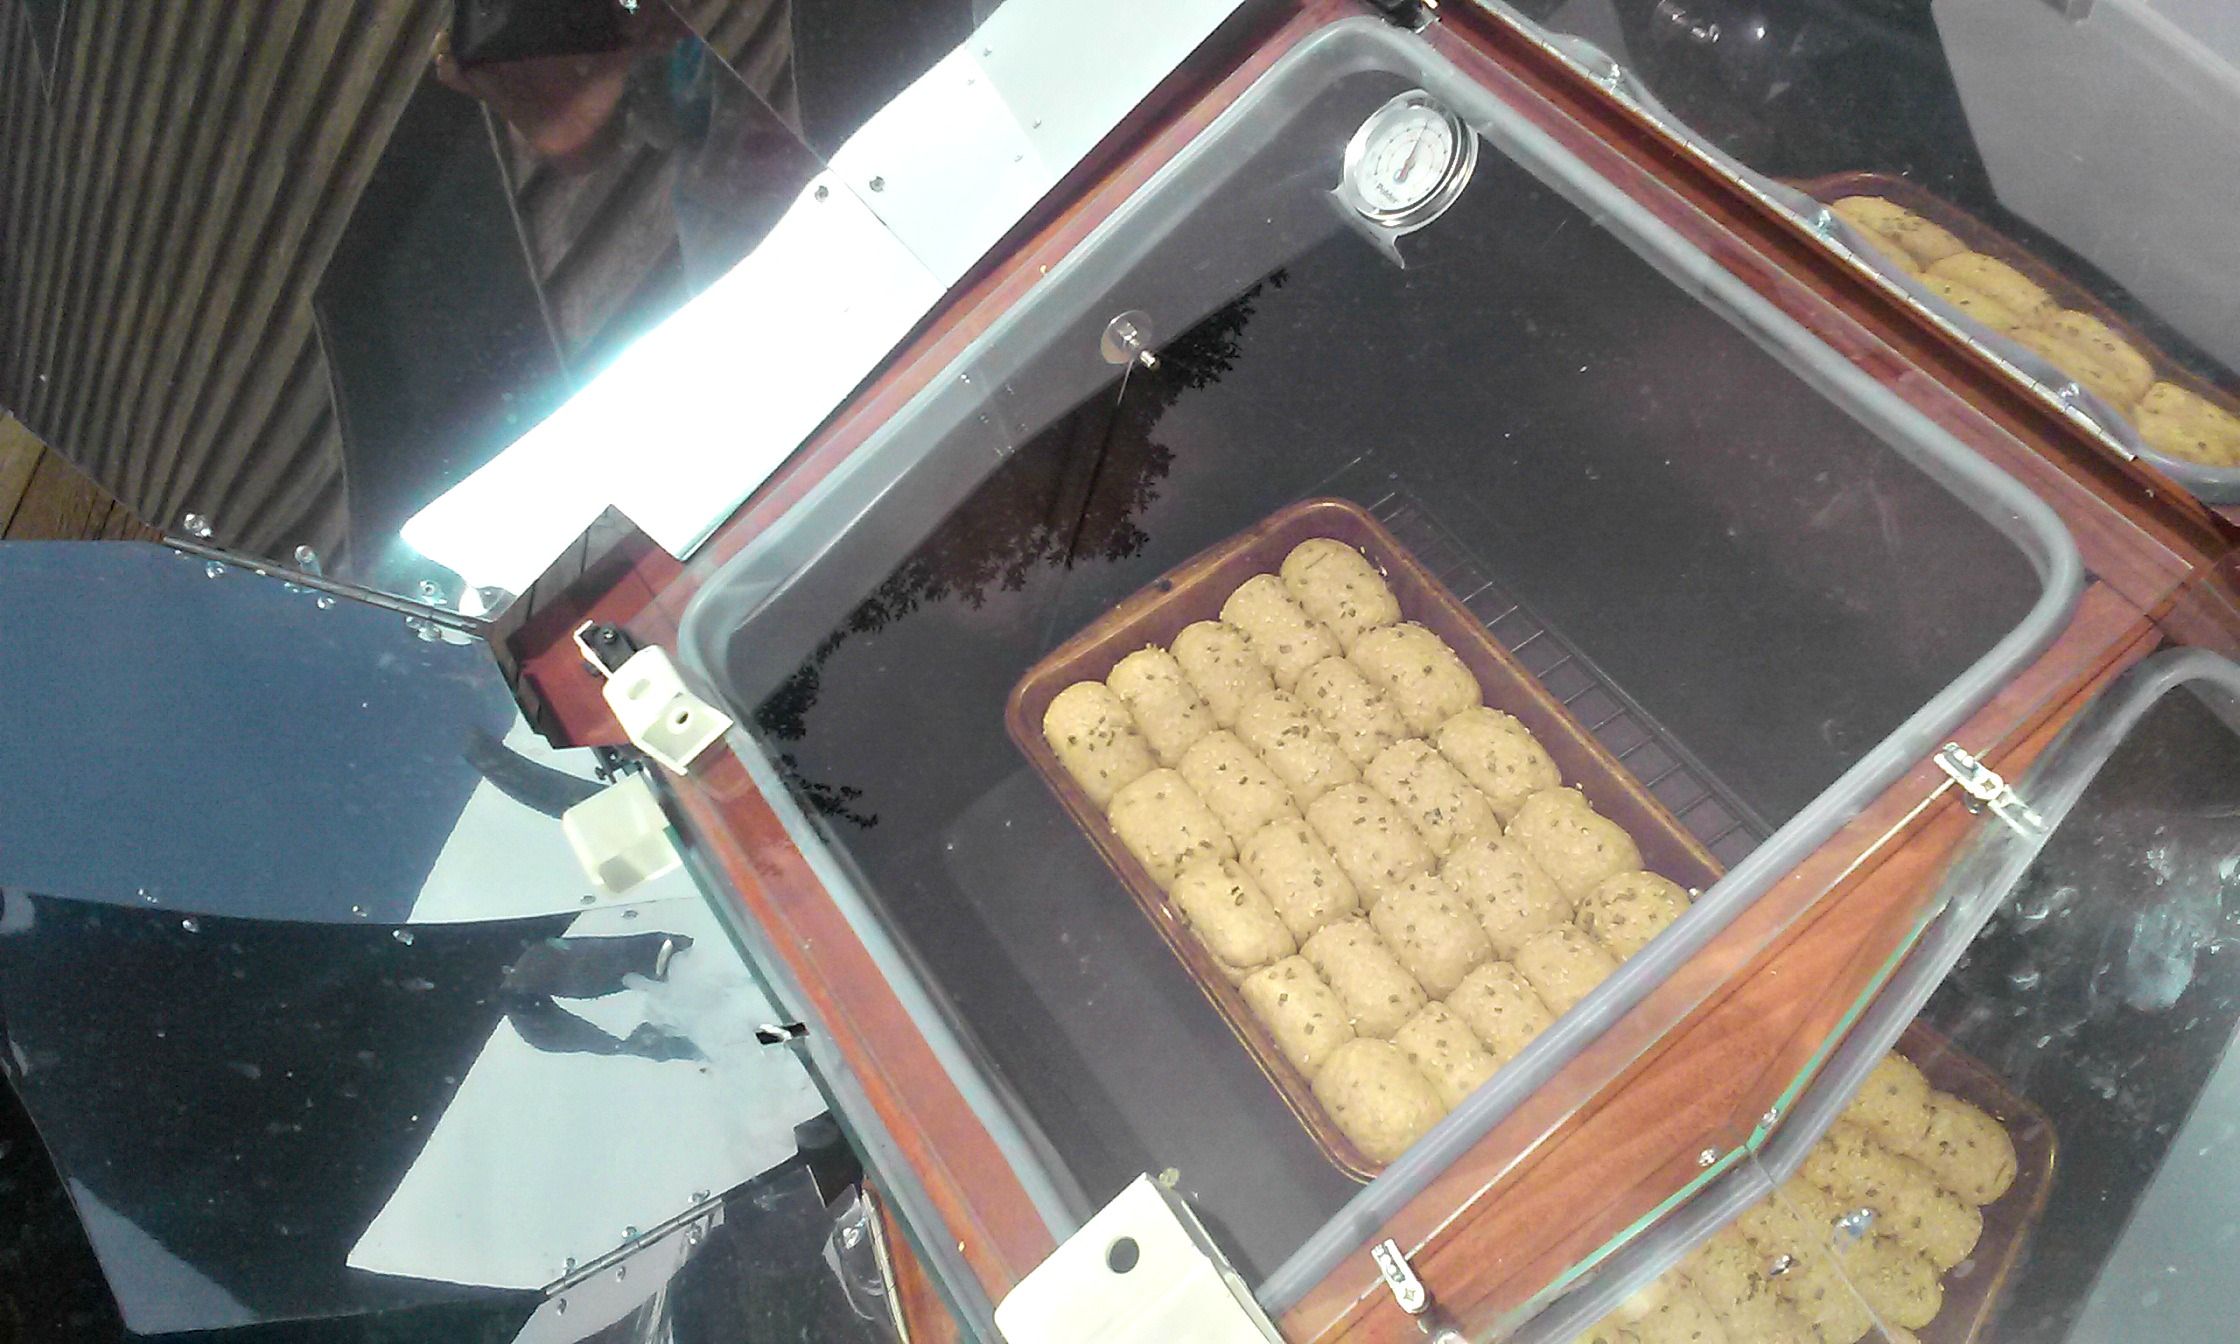
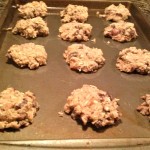
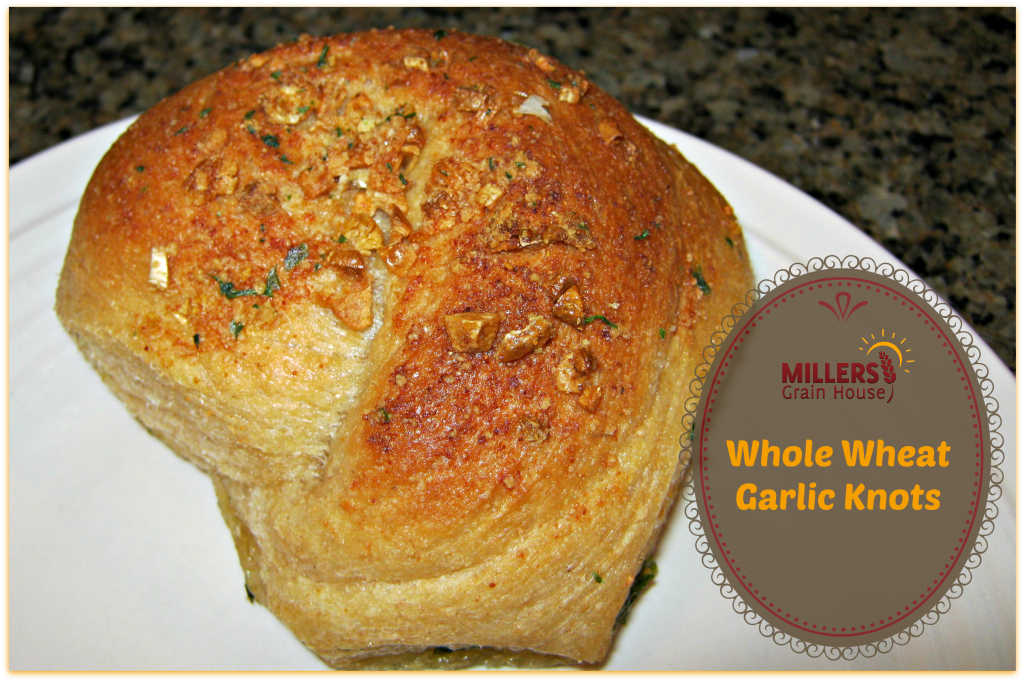
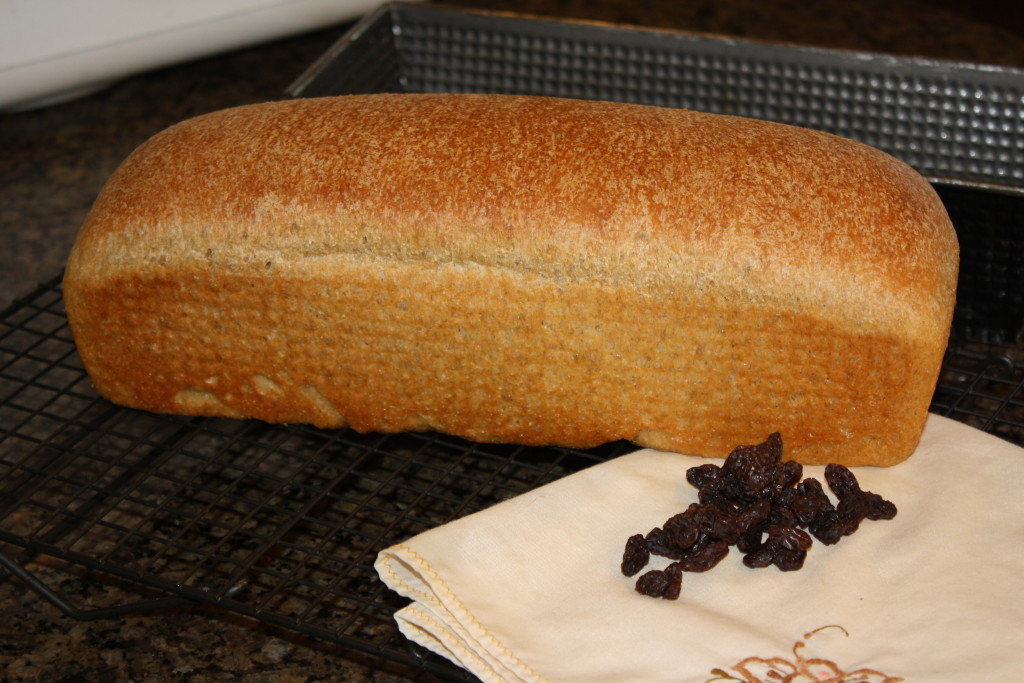
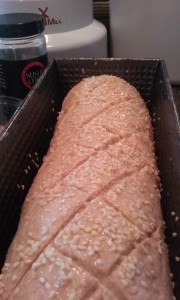
Shape as a loaf or other bread item you would make (buns, rolls, etc) and let rise in the baking pan until it has doubled in size. Remember, this will take a bit longer – the loaf is not warm and the yeast is wild…so be patient but don’t wait too long or it will collapse! Watch the size to double!
During the last few minutes of rising, just before doubling, preheat oven to 375 degrees.
Place loaf in center of 375 degree oven and AS you shut the door – lower the heat to 350! This little extra punch of heat at the beginning will help the loaf to peak.
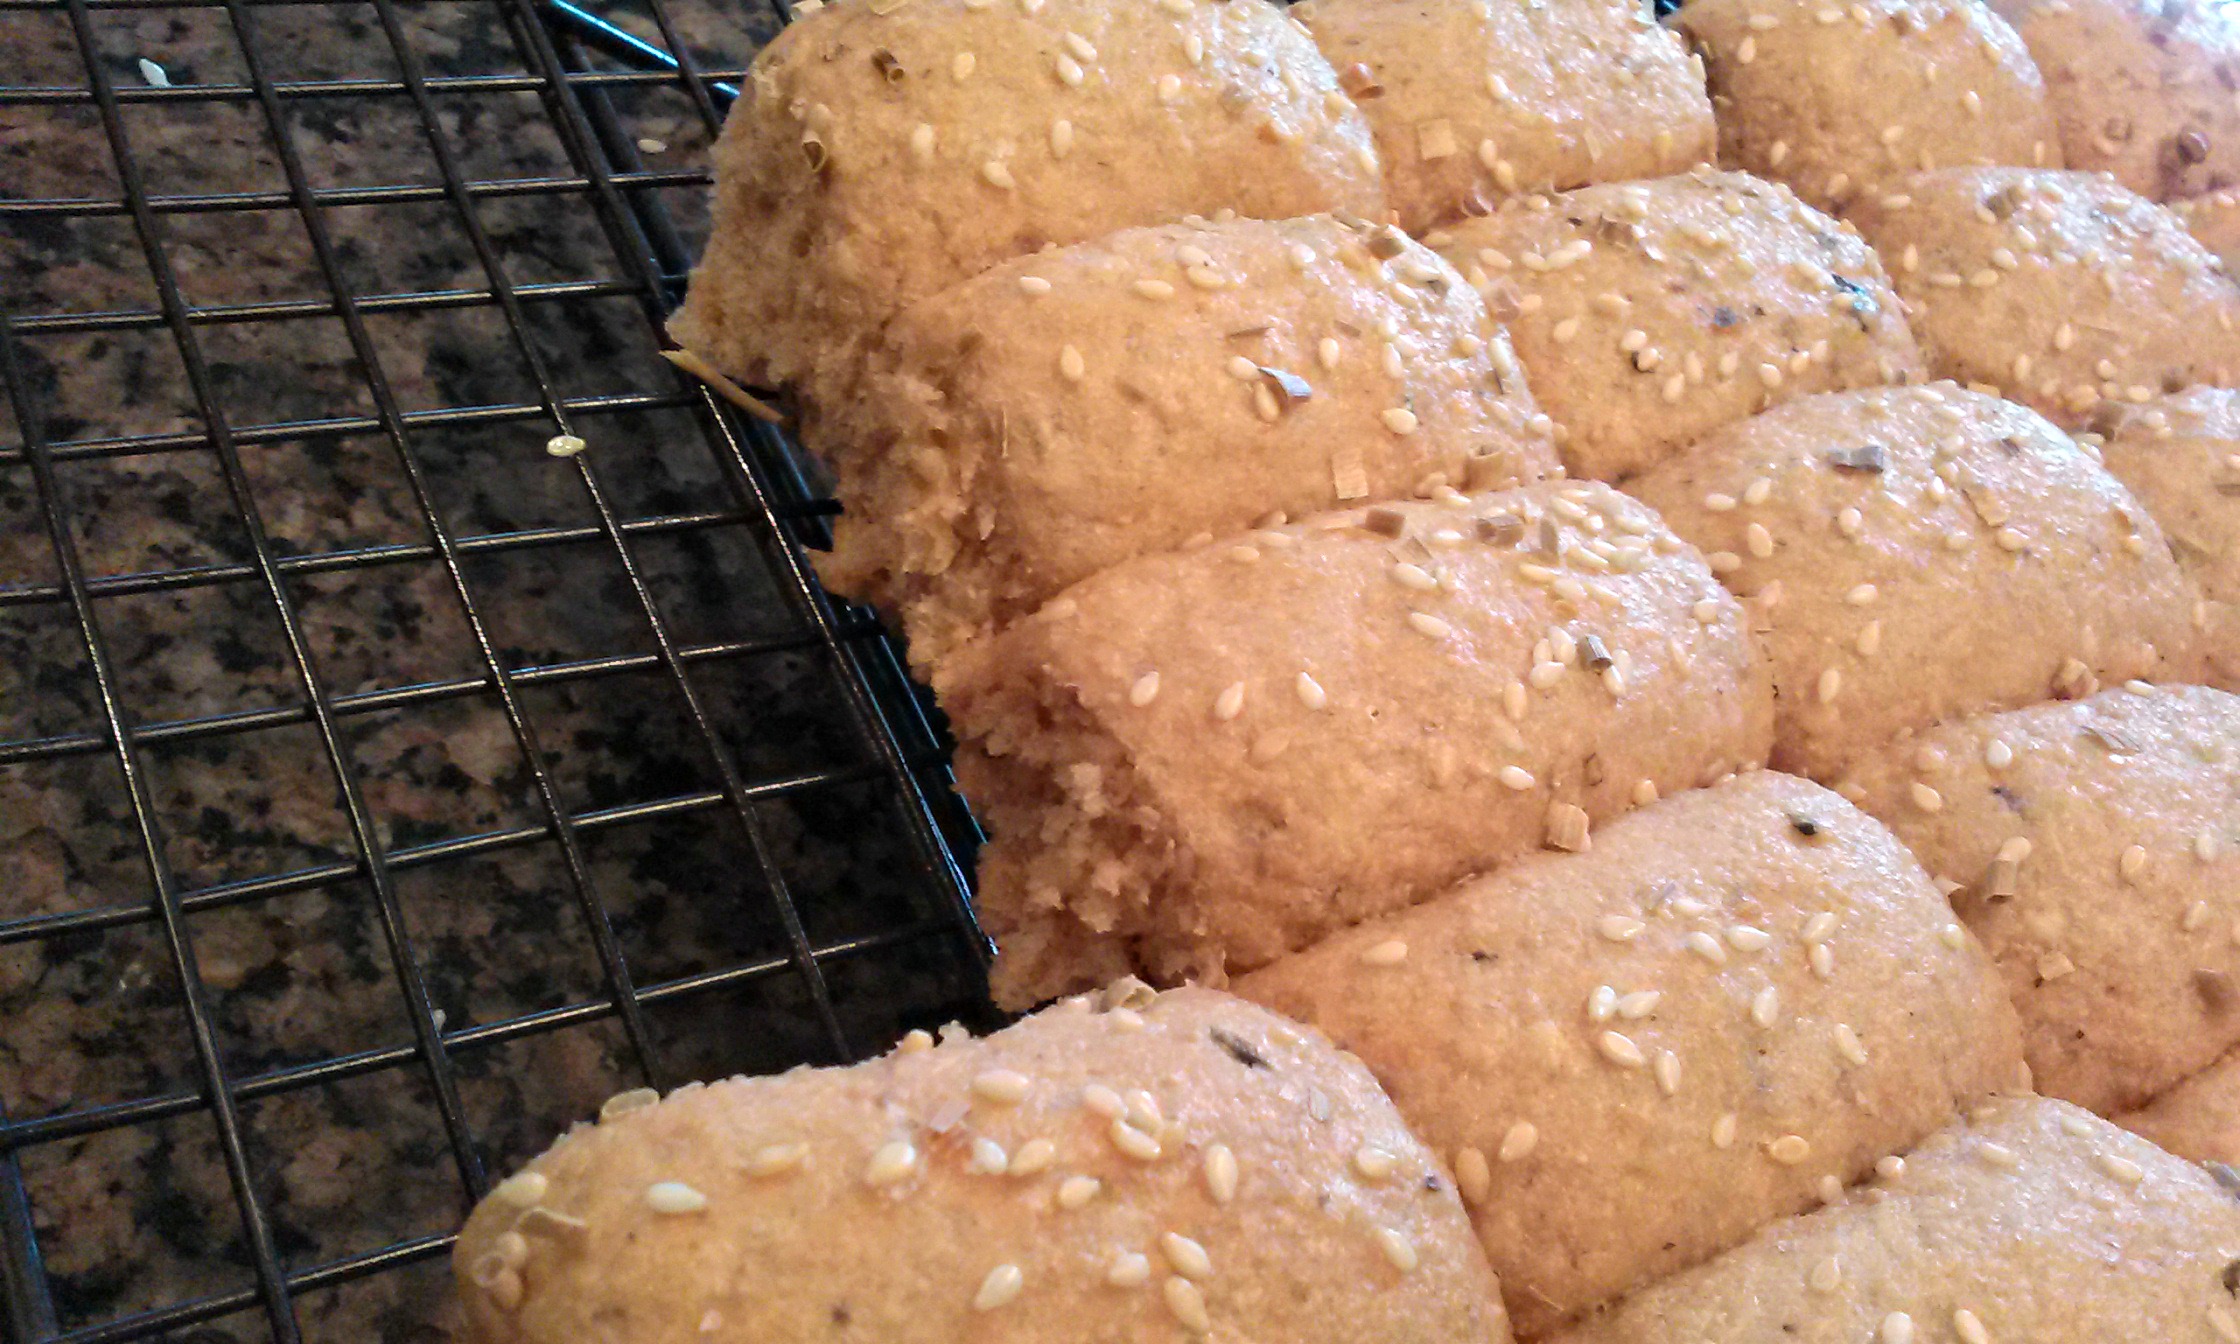
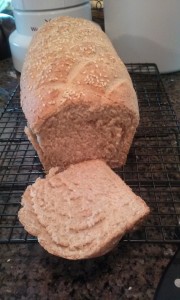
Bake 18-22 minutes on 350 or until the loaf taps like it’s hollow.
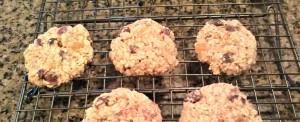
Cool on wire rack and store in airtight bag.
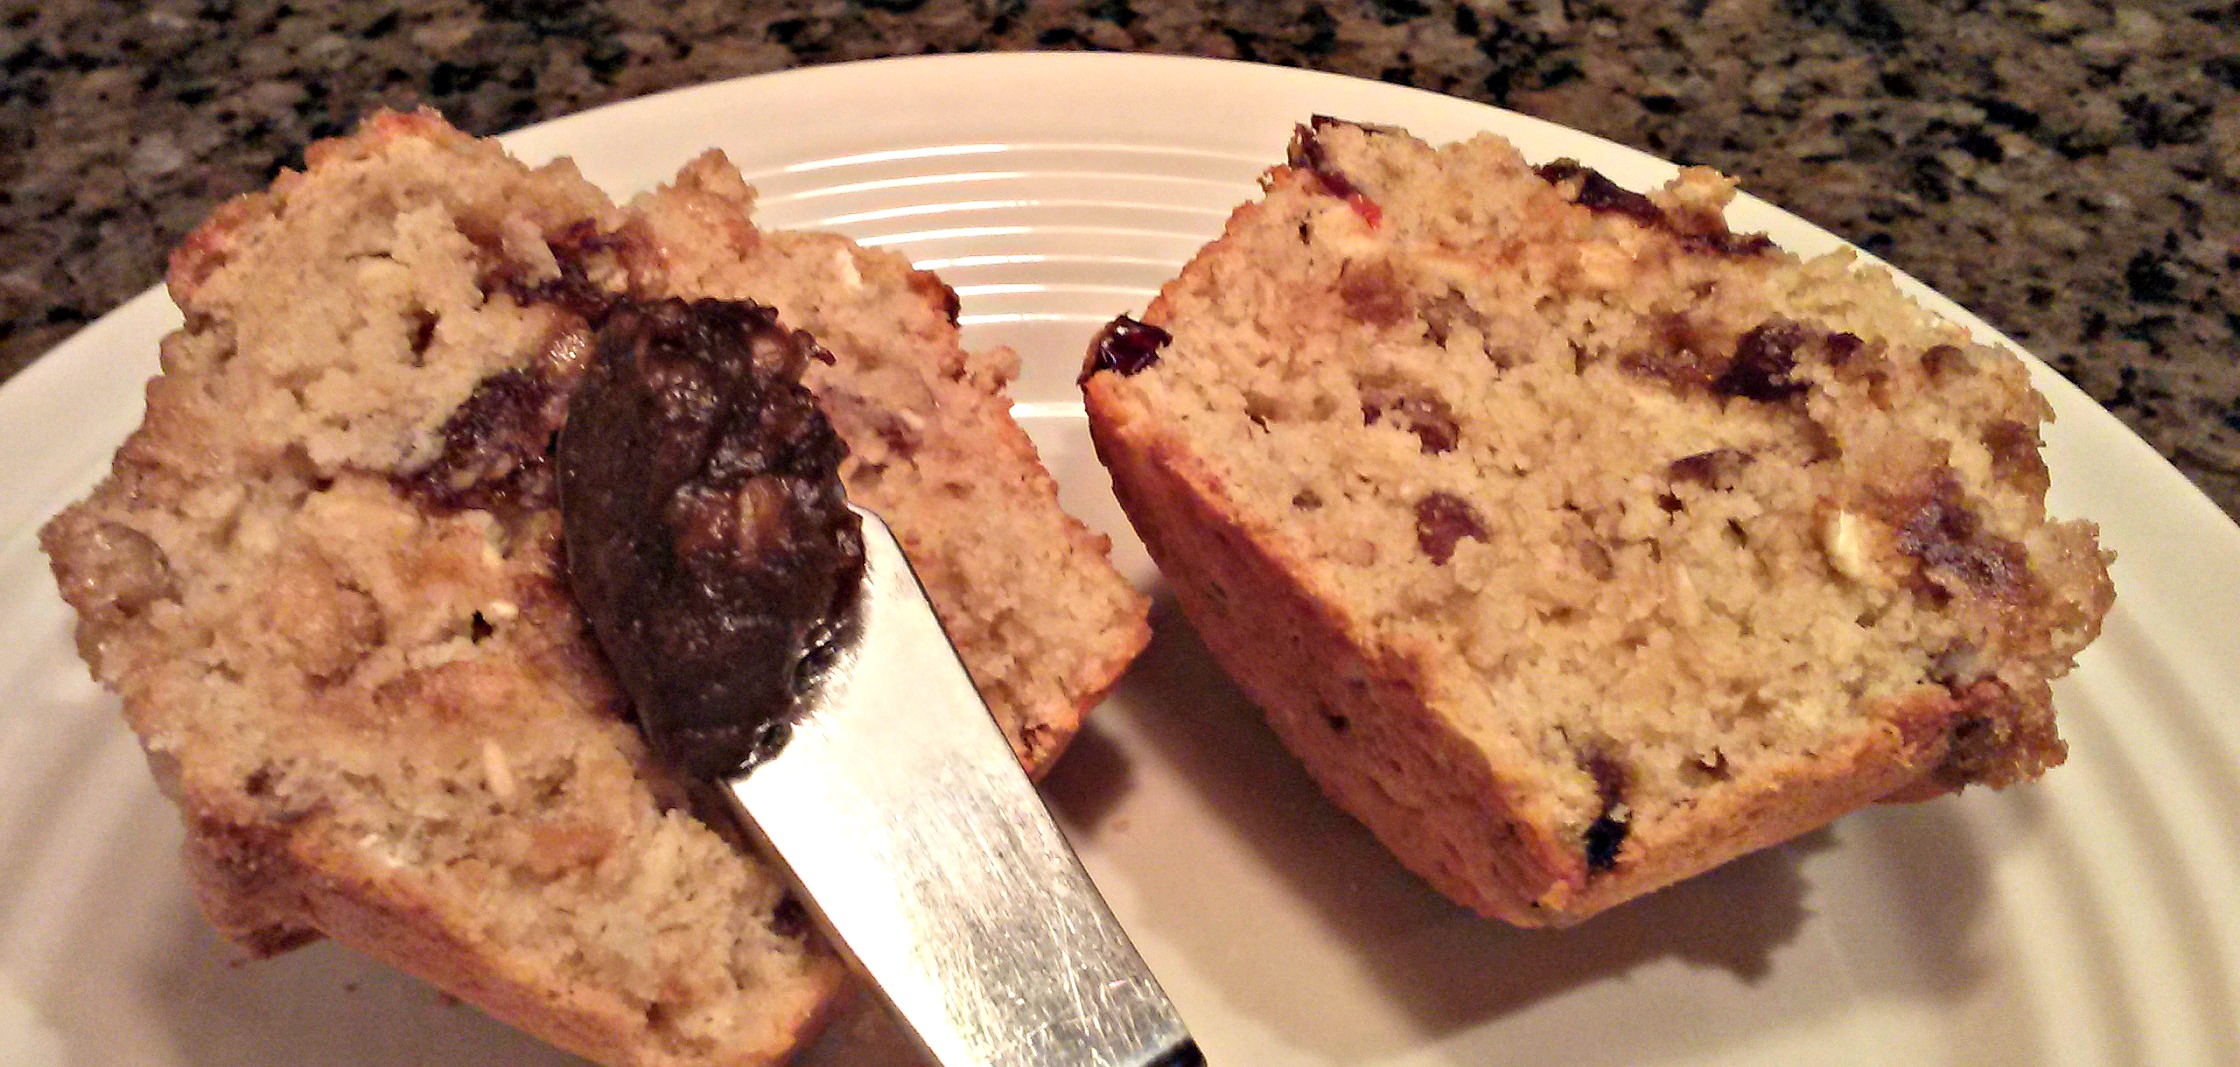
Wait at least 10 minutes before attempting to slice.
Use a serrated knife for best results in cutting.
ENJOY and never worry about running out of yeast again!
 Special End Note – Wild yeast can be cultivated with almost any dried fruit but raisins tend to work the best and lend the most consistent results. Play with your food and find out what works for you.
For free whole grain recipes emailed to you each month, please consider signing up for my Newsletter Here
Best Blessings,
Donna Miller
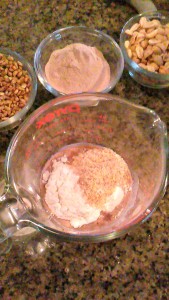
 Before starting the dough – set out the cream cheese to soften and make your fruit filling and set aside.
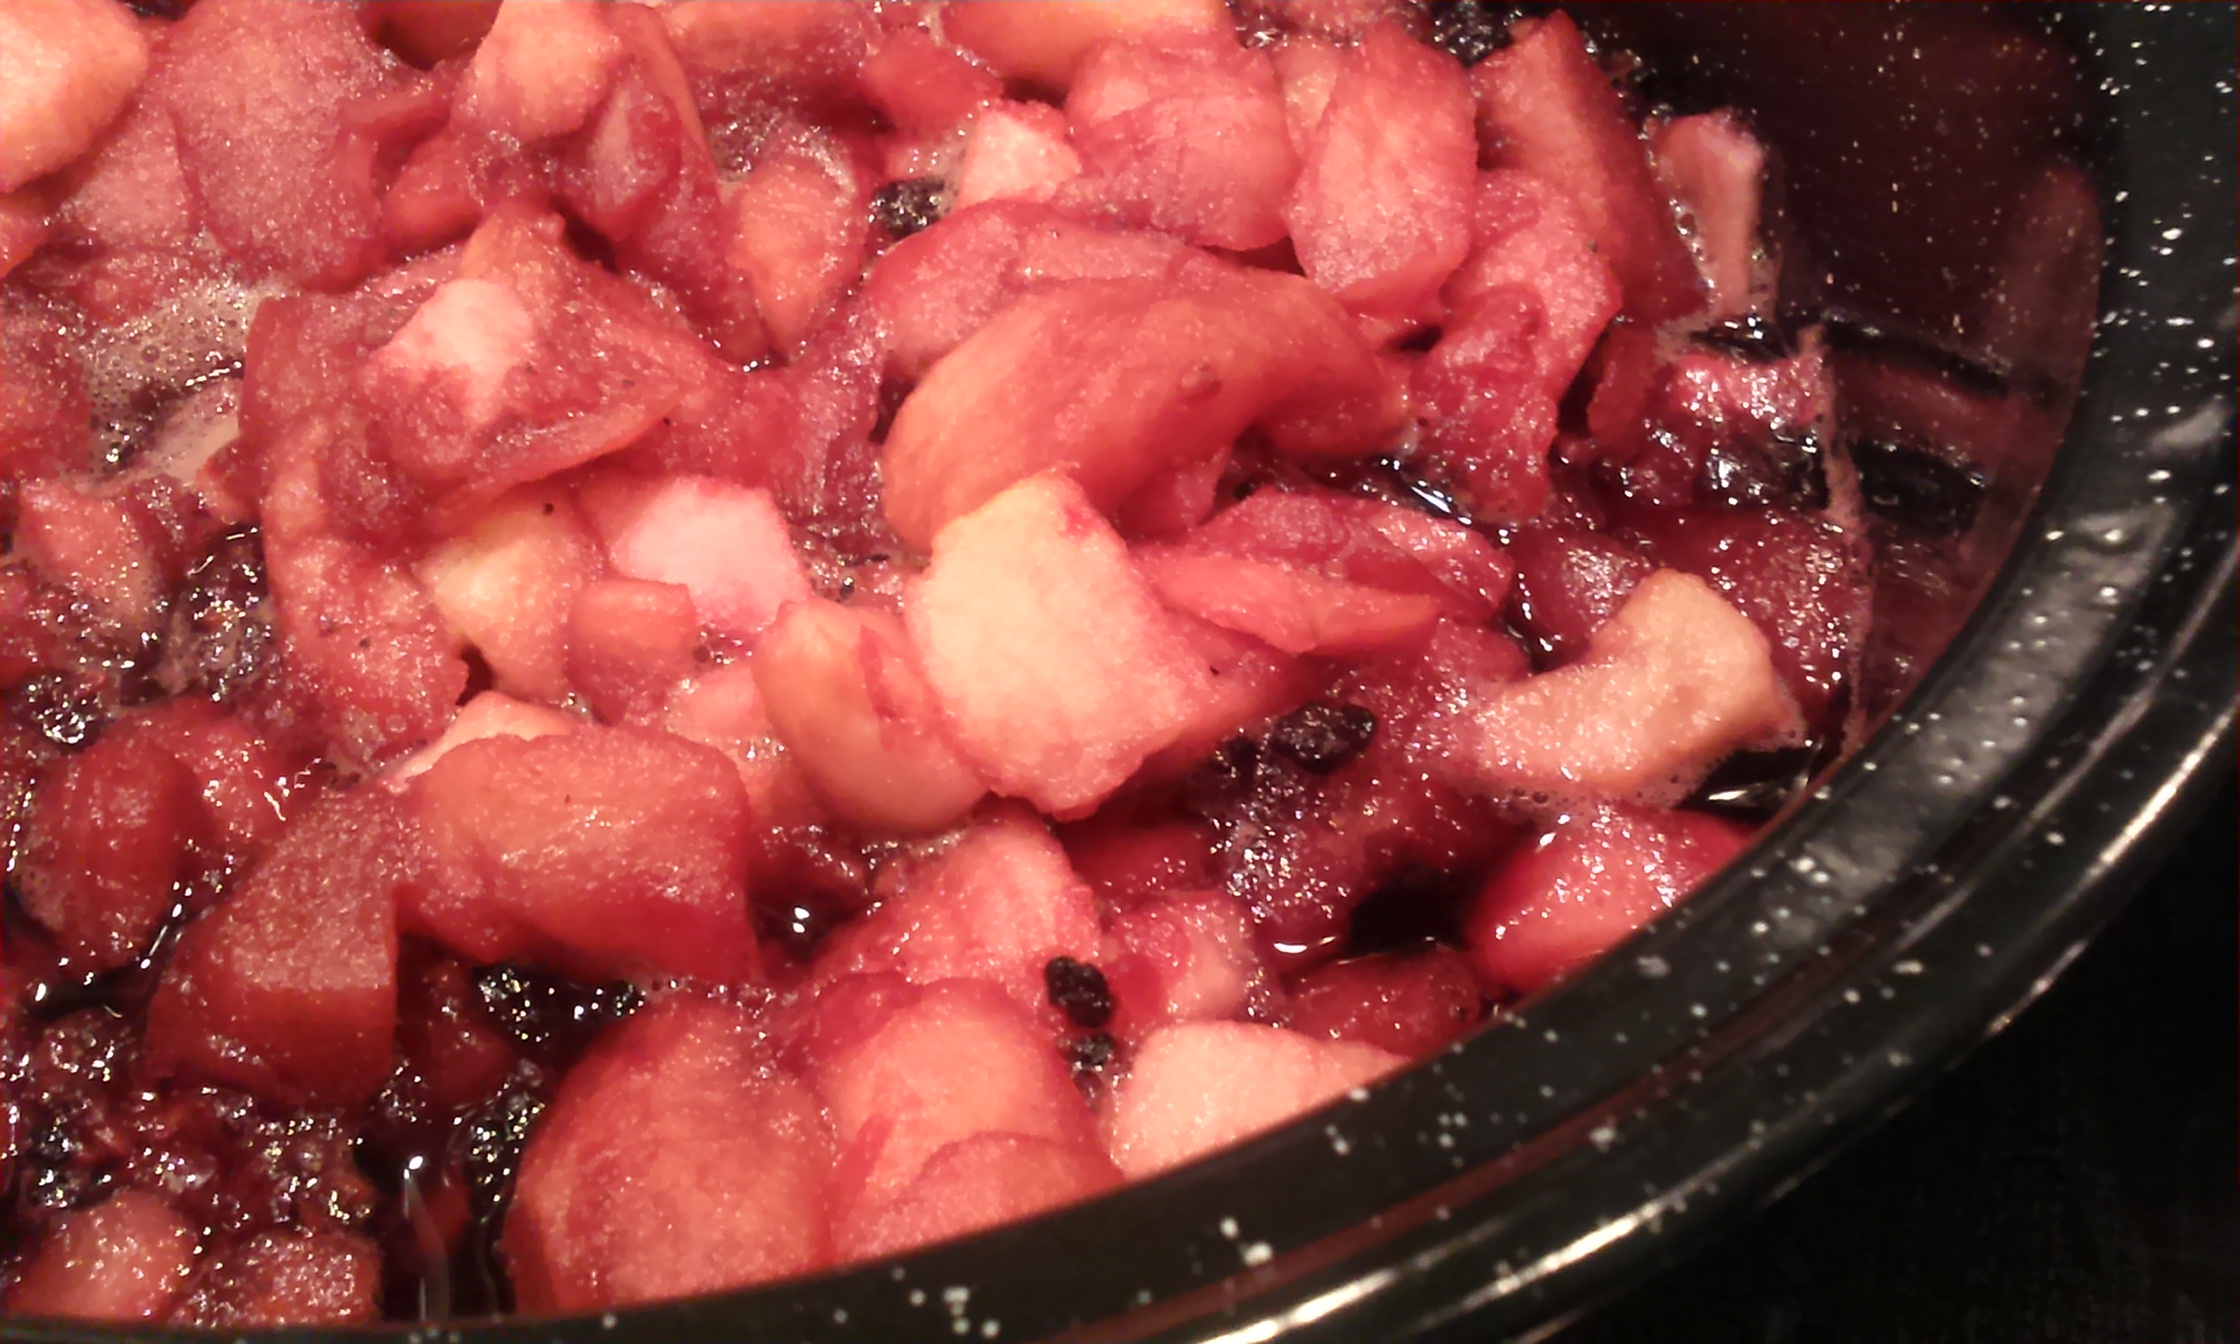
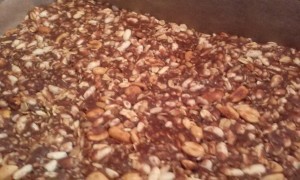
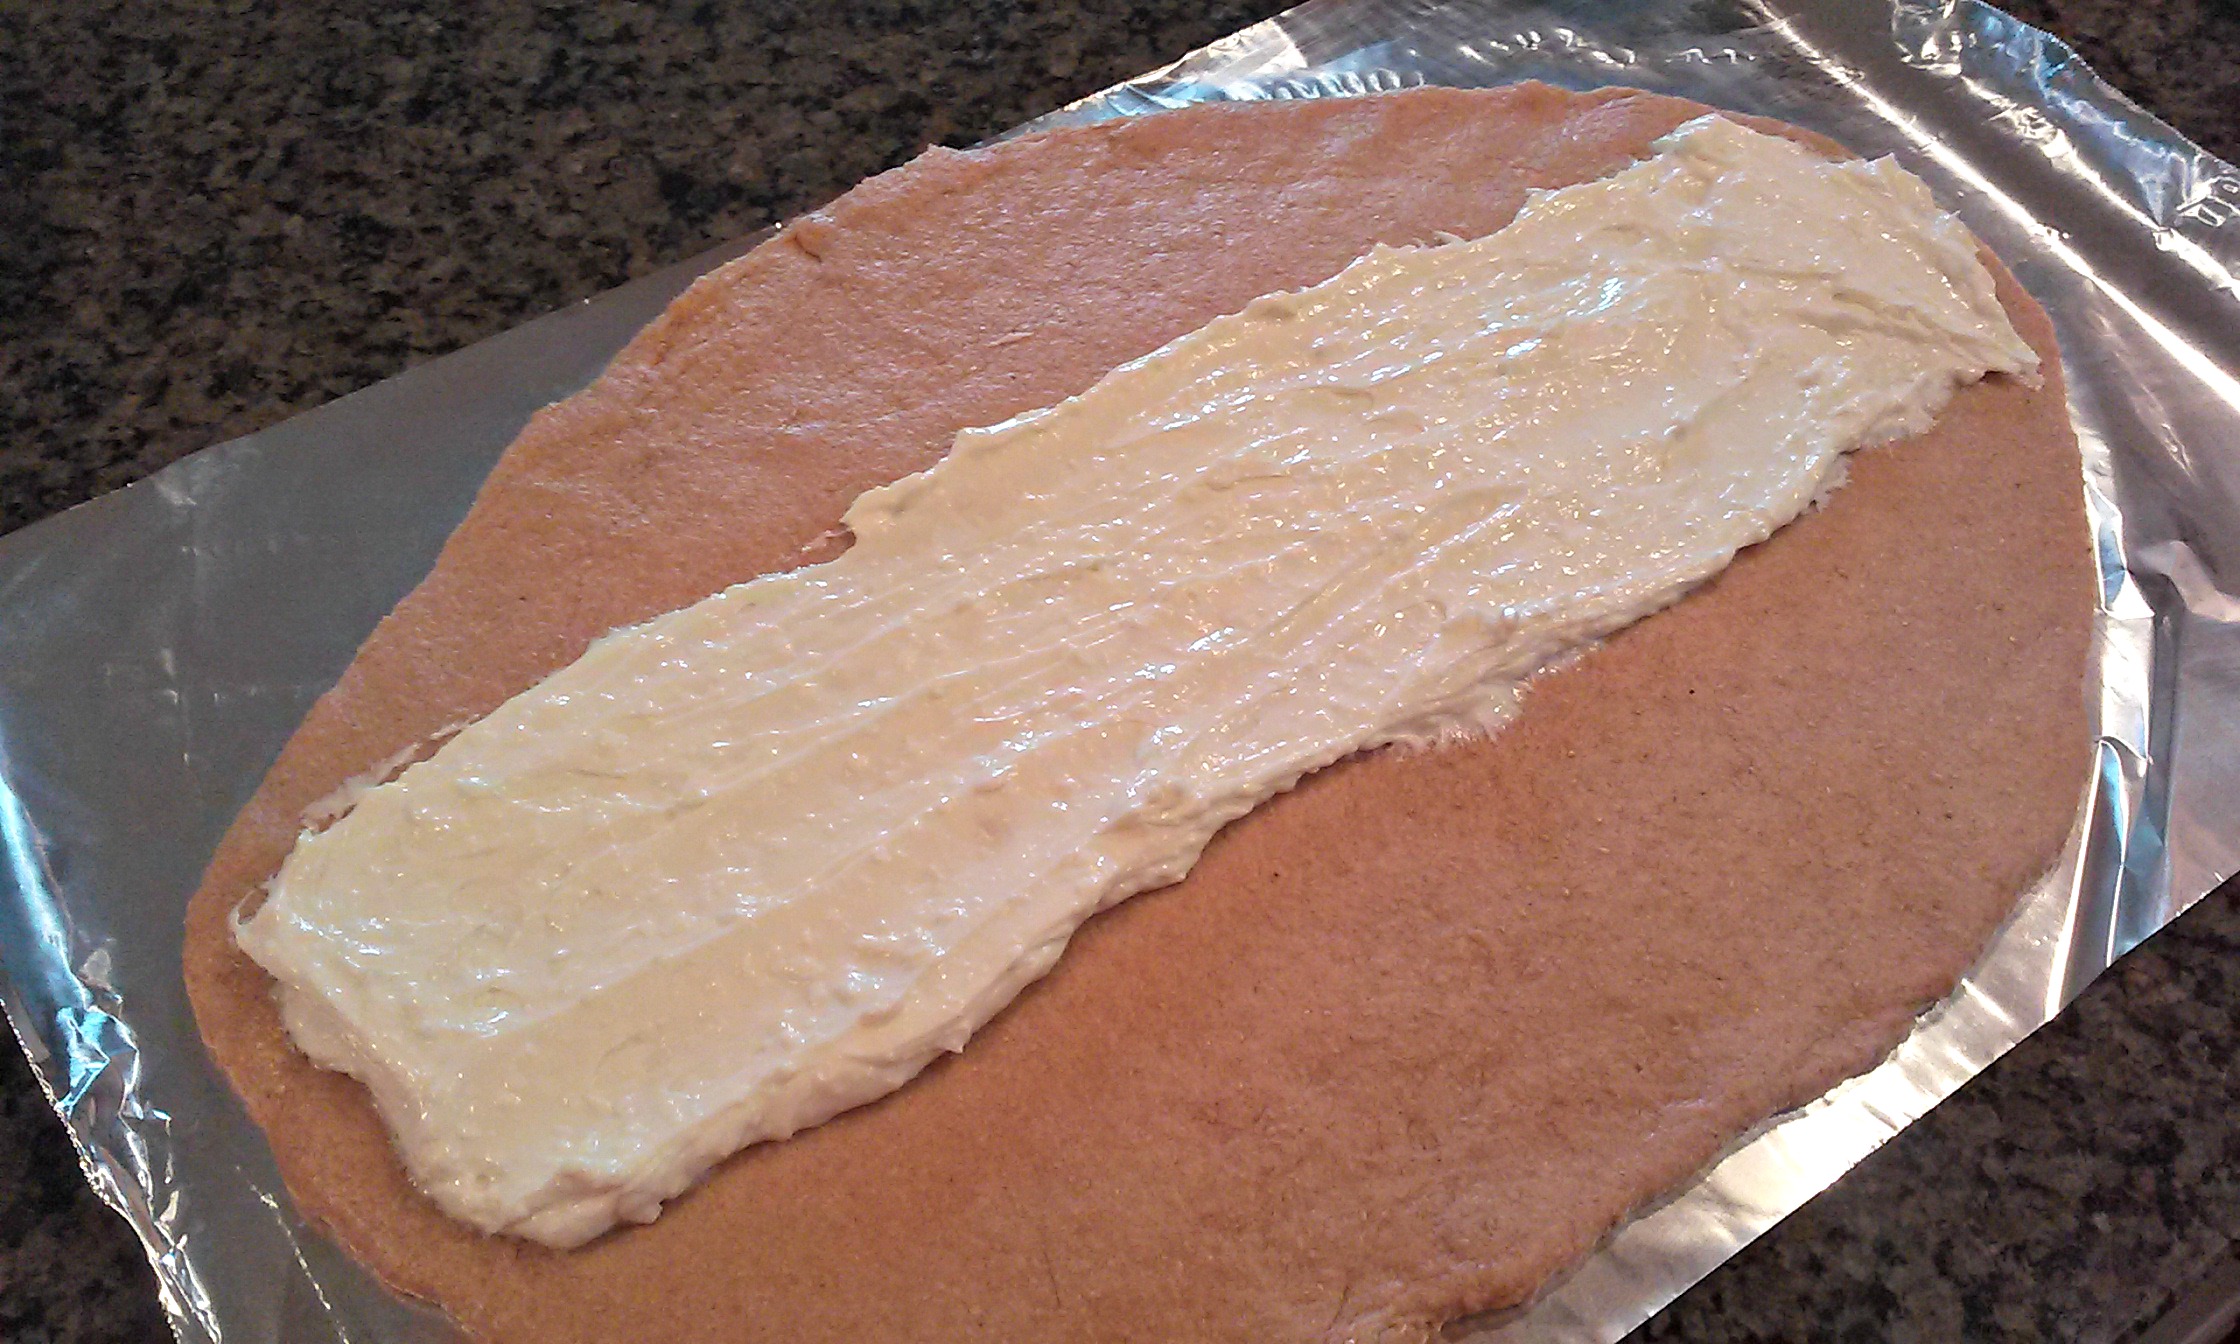 Once dough has finished with it’s first rise, punch dough down and roll out into an oblong ‘jelly roll’ on parchment or aluminum foil.
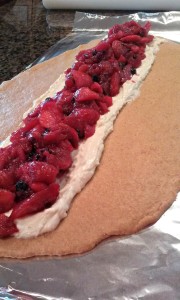
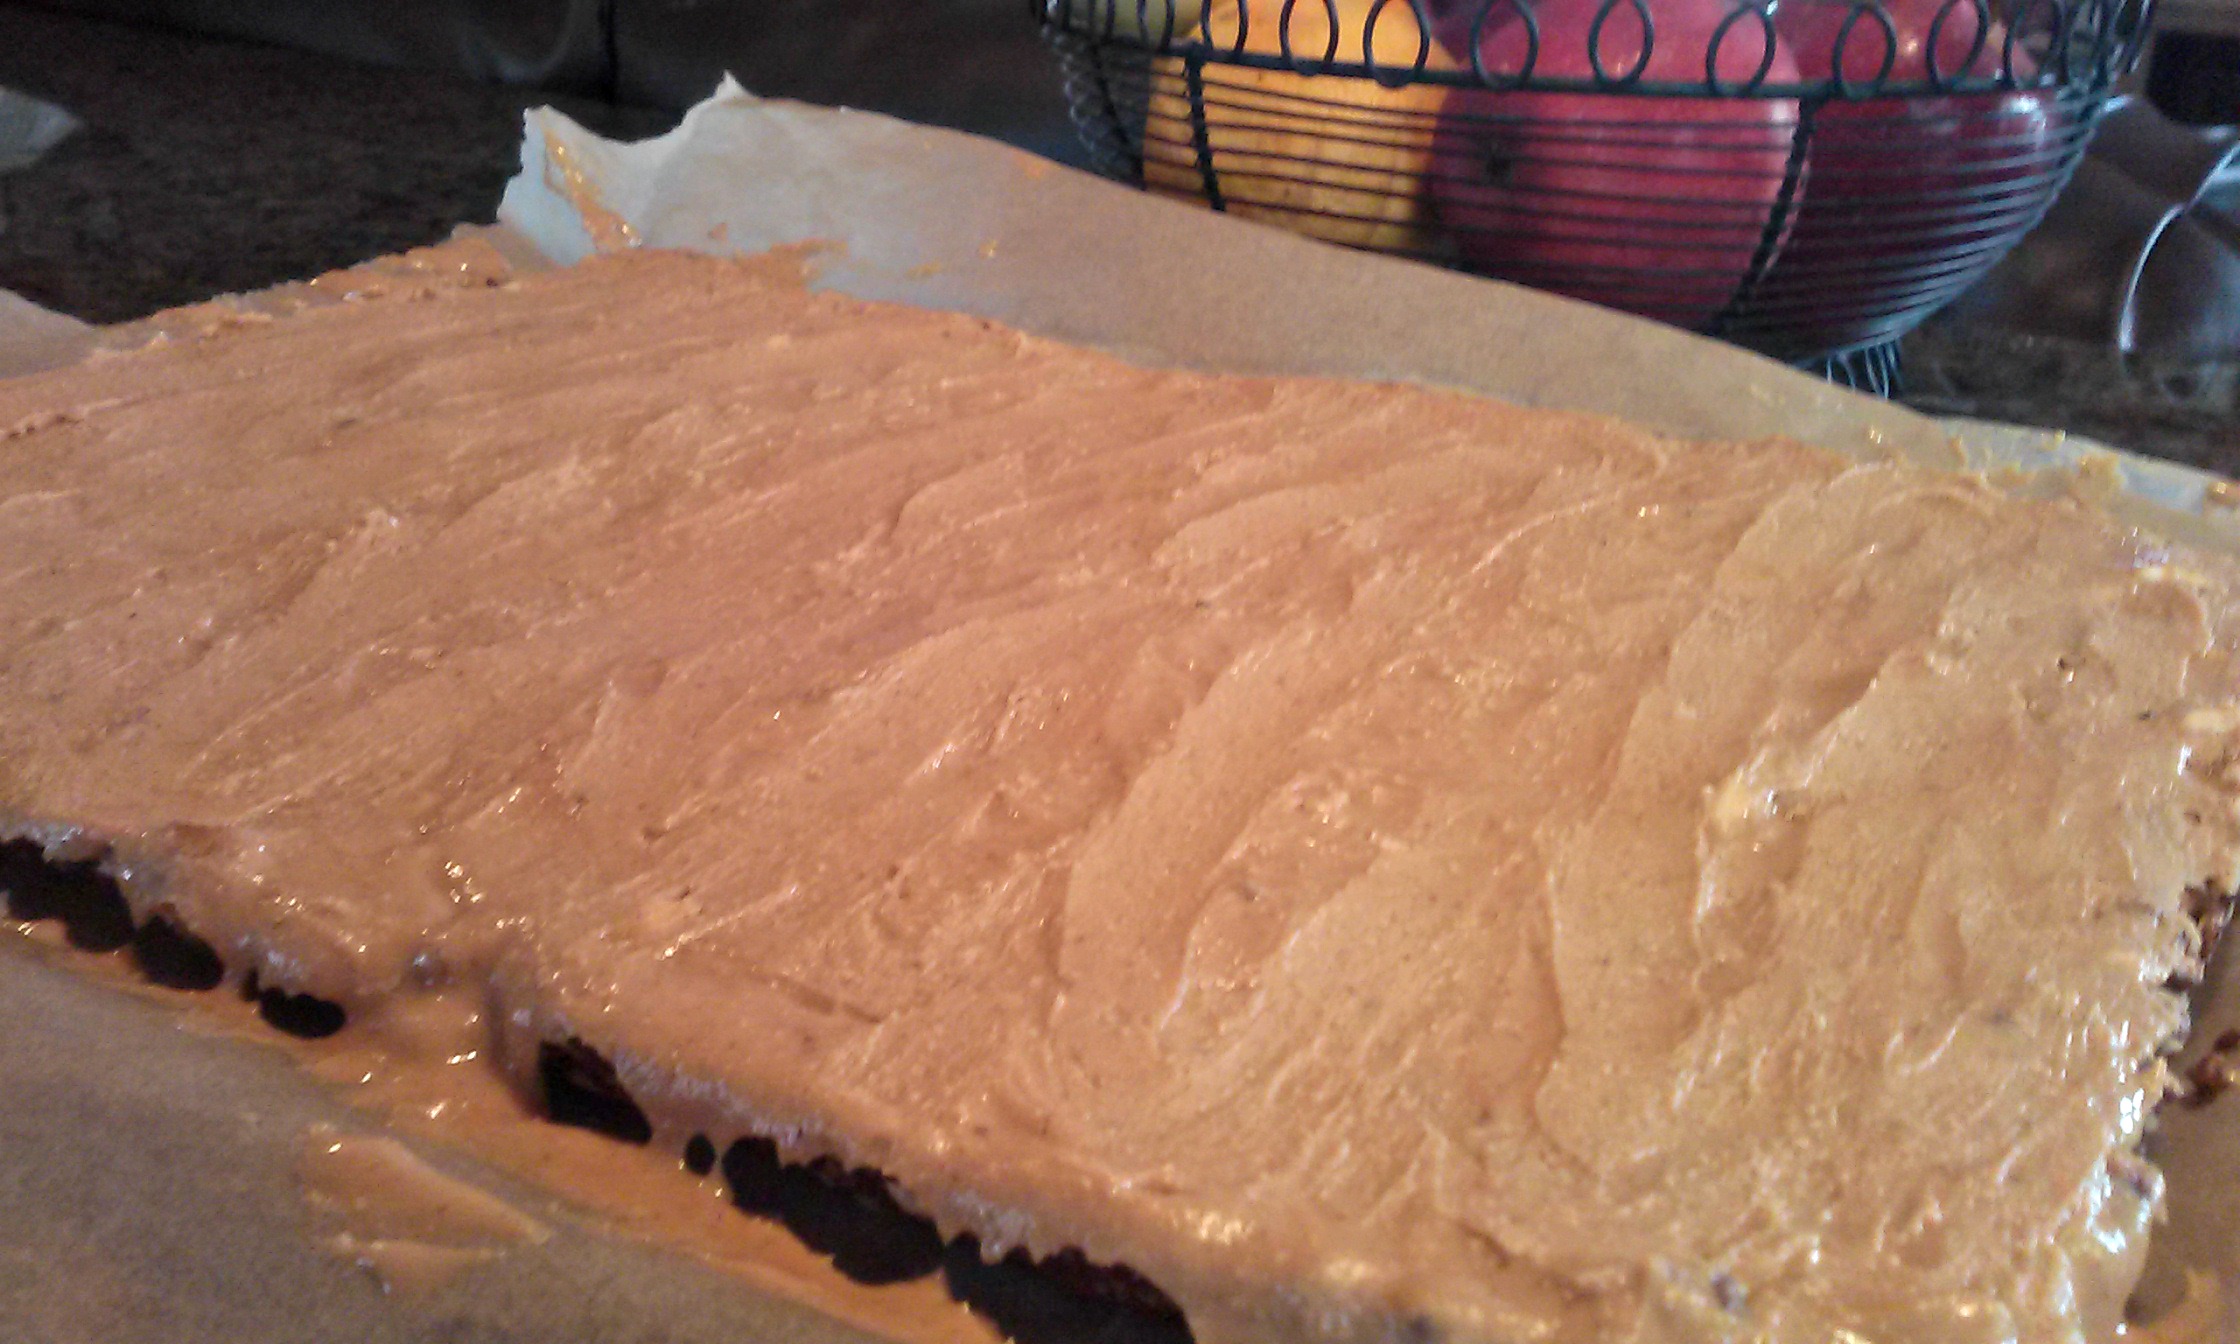
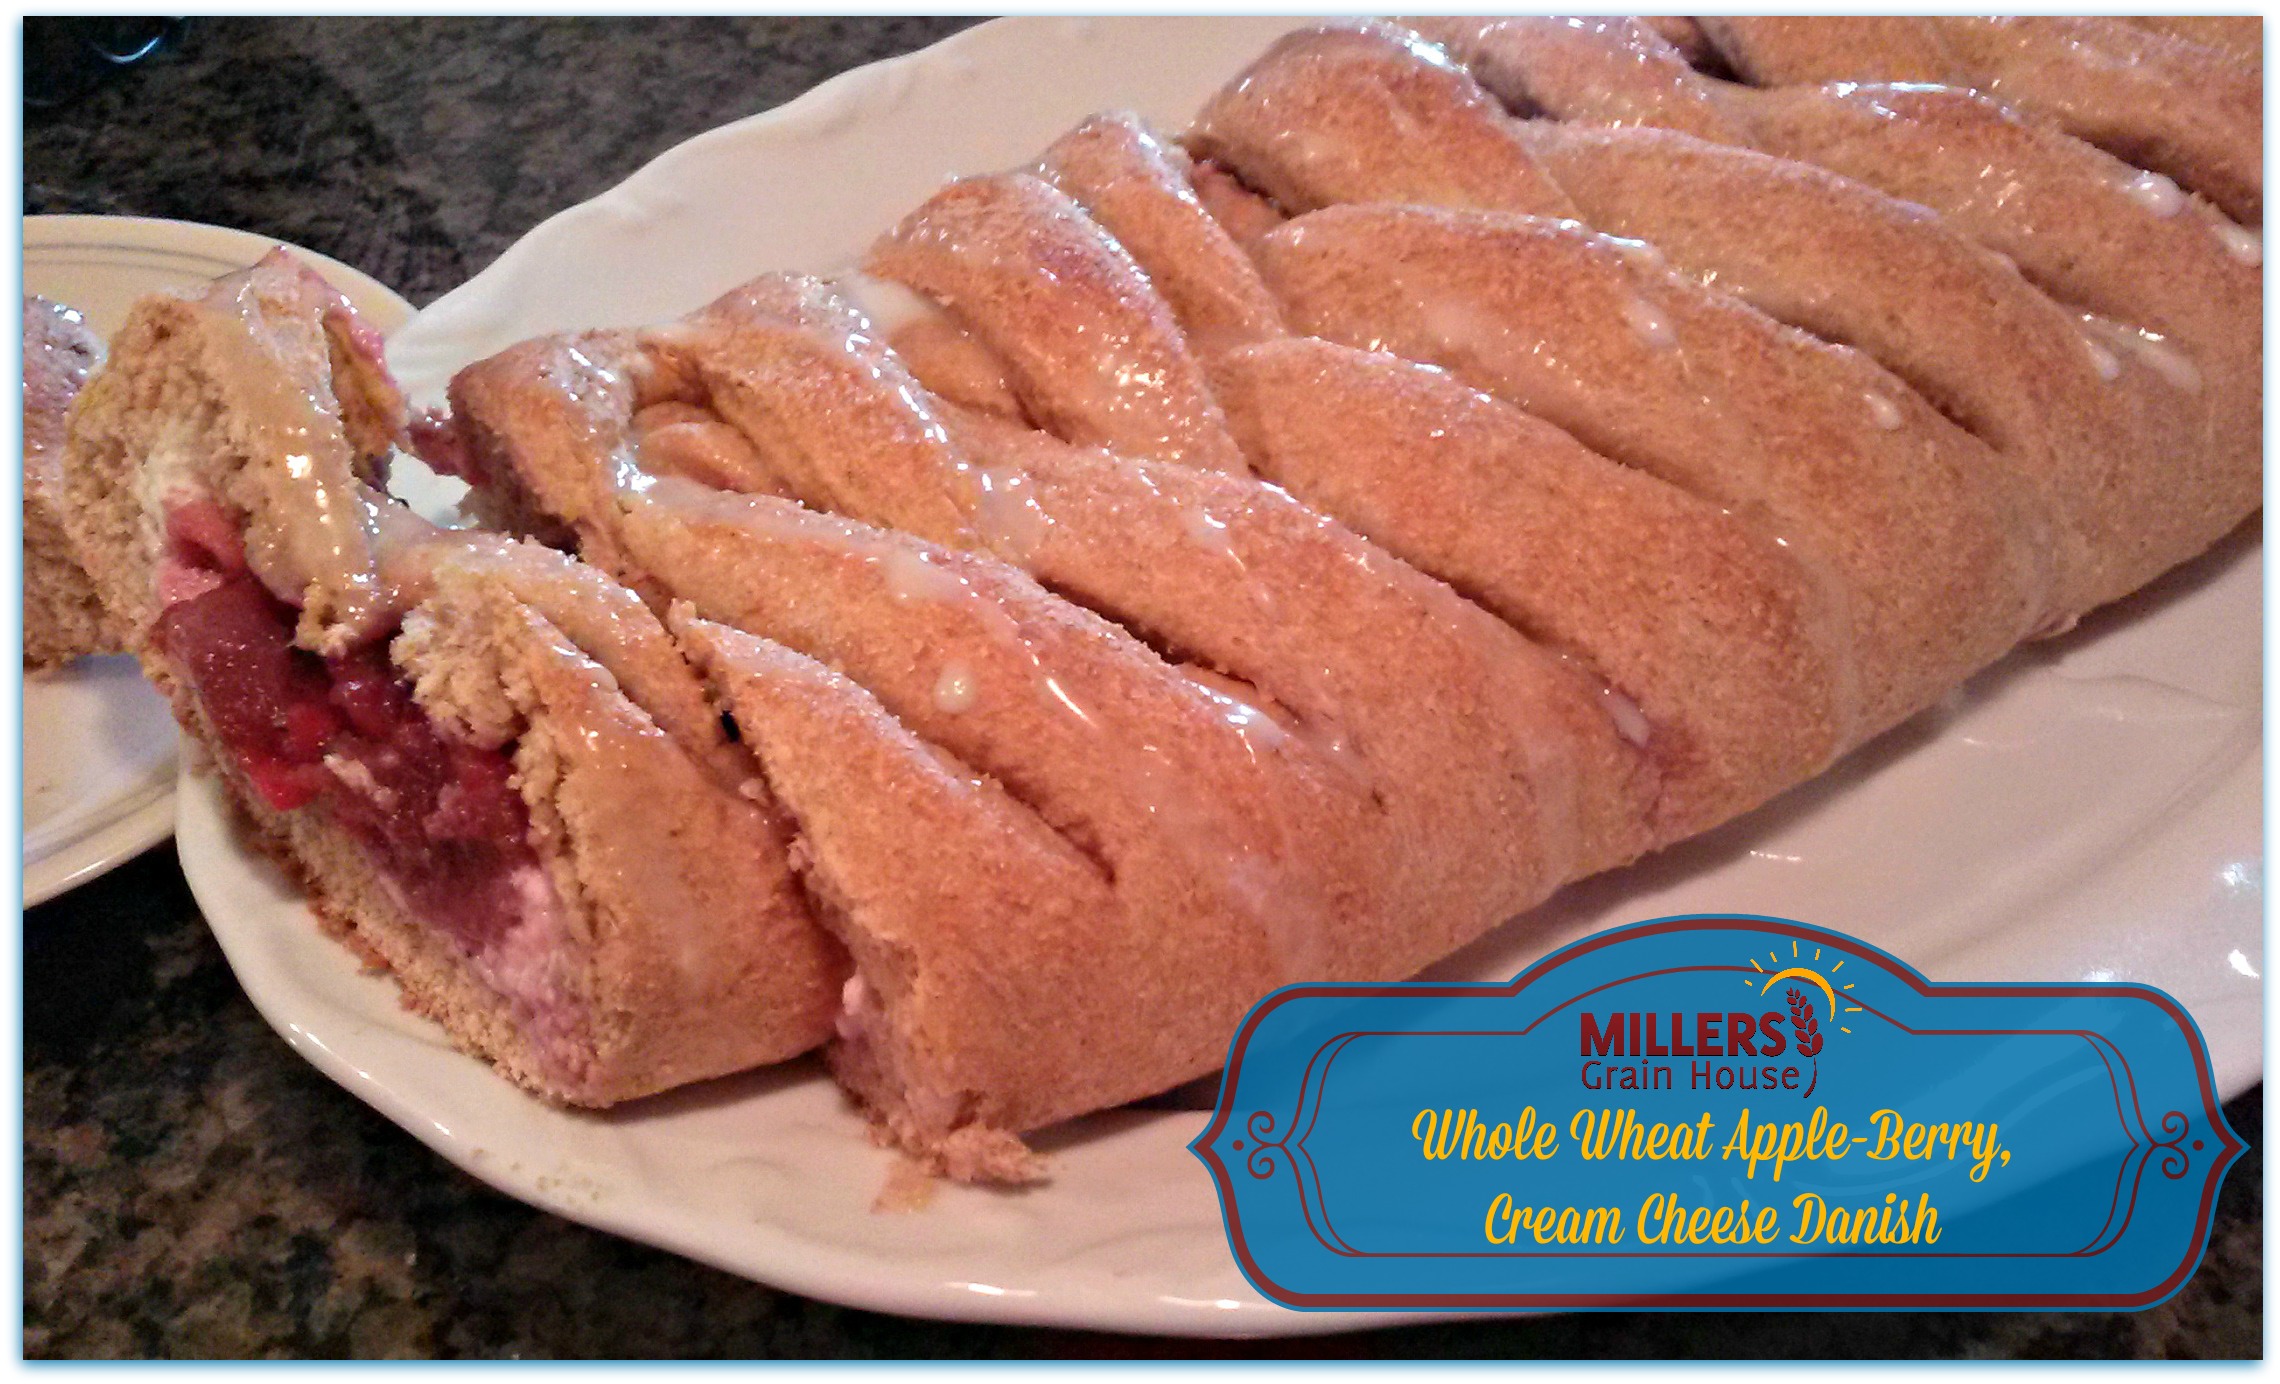
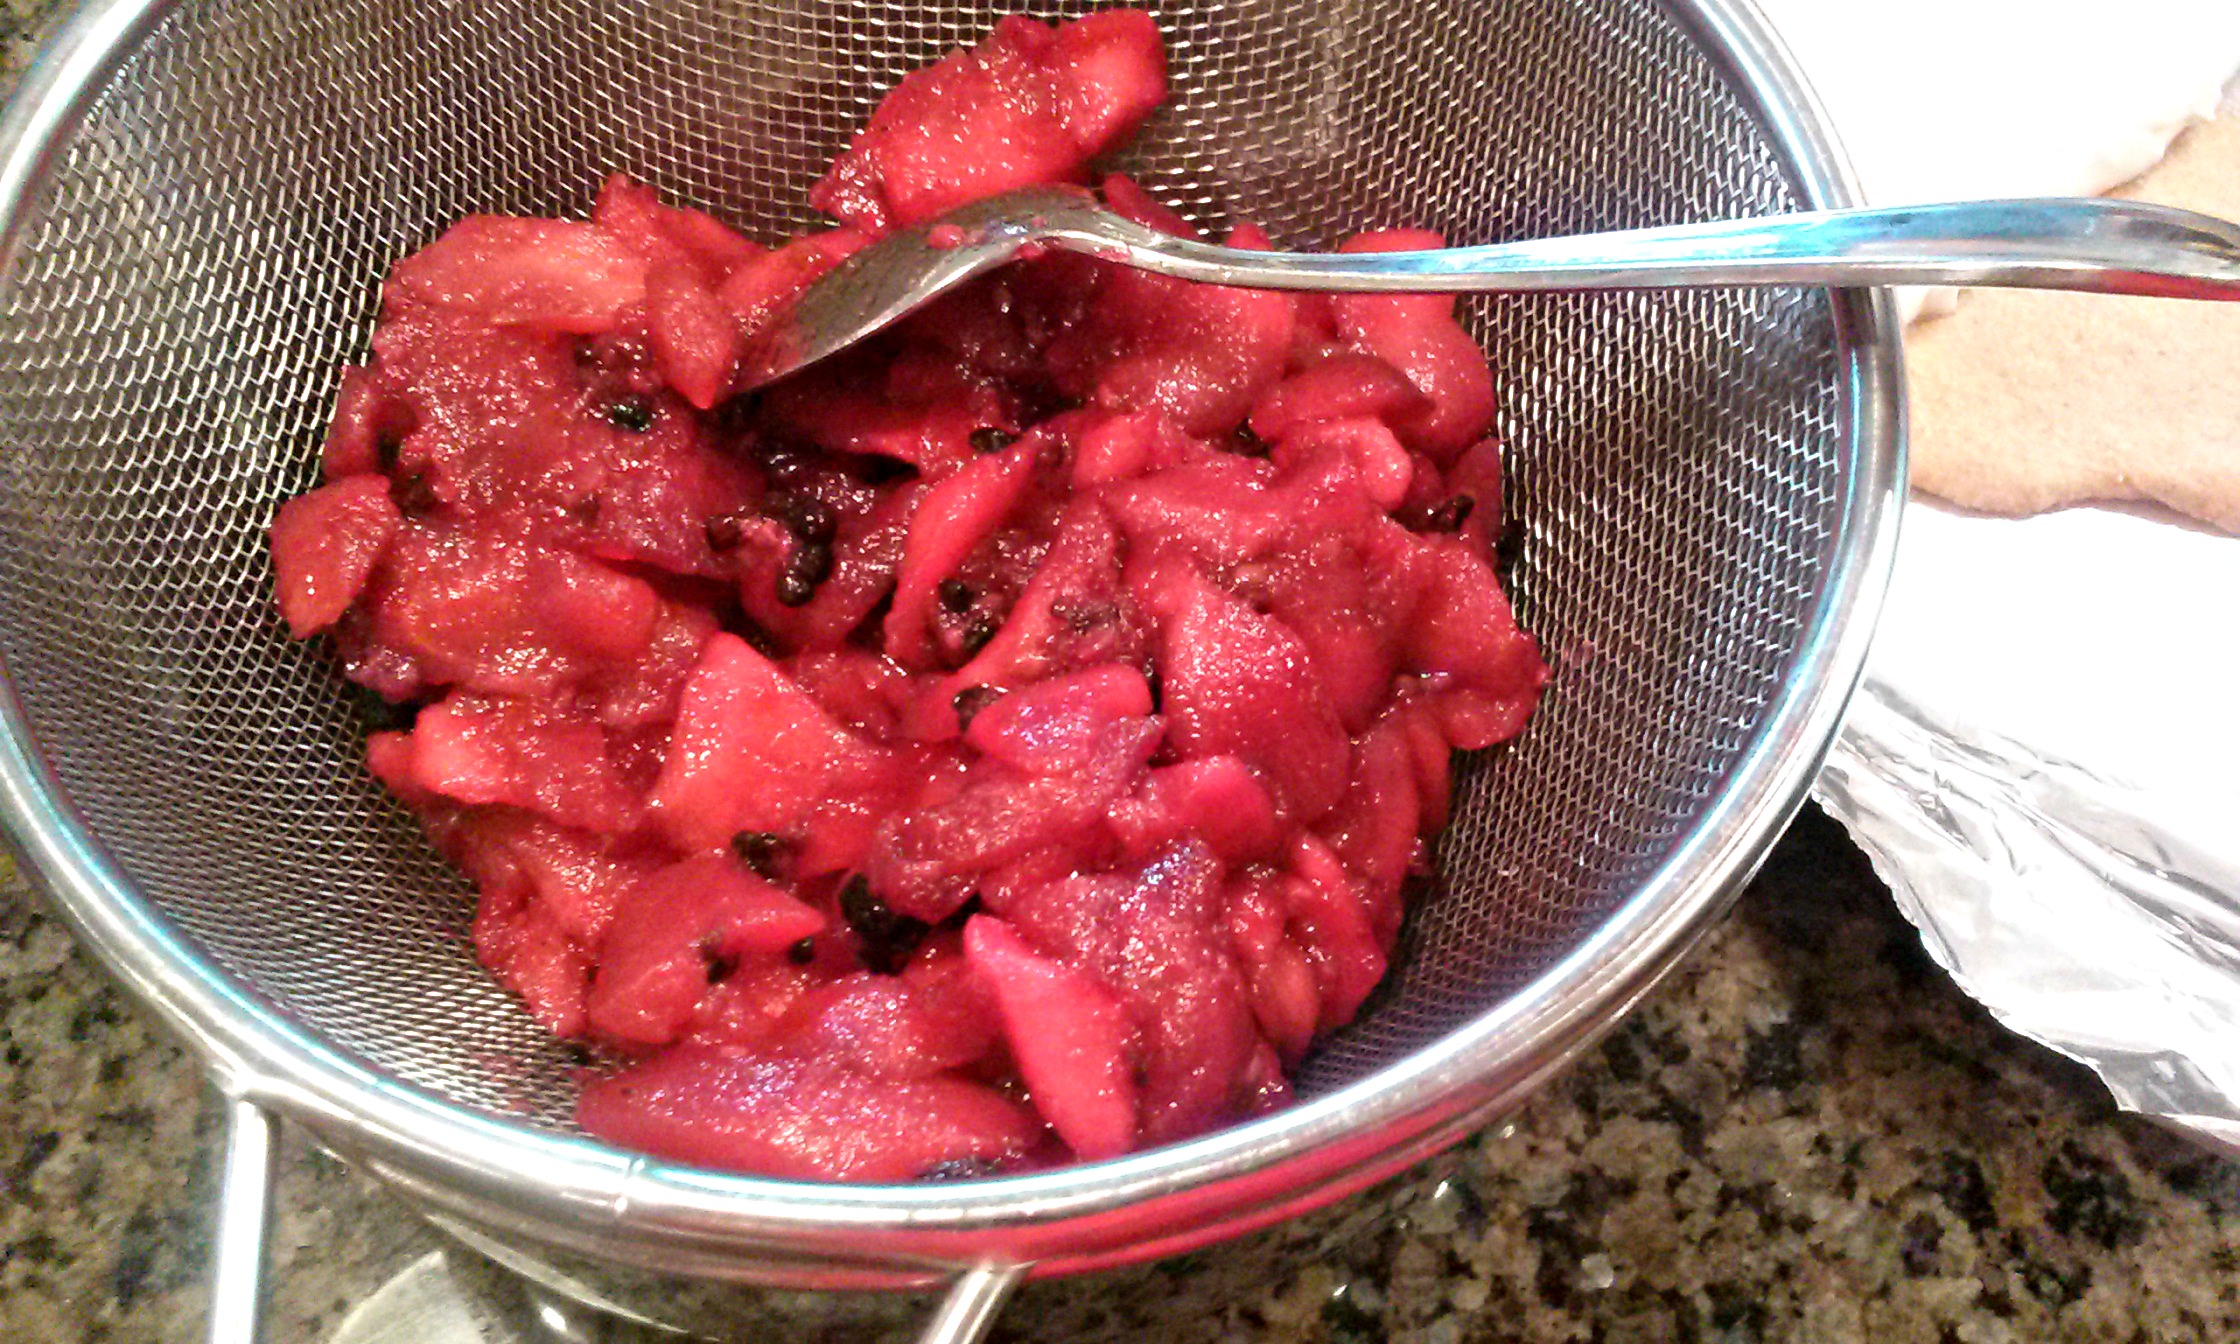 Then drain the fruit mixture and spoon it over the top of the cream cheese.
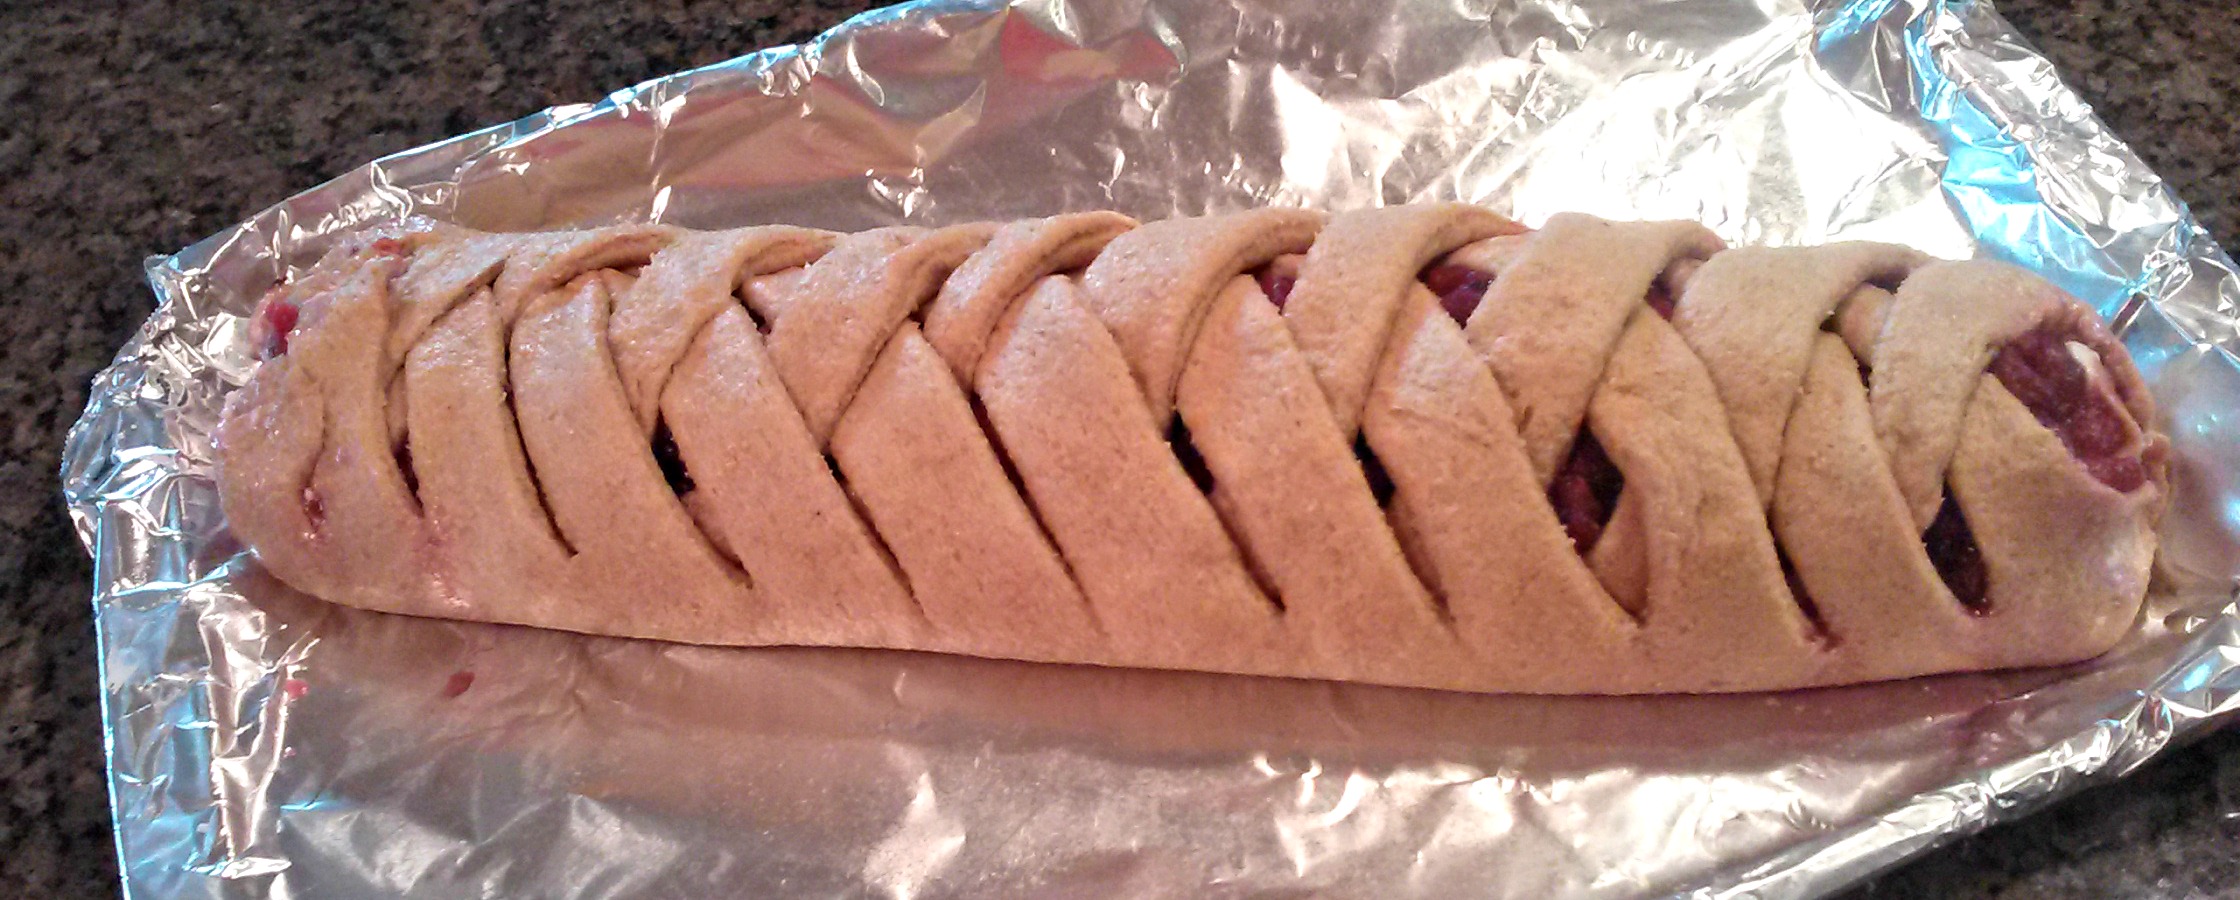
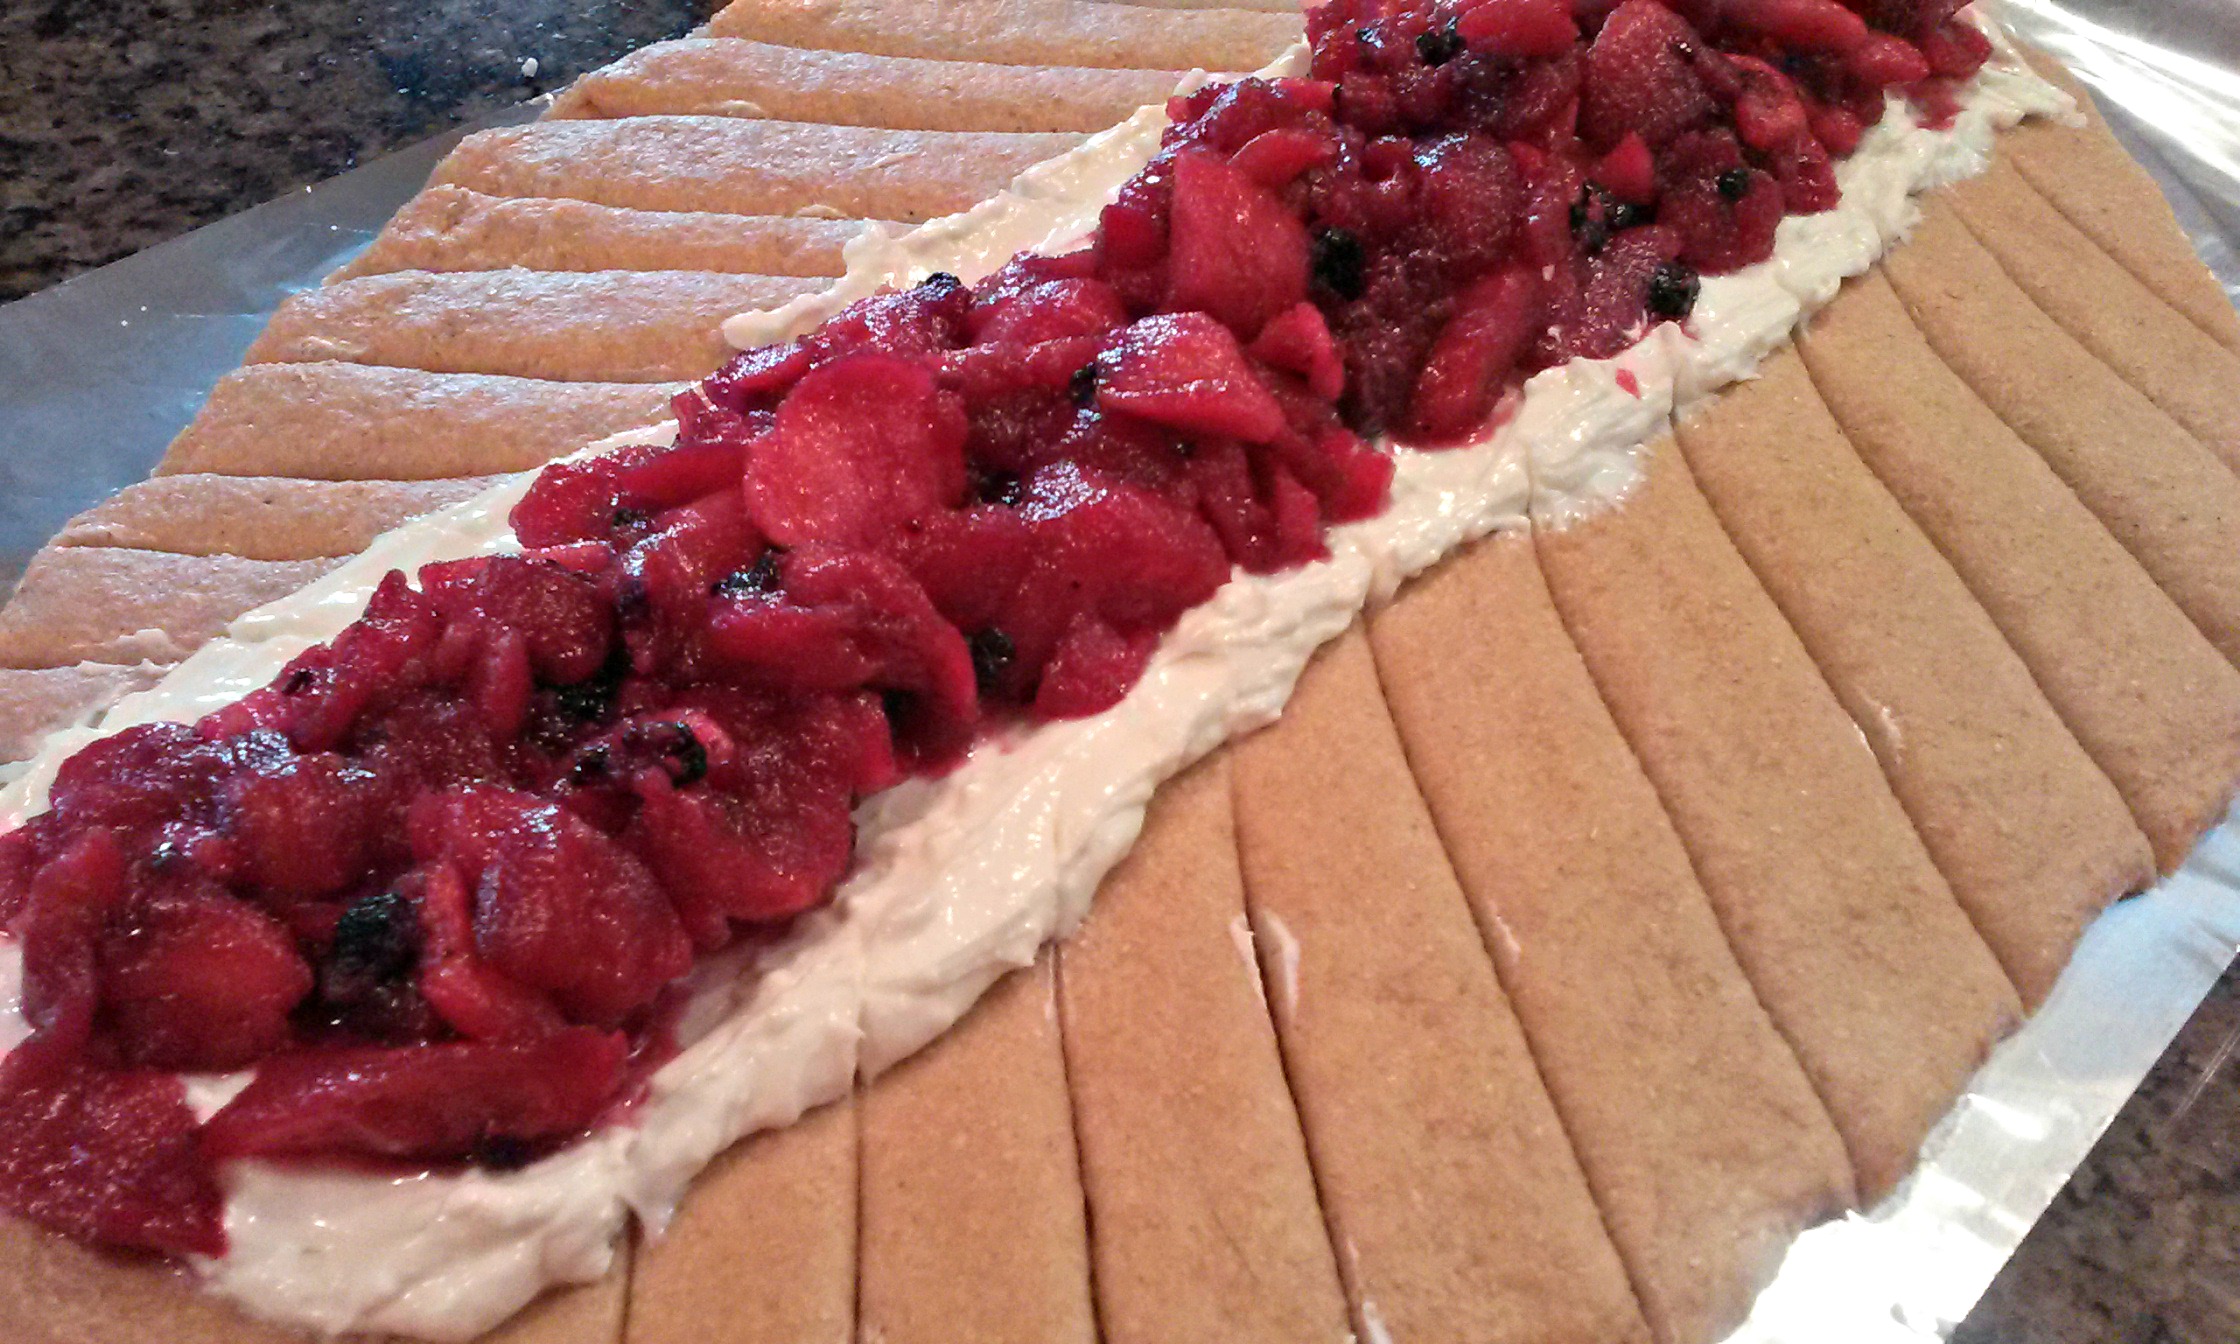 Then lift one side across and then the other working your way down until it is all finished.
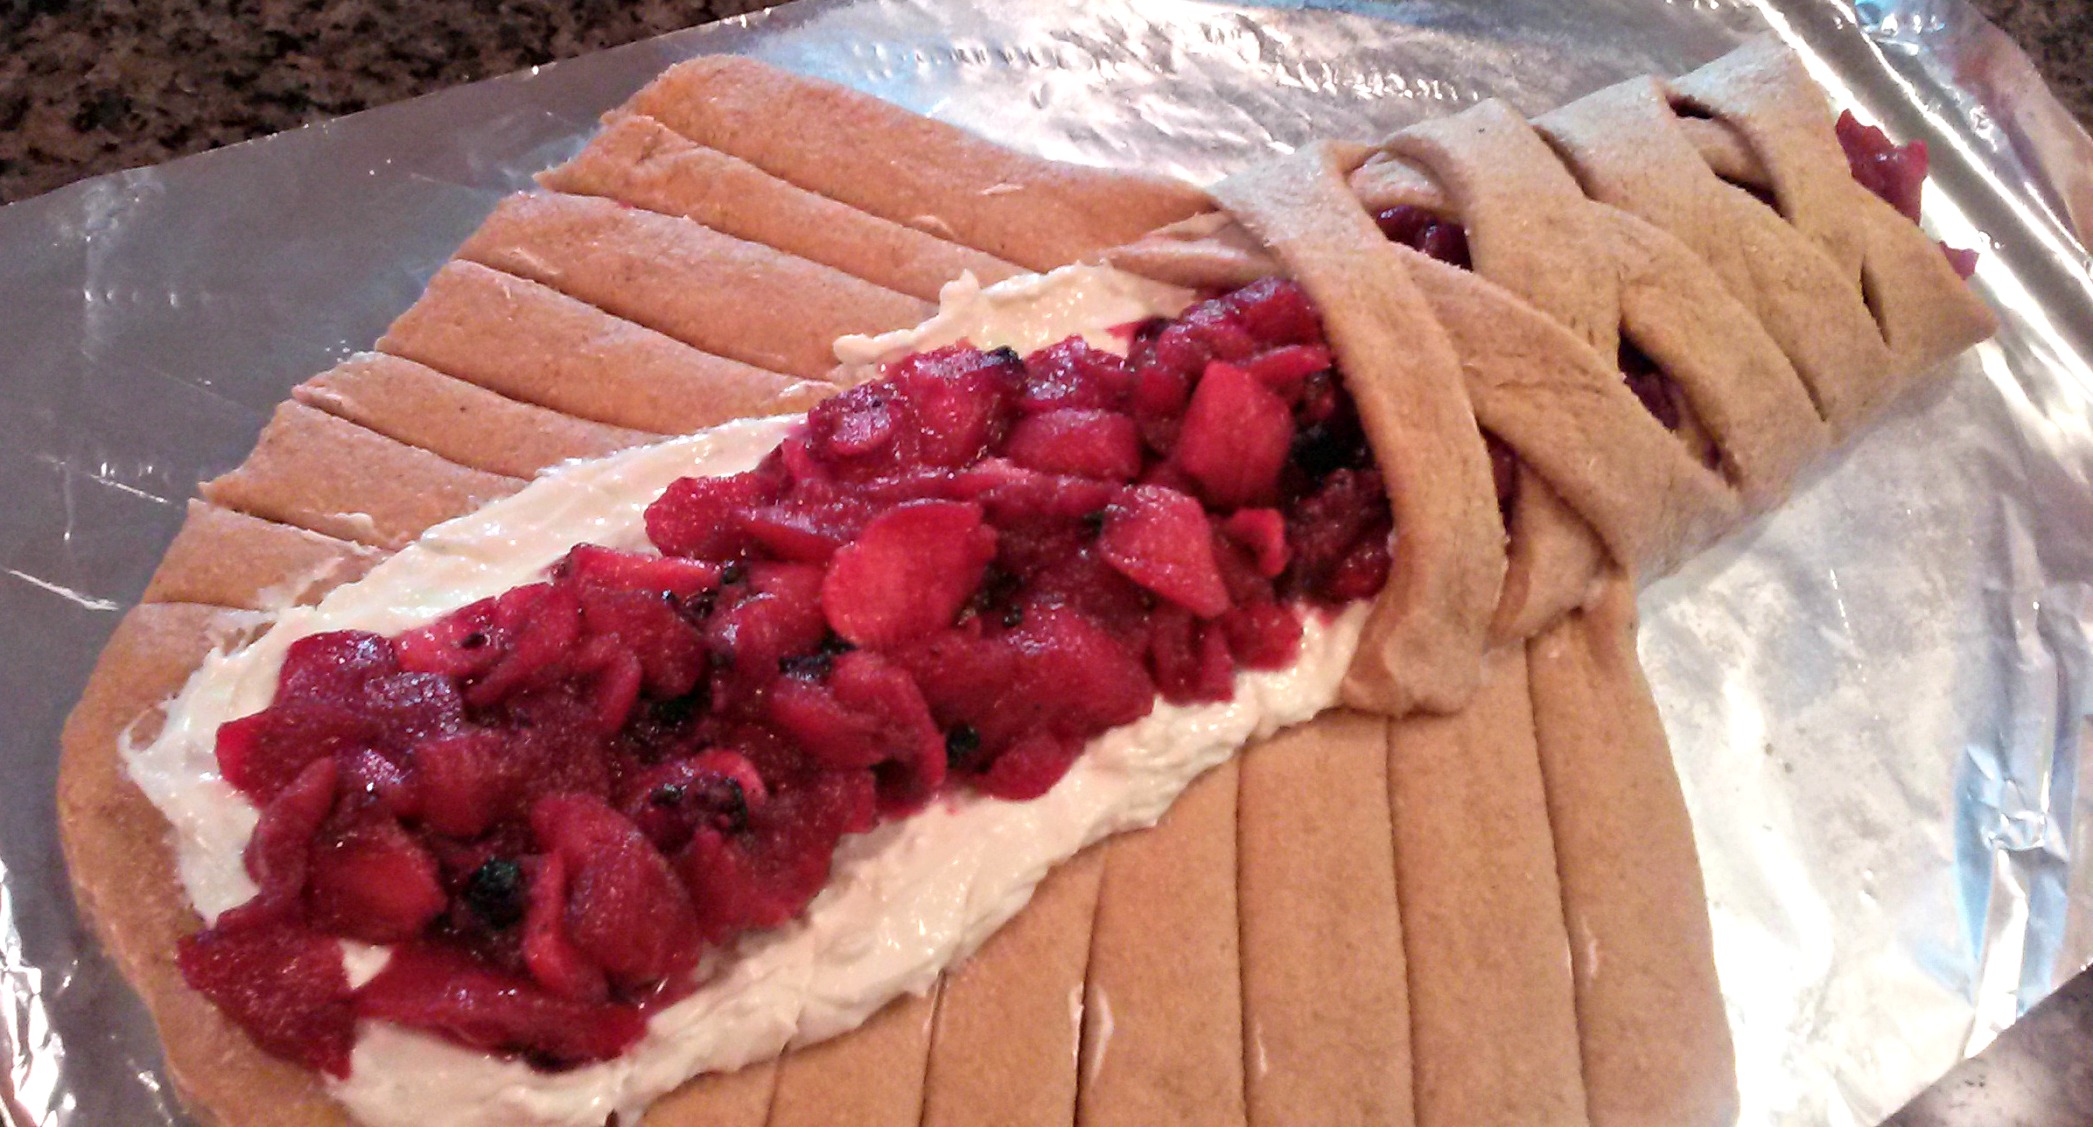
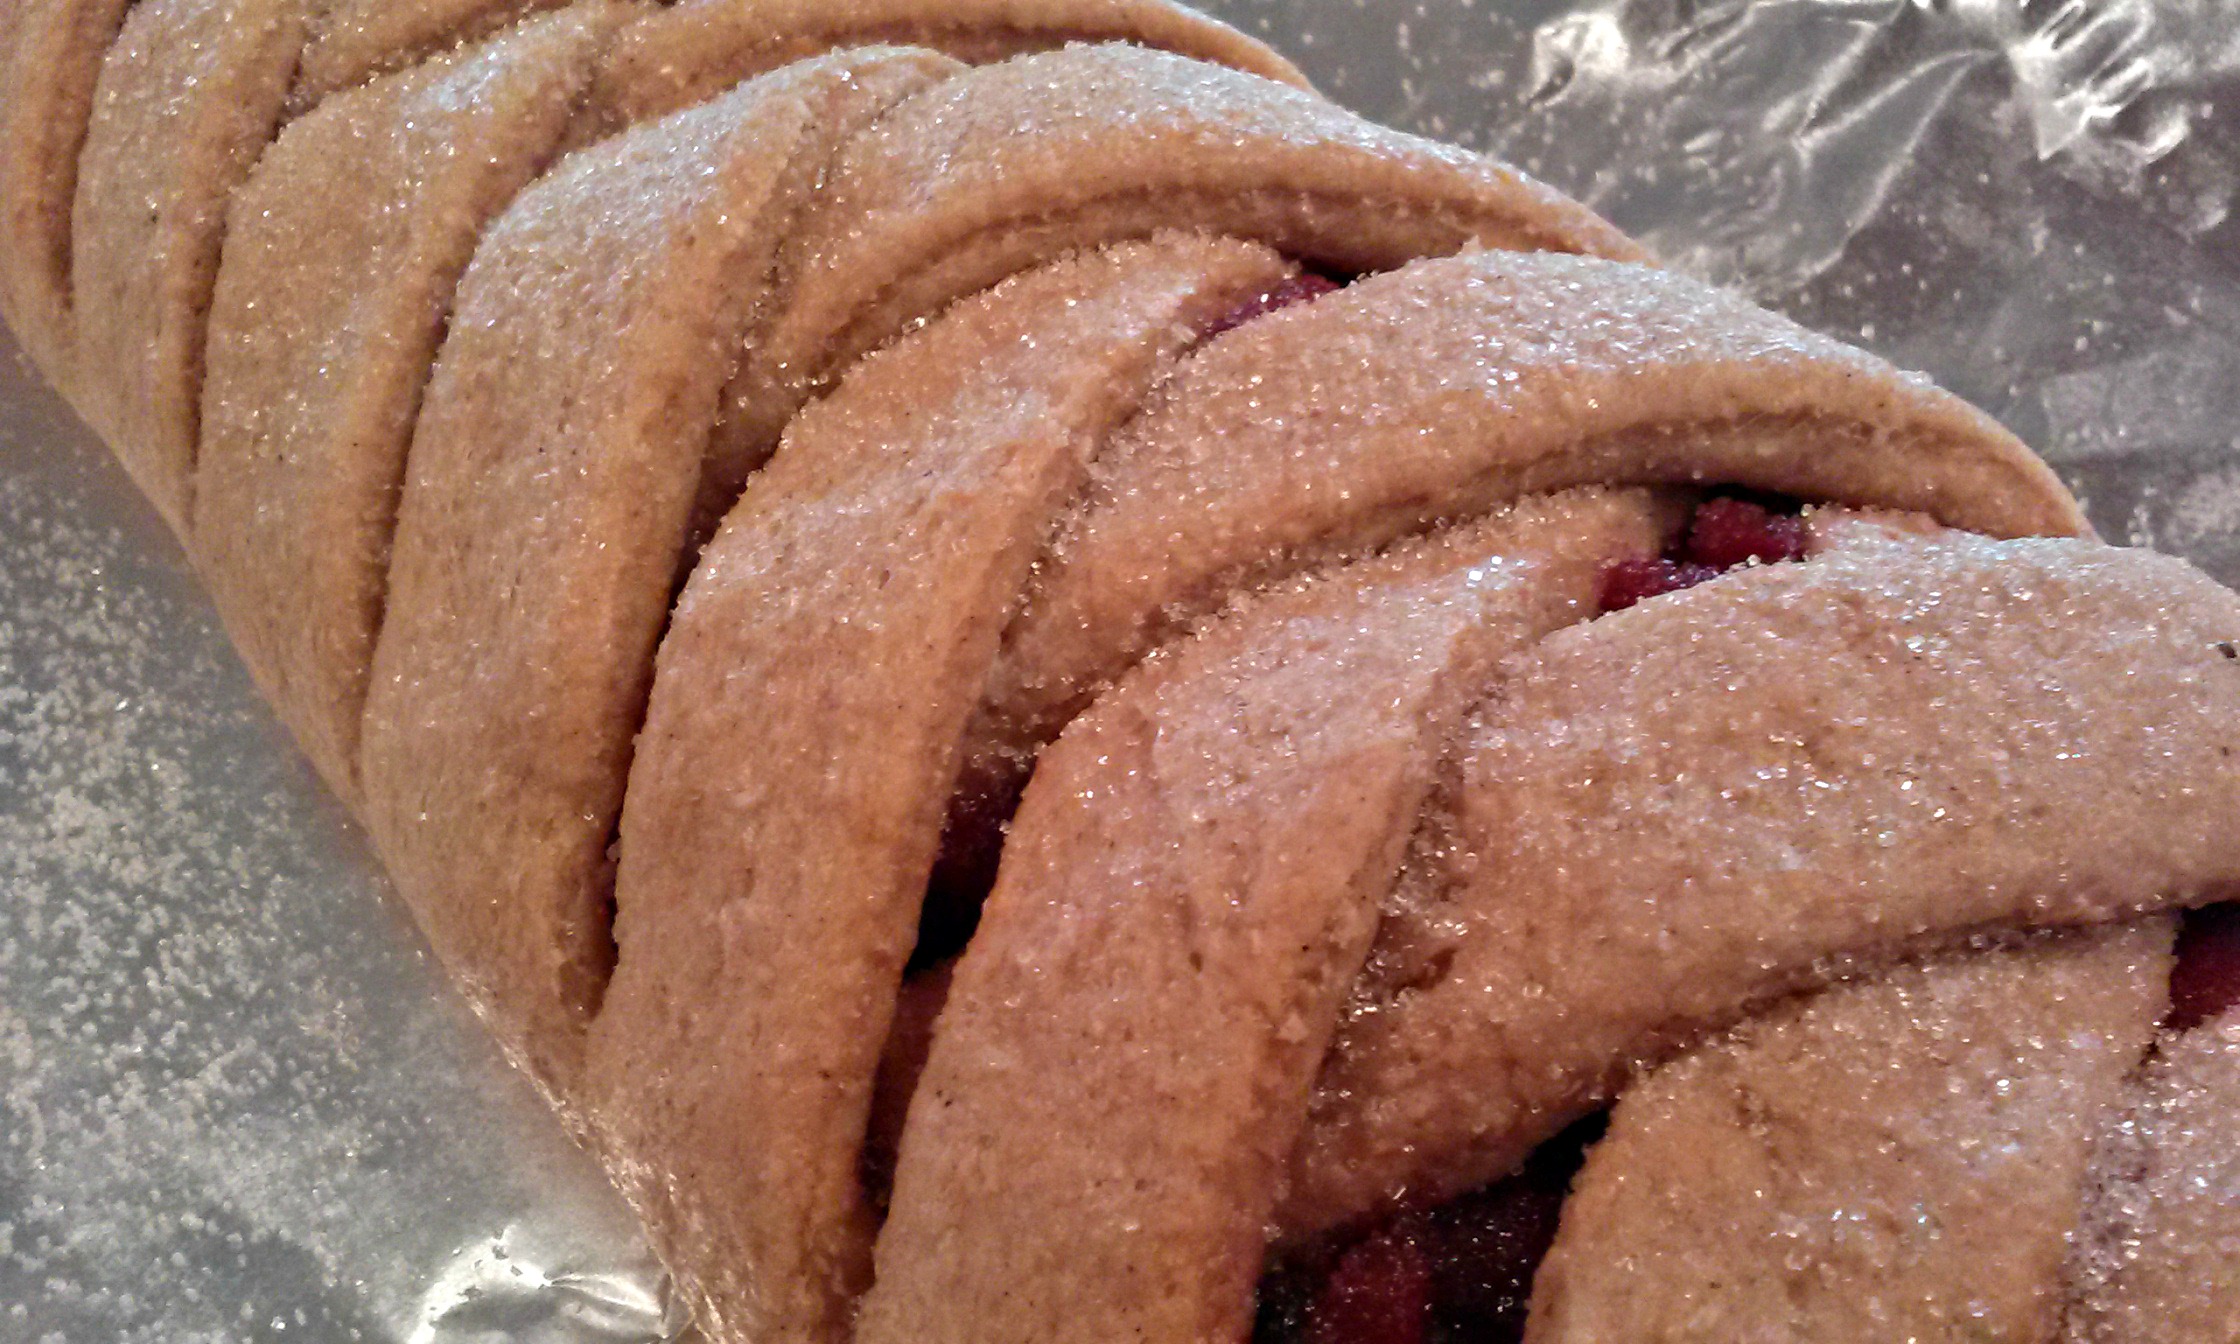
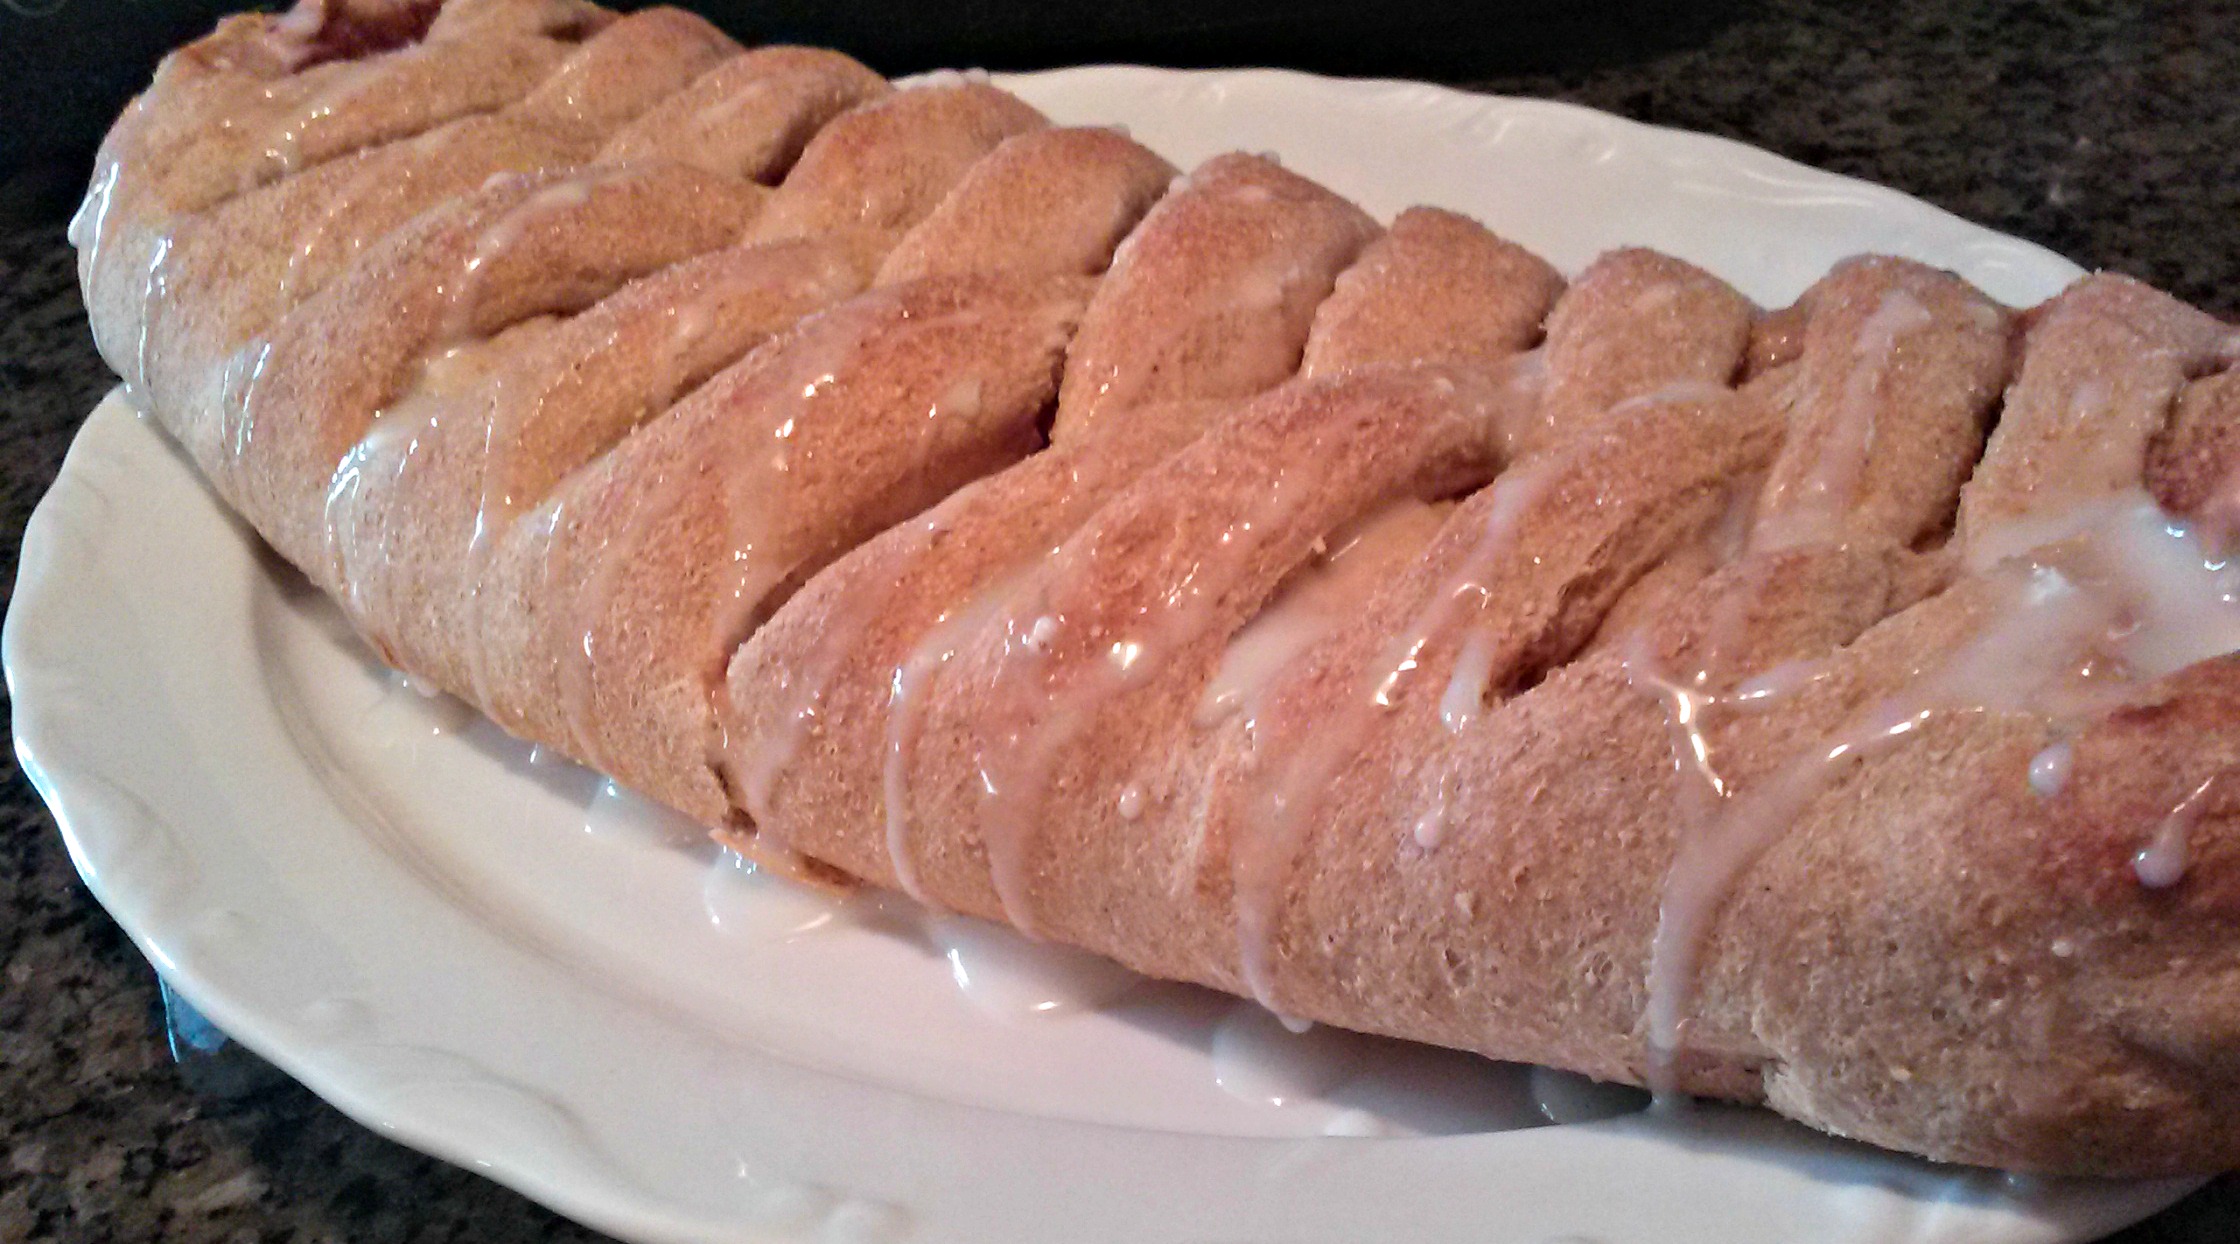
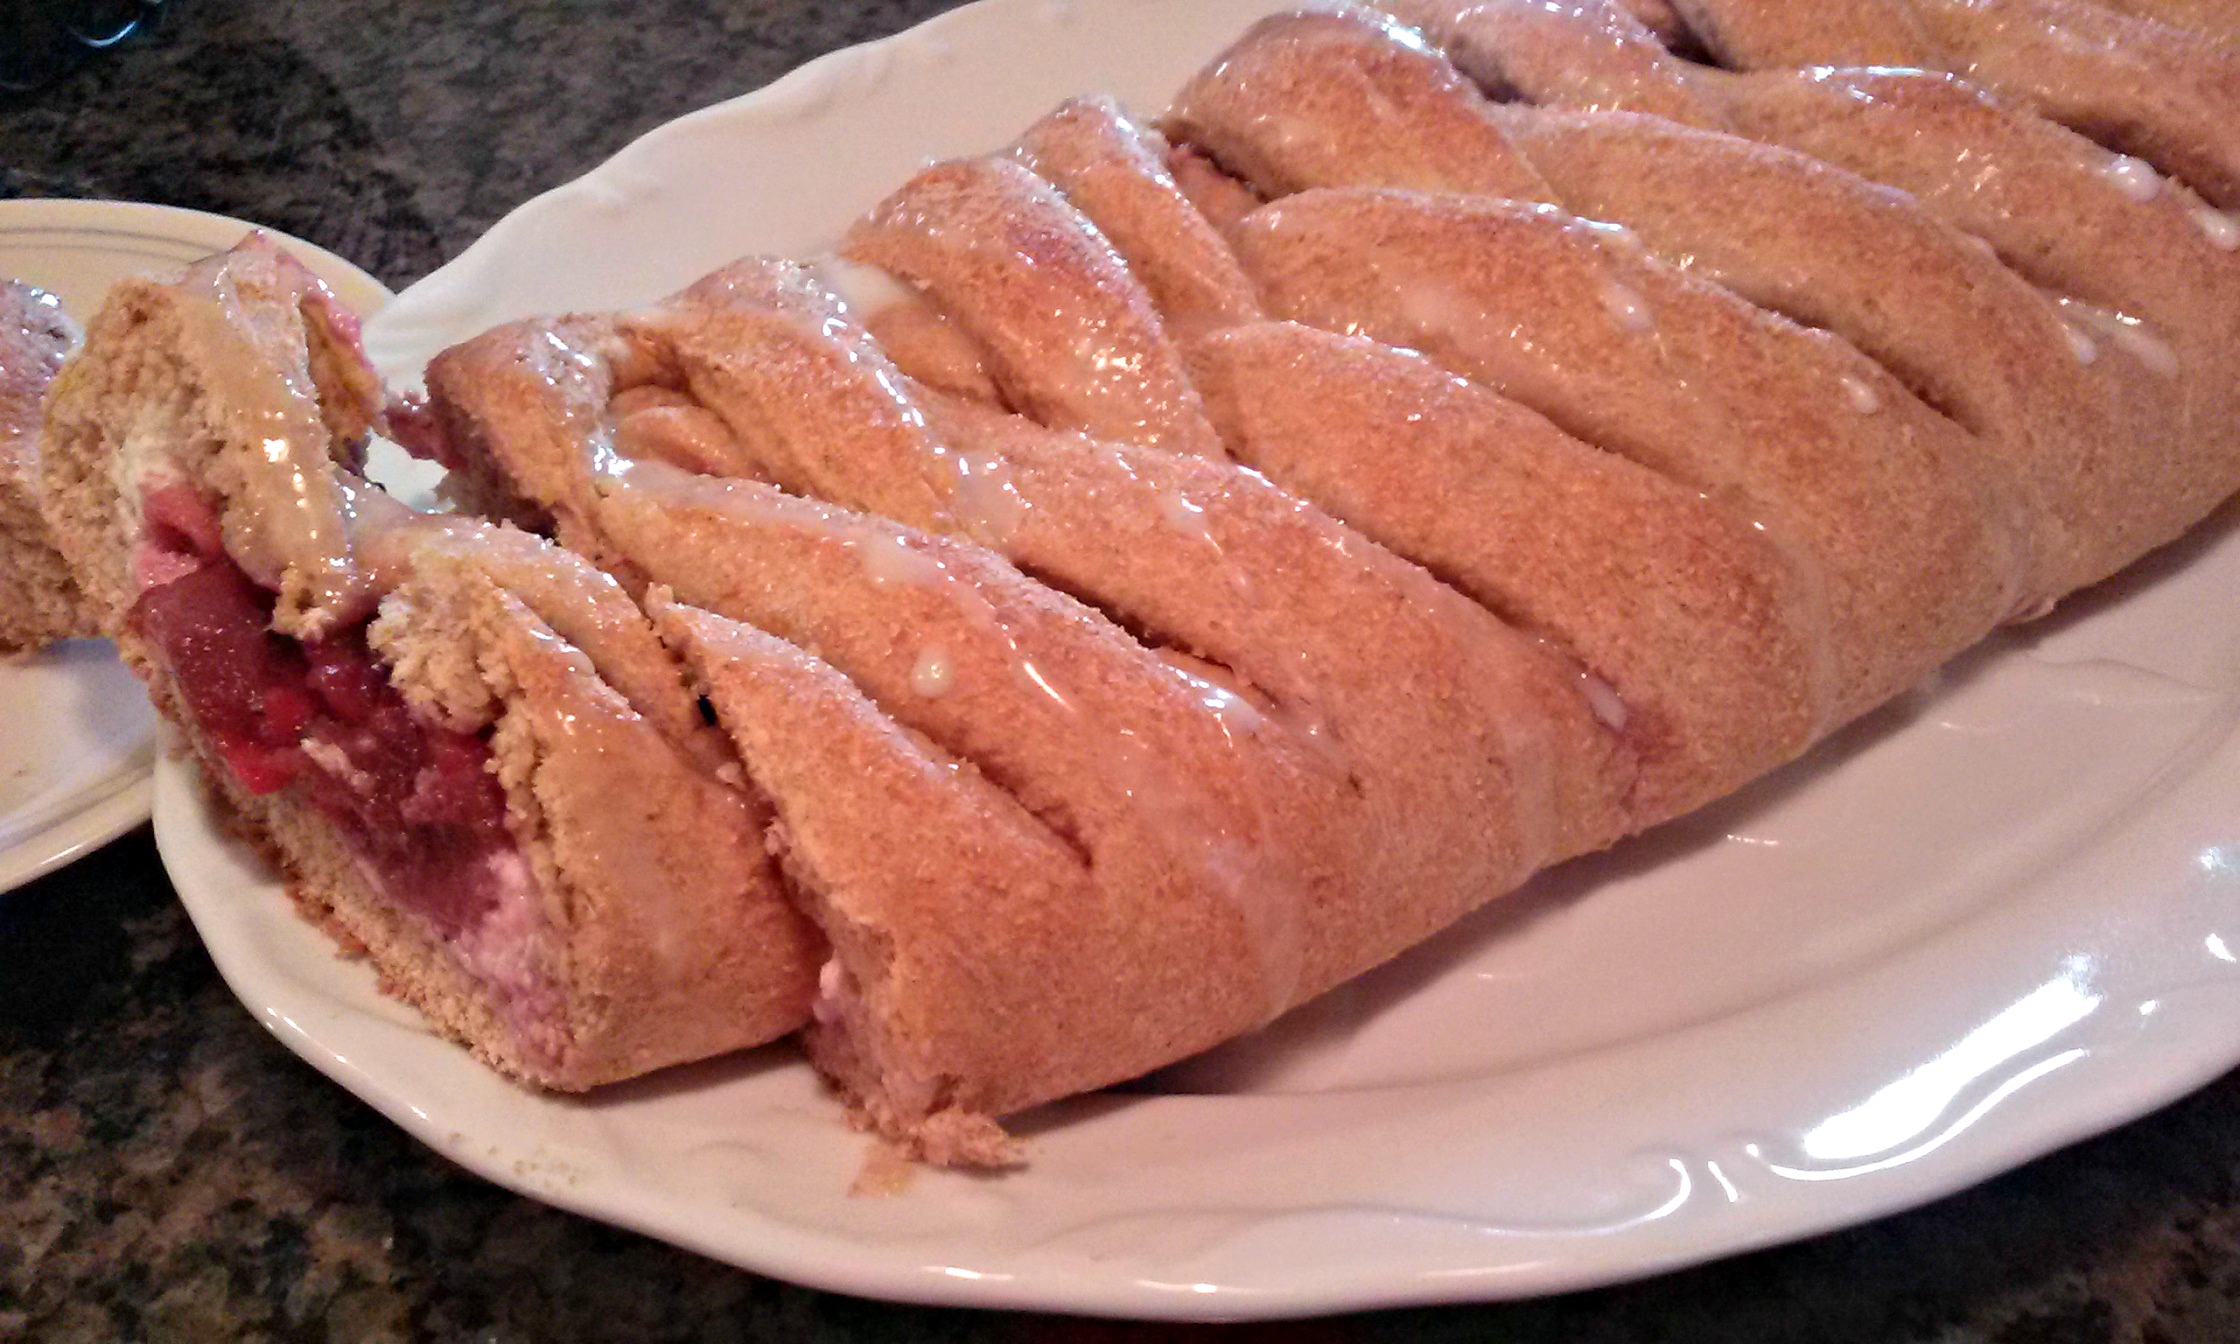

 When done, remove to cooling rack and resist the urge to cut for at least 10 minutes.