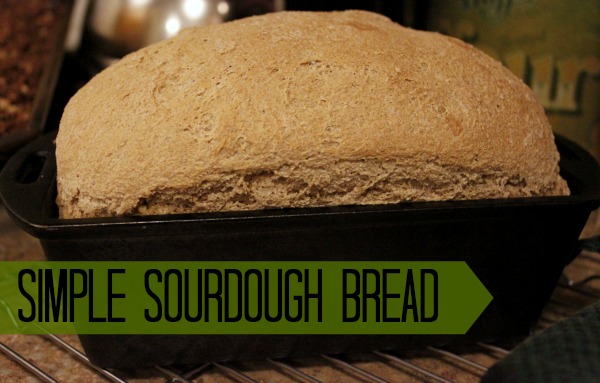
Super Simple Sourdough Bread

simple sourdough breadBread-baking is a complicated process, and sourdough bread baking is even more so. At least at first glance. When I was first married, I actually tried getting a sourdough starter going twice, and completely gave up because I had absolutely no idea what I was doing (even though I was trying to follow the directions in a book exactly).

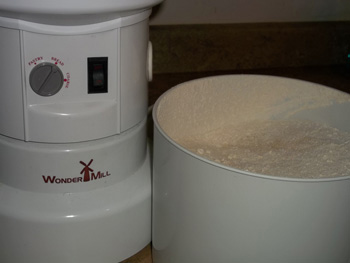
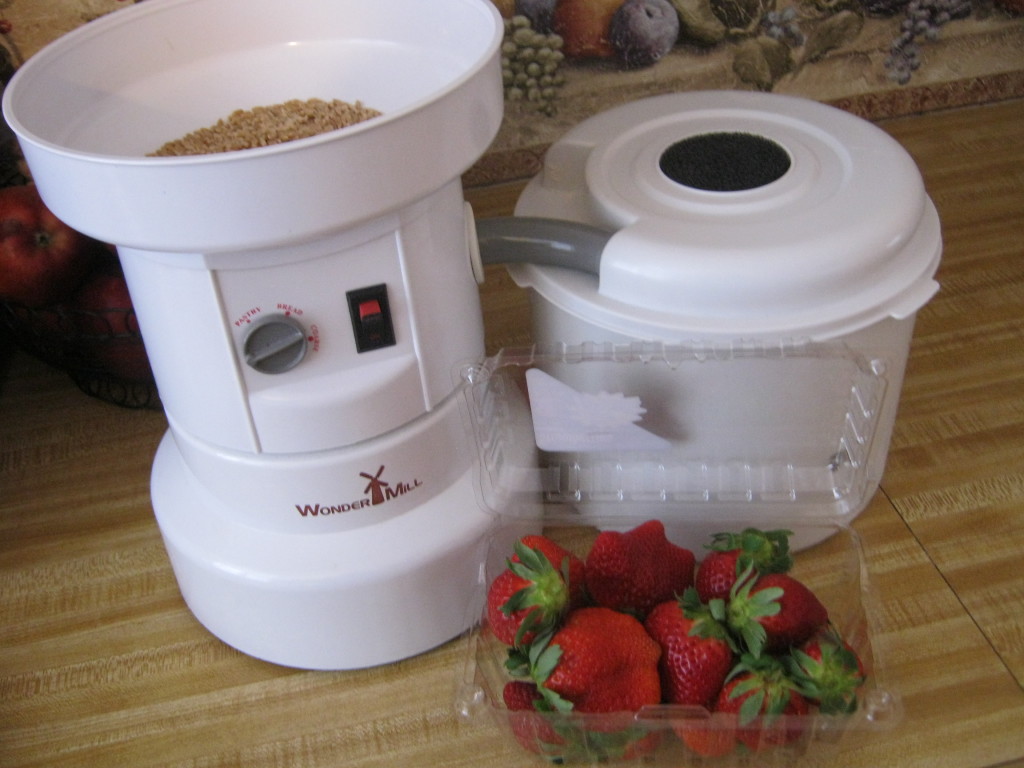
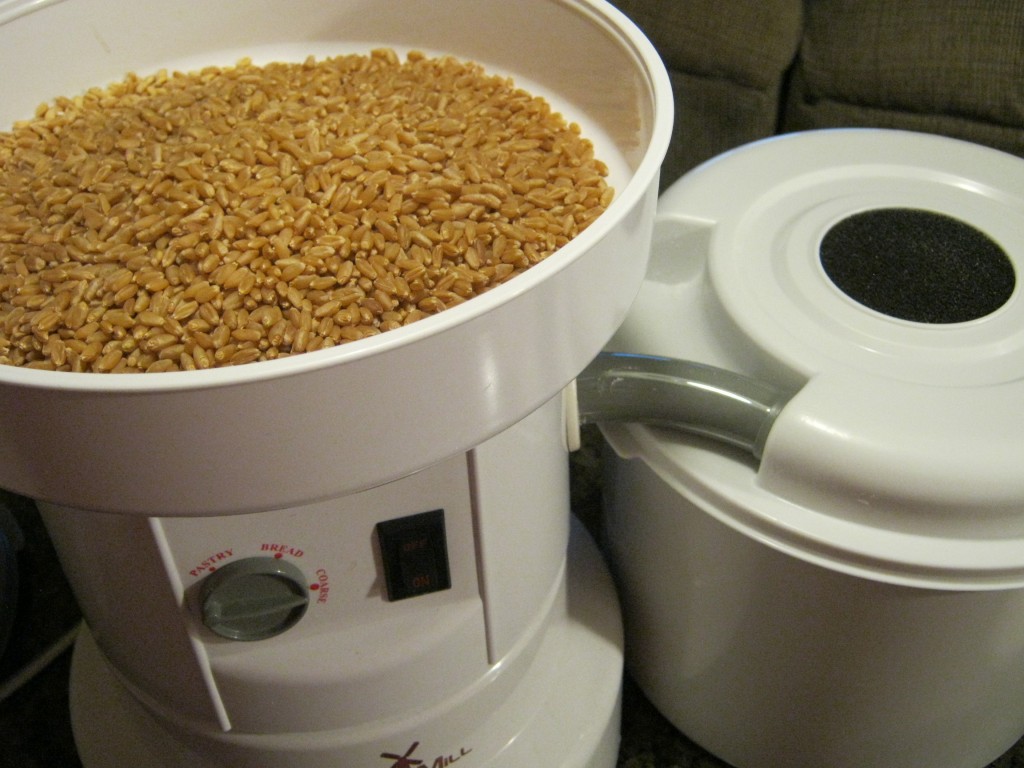
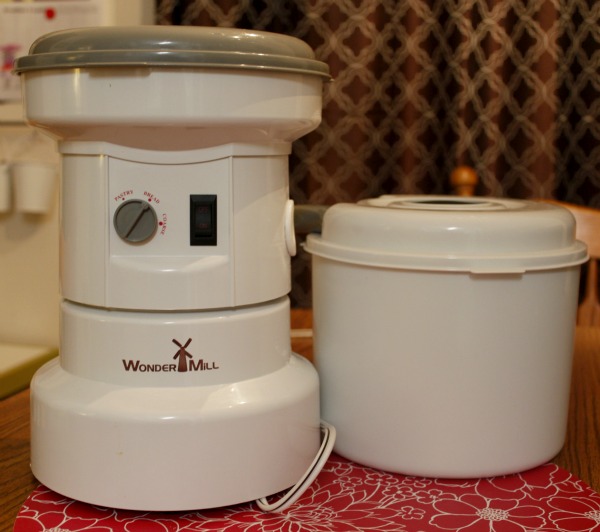
Now that I’ve been around the kitchen block – so to speak – a few times, I got up enough courage to give sourdough another go. This time, I read up the instructions on a few blogs (namely, this great tutorial at Creating Naturally) and armed myself with more information and know-how from the get-go. And this time, I had success!wondermill grain mill
And I discovered that sourdough is not as complicated as it seems. Once you learn the basic procedure, it’s actually – in my humble opinion – a super simple way to make a delicious and healthy loaf of whole-grain bread. spelt flour
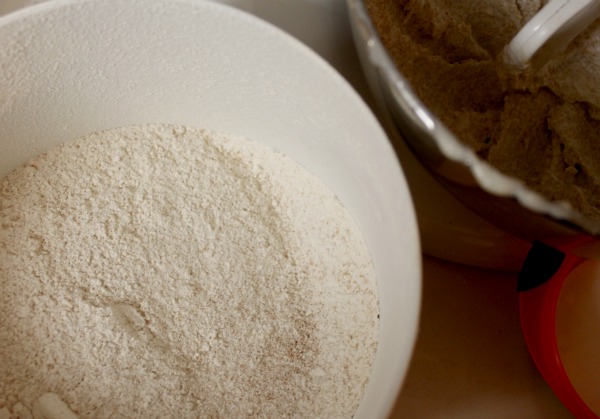
Of course, you’re going to need a sourdough starter if you want to make sourdough bread. I’ve got some instructions to get you going on your sourdough here. You will also need a scale. While you can begin your starter using measuring cups, this particular method of baking a loaf of sourdough bread requires a scale. Thankfully, they’re relatively inexpensive and have lots of uses in the kitchen, so it’s a worthy investment. sliced sourdough
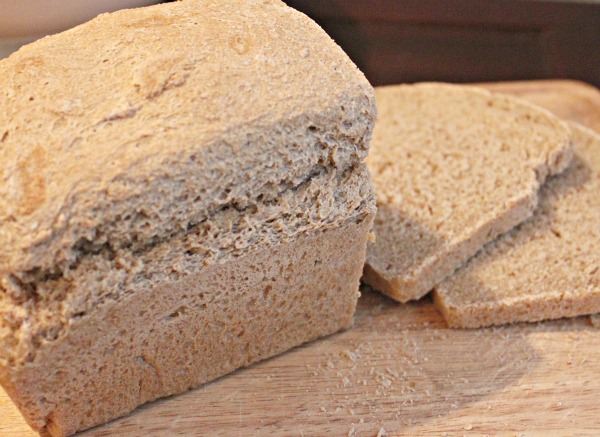
And now, let’s get started on our whole-grain sourdough bread. This recipe is based on a formula originally found on a French blog, which I’ve used almost exclusively for the past 7-8 months in my bread-baking. I’ve even baked it in the crock pot!

5.0 from 1 reviews
Super Simple Sourdough Bread
 
a simple method for baking delicious loaves of sourdough bread
Author:
Recipe type: Bread
Ingredients
  • 250 grams sourdough starter
  • 500 grams de-chlorinated water
  • 750 grams freshly ground wheat or spelt flour
  • 5 grams sea salt
Instructions
  1. Set a large mixing bowl on the scale and pour in the required amount of starter. Zero out the scale and add the water. Stir the water into the starter.
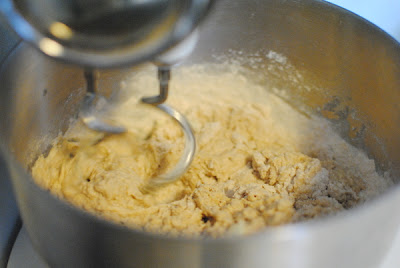
  2. Zero out the scale and measure in the freshly ground flour. Stir until all ingredients are combined and you have a soft, sticky dough.
  3. Let the dough rest for 10-15 minutes.
  4. Add the salt and then knead the dough until it passes the "window pane test" (To perform the window pane test, grab a generous pinch of dough, and press it between your fingers like you're making a mini pizza crust. Keep pressing it, and turning it in circles as you go. If you can press it thin enough that you can see through it, it's passed the window pane test, but if it breaks before you get to that point, it needs to be kneaded a little longer.)
  5. Grease a large bowl and place the dough in it, then flip the dough so the greased side is on top. Allow to rise until doubled (I usually let mine rise 6-8 hours or even more).
  6. Grease a loaf pan well. Punch down the dough and shape it into a loaf and place it in the pan. Allow it to rest for 30 minutes or so.
  7. Bake at 400F for 25-30 minutes or until bread is golden brown on top and smells like heaven. Let it cool for 10-15 minutes then remove from pan to cool completely on a wire rack.

A few notes about this recipe:

  1. I’ve used both spelt and wheat (and even random mixtures but mostly wheat- or spelt-based) flours with great success. Spelt flour makes a slightly stickier and looser dough, so sometimes I’ll reduce the water just by a bit when using spelt. Or, if it’s really sticky, I add a little bit of extra flour (a tablespoon at a time) during the kneading process, until I get the desired texture. 
  2. You can make this dough into dinner rolls, too, just be sure to brush some butter on the tops right after baking to soften them a little. And, clearly, don’t bake them for quite as long.
  3. You can mix this dough up in a bowl with a spoon and knead it by hand… but a stand mixer makes it a LOT easier! This amount of dough is about the maximum my mixer can handle so this is the size of loaf I typically make.
  4. A cast iron loaf pan makes an amazing loaf of bread. Just sayin’. If you don’t have one, you want one.
Posted in Recipes | Tagged , | 1 Comment

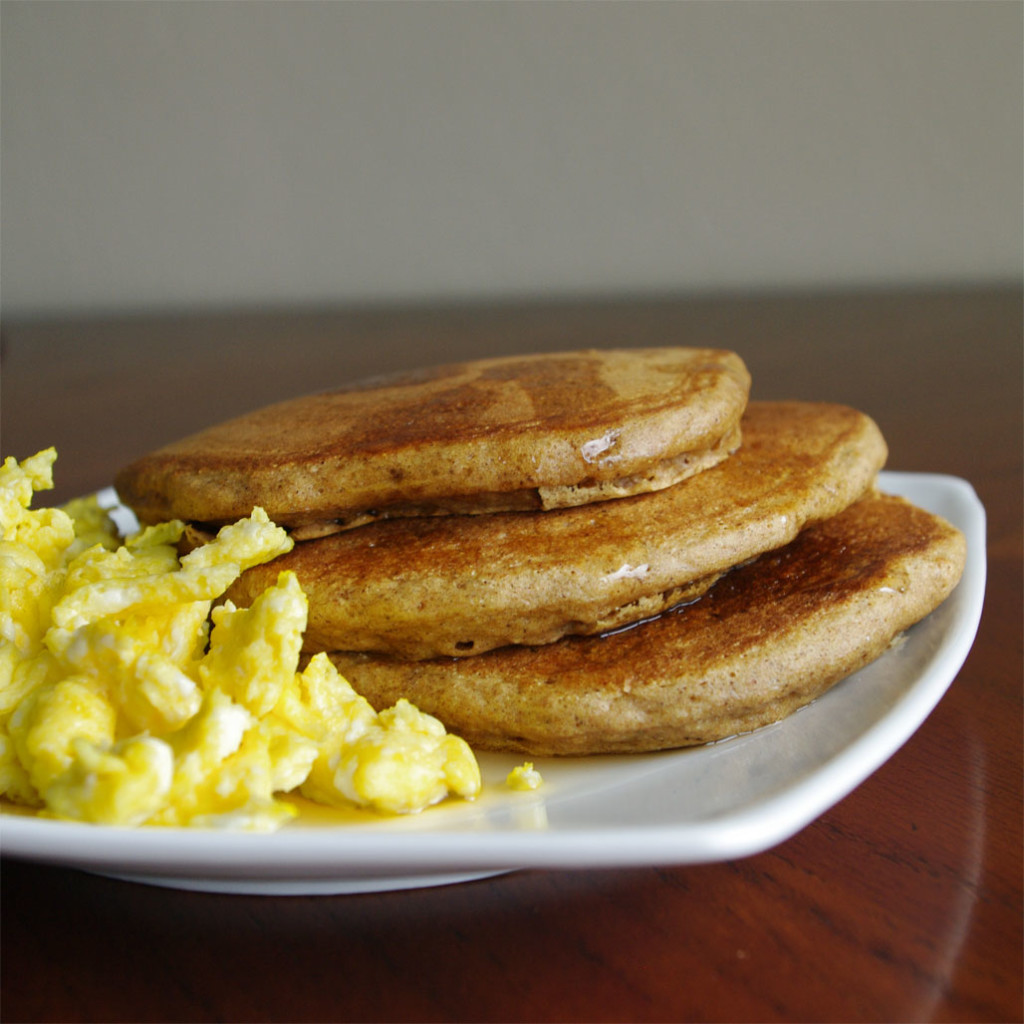
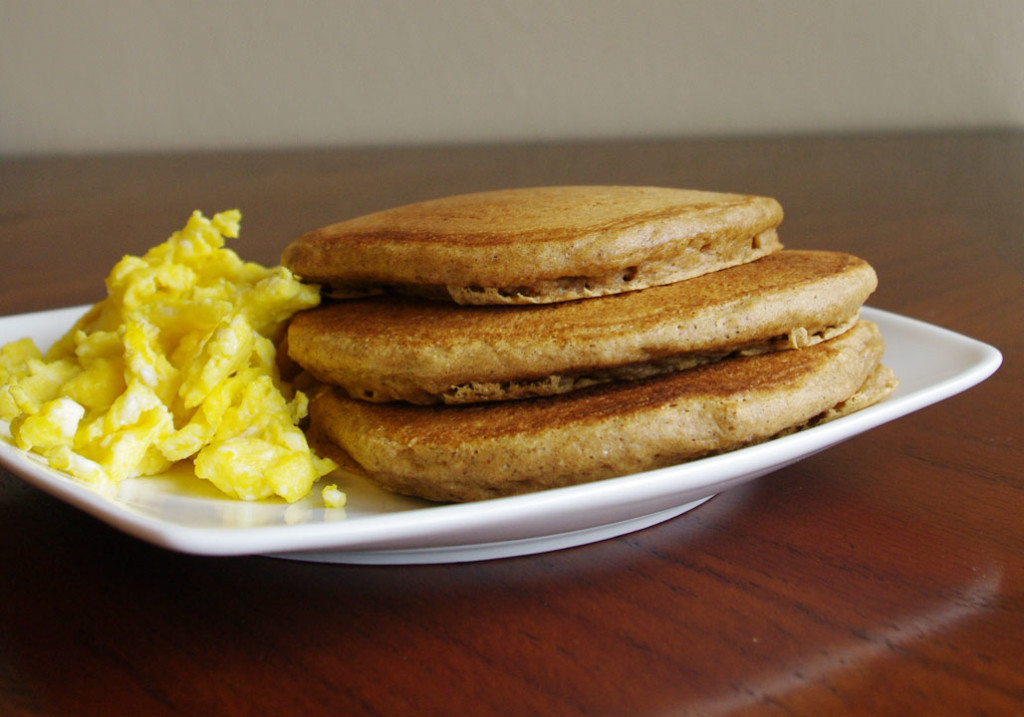
Spelt Gingerbread Pancakes

Spelt Gingerbread Pancakes

WonderMill grain millGingerbread and pancakes were just bound to come together, what a great combination. Take those to and add some whole grain flour and  we have a healthy treat for breakfast, or if you are like us we eat pancakes for lunch or dinner also.

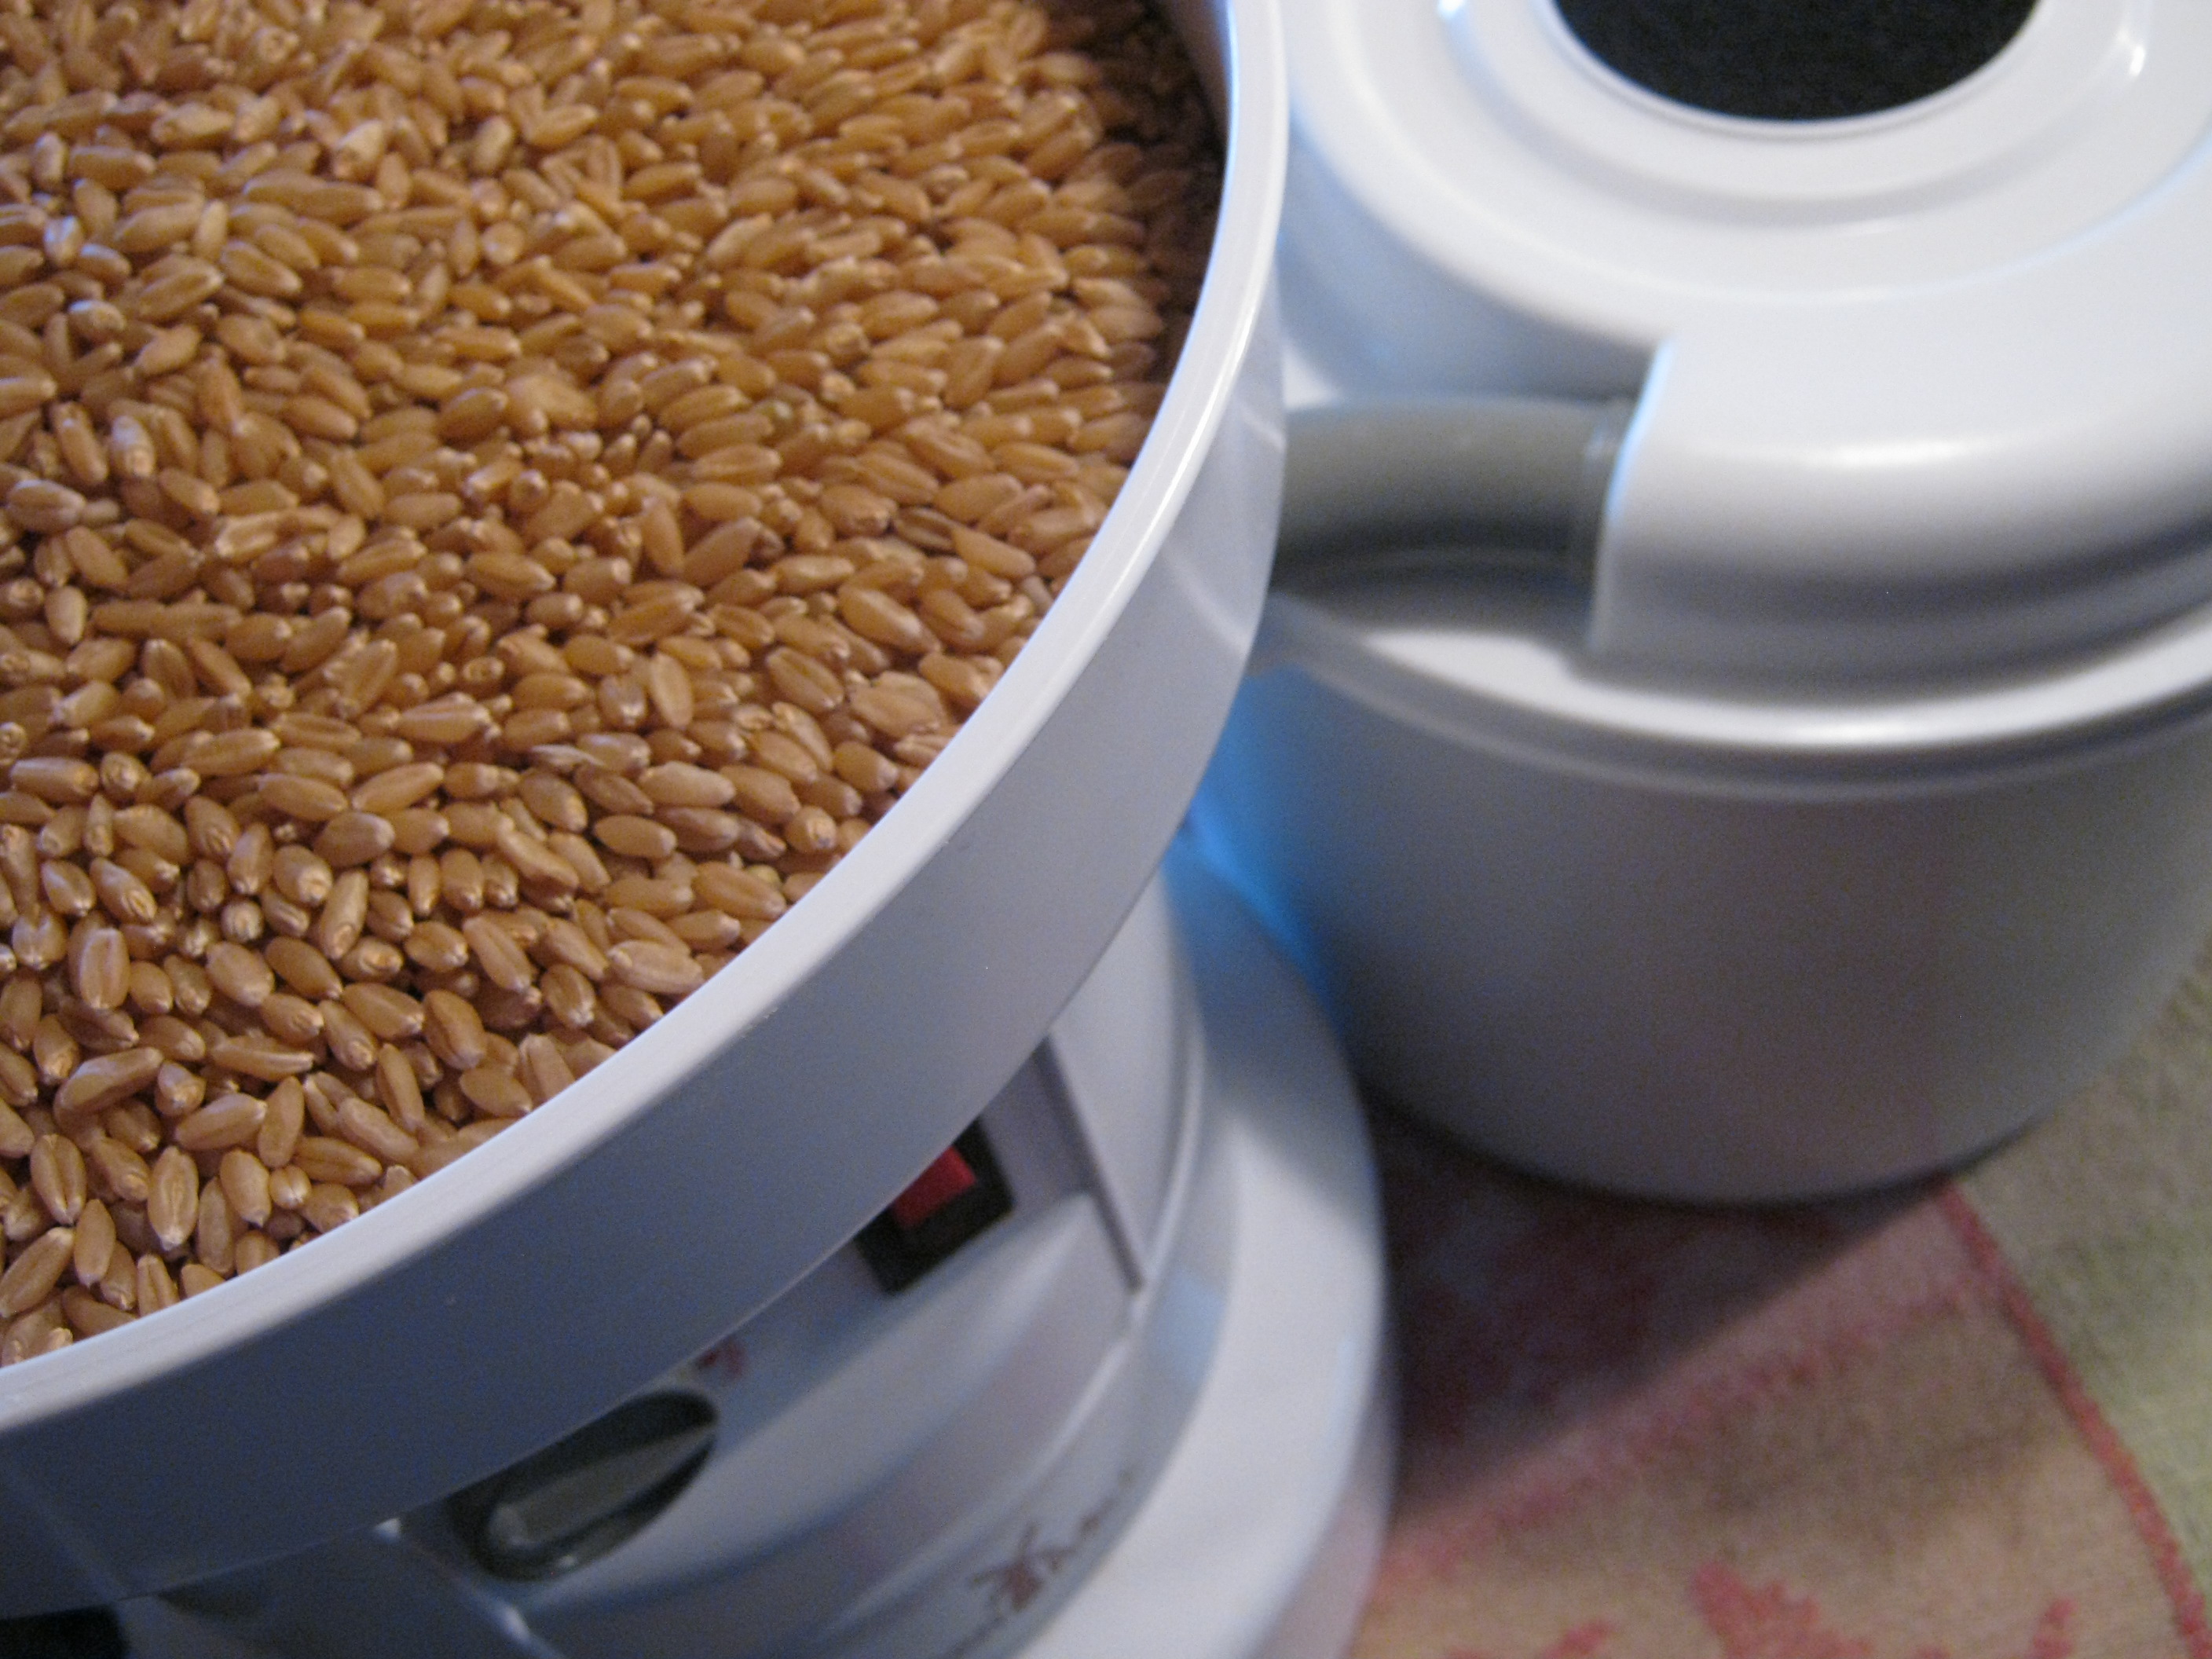
I made these gingerbread pancakes as part of the WonderMill Whole Grain Pancake Challenge. I always grind my spelt wheat on the pastry fine setting on my WonderMill grain mill.

Spelt Gingerbread Pancakes
 
Prep time
Cook time
Total time
 
Author:
Recipe type: Breakfast
Ingredients
  • 1¾ cup freshly milled Spelt Flour
  • 1½ teaspoons Baking Powder
  • ½ teaspoon Baking Soda
  • ½ teaspoon Salt
  • ½ teaspoon Cinnamon
  • 1 teaspoon Ginger
  • ⅛ Nutmeg
  • ⅛ Cloves
  • ¼ All Spice
  • 3 tablespoons Powdered Milk
  • 1¼ cup Water
  • 2 large Eggs
  • 2 tablespoons Oil or Melted Butter
  • 1 tablespoon Molasses
Instructions
  1. Pre-heat electric griddle to 375 degrees..
  2. Add all dry ingredients into a mixing bowl and whisk together.
  3. Add all wet ingredients into a 2nd mixing bowl and whisk together.
  4. Add dry ingredient mix to wet ingredient mixing bowl and whisk till it just comes together.
  5. Lightly spray your hot griddle with cooking spray.
  6. Use a ¼ measuring cup to scoop the pancake batter onto the griddle.
  7. I cook these pancakes 2 minutes per side, this may vary on your griddle.
Notes
You can use regular milk, instead of powdered milk, by substituting milk for the water.


These are also great with syrup and a little whip cream on the top or even a caramel sauce.

Spelt Gingerbread Pancakes

Posted in Recipes | Tagged , , | Leave a comment

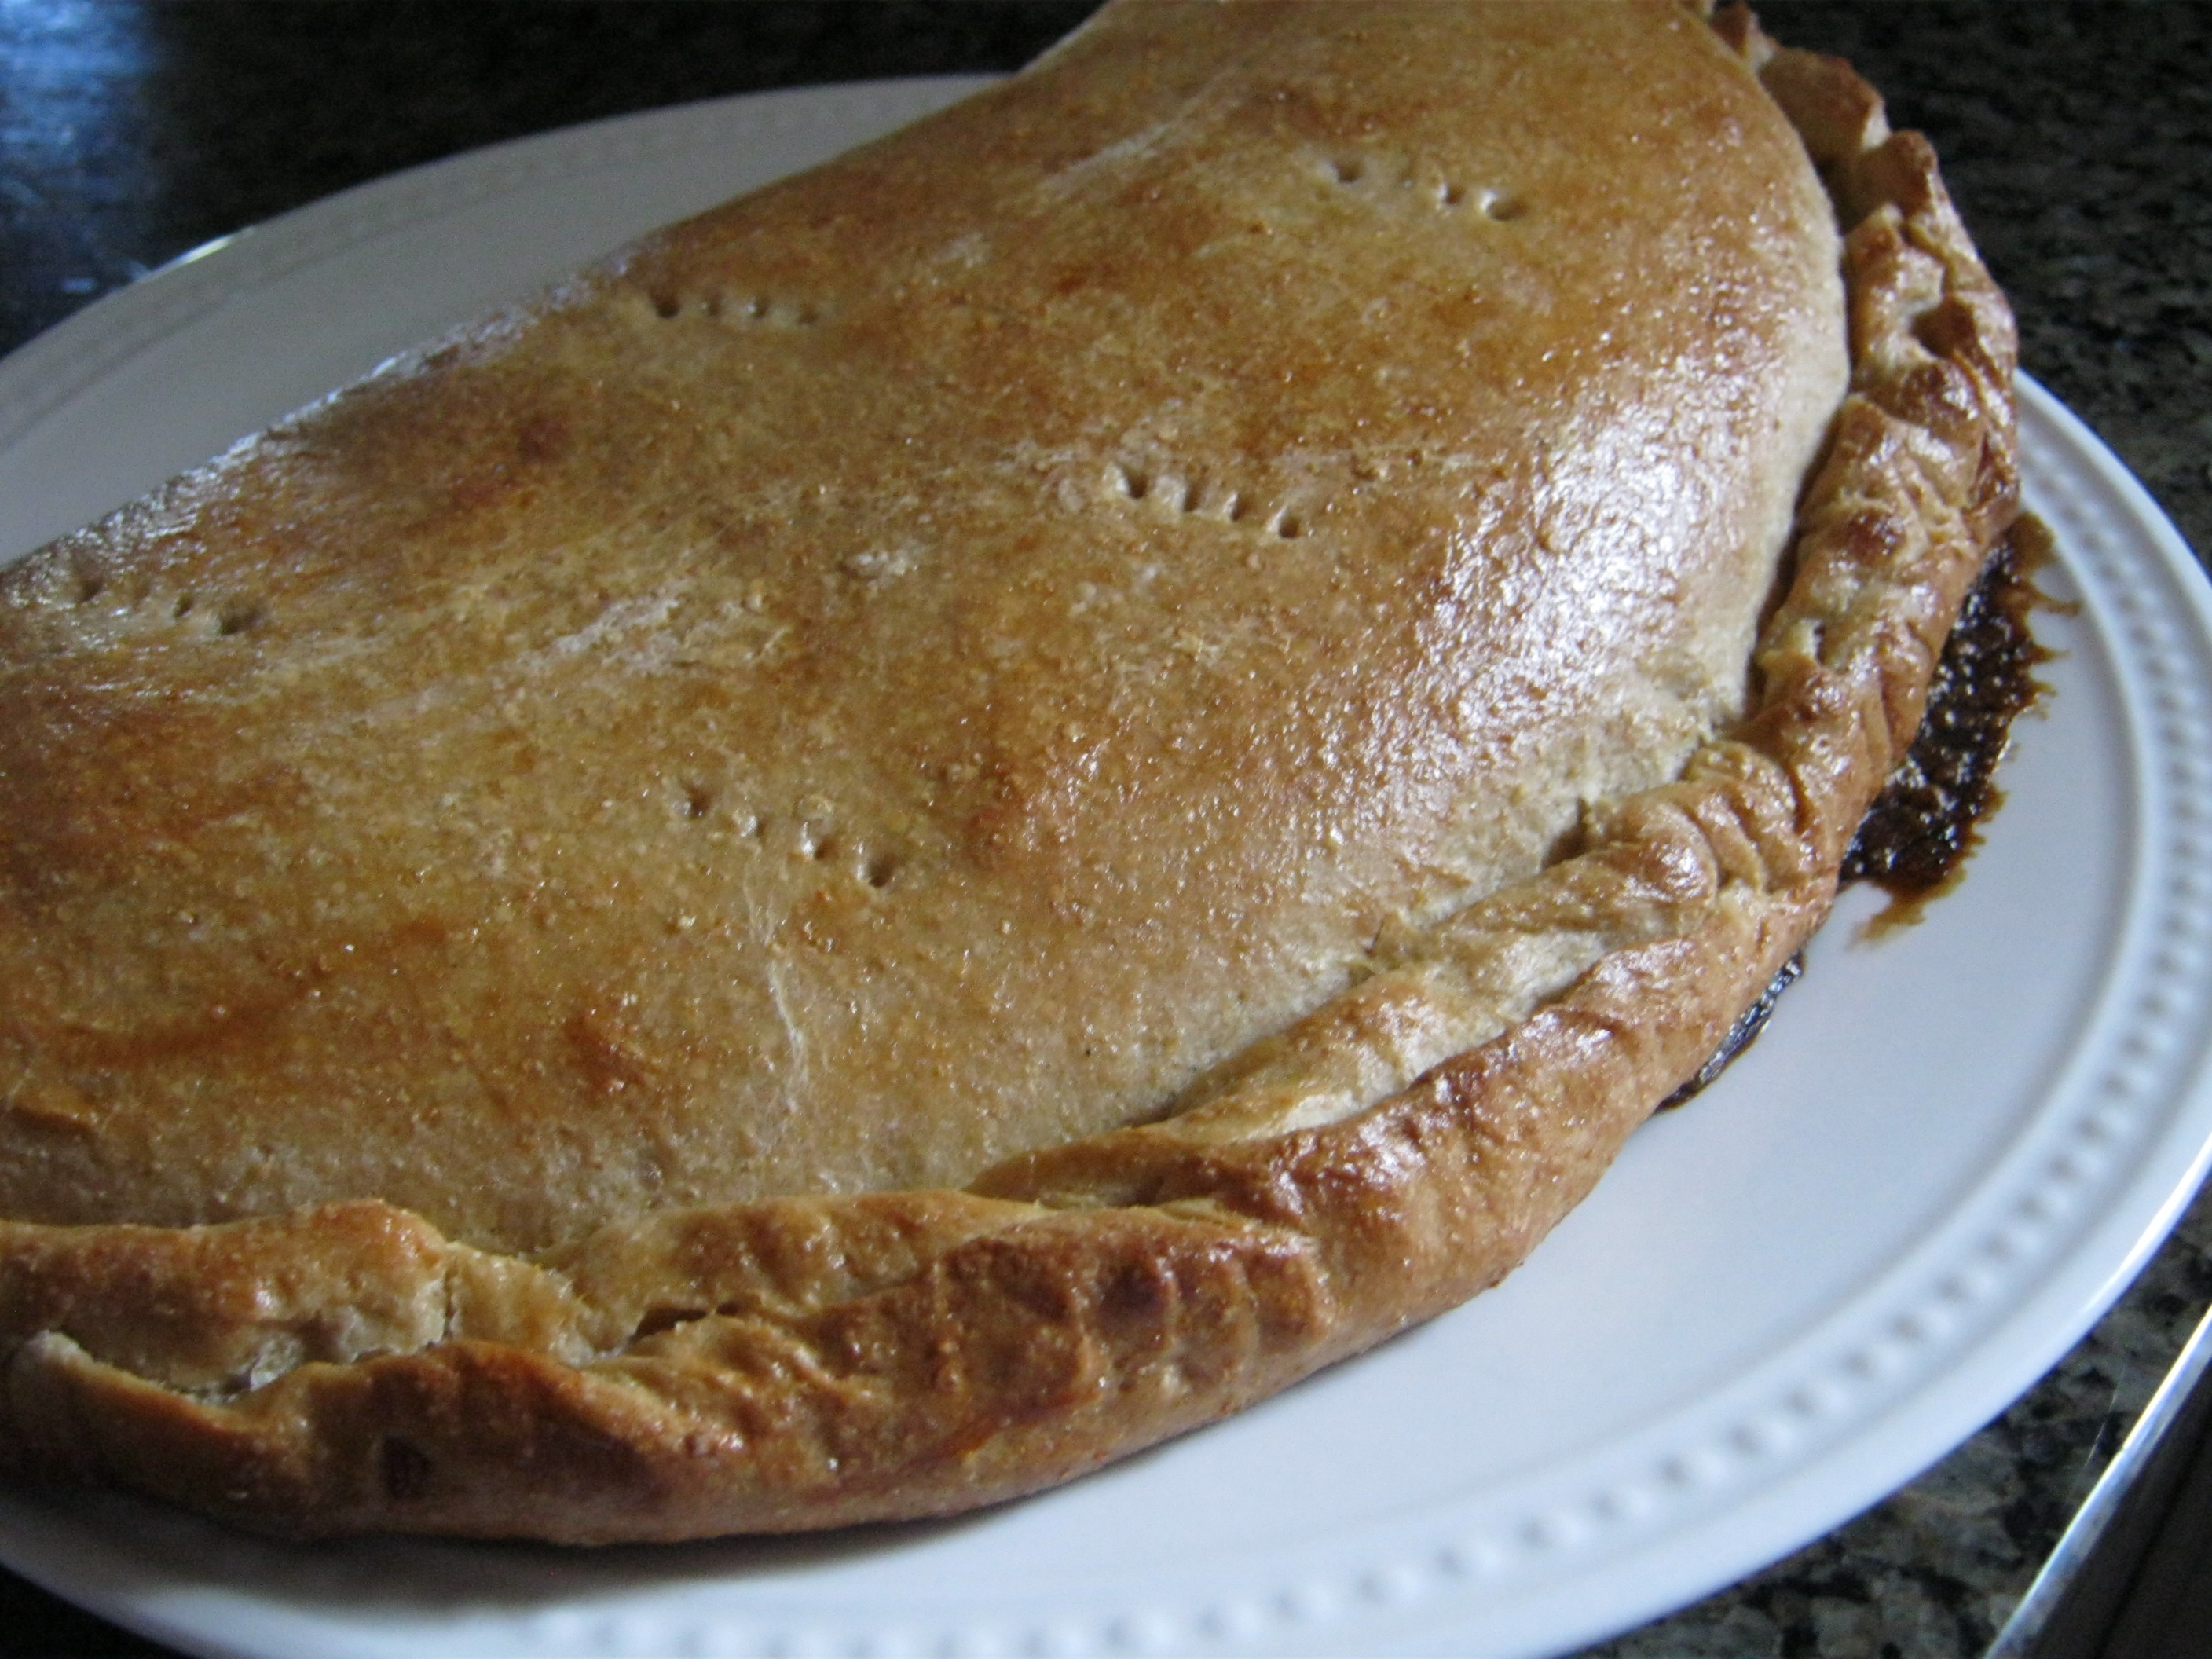
Whole Wheat Calzones

WMwithKernels

If you can make a pizza crust -you can easily use the crust to make a calzone and put a twist on an Italian meal!

Calzone

Whole Wheat Pizza Crusts
Makes two 16 inch pizza crusts

Ingredients:

  • 1 ½ Cups Warm Water
  • 4 TBS Organic Evaporated Cane Crystals
  • 2 TBS Olive Oil
  • 4 Cups Freshly Milled Hard Wheat Flour
  • 1 tsp Garlic Salt
  • ½ tsp Onion Salt
  • 1 ½ tsp Instant Active Yeast

Bread Machine Method:
Place all ingredients in the machine in order given. Make a ‘well’ for the yeast and put in the ‘well’. Set to dough or pizza dough setting. Machine should punch down after first rise.

Food Processor Method:
Use ‘S’ Blade. Place all dry ingredients in the food processor. Turn to pulsing while drizzling in the oil. Stop when mixed in. Now turn on and leave on drizzling in the water until dough forms a ‘ball’. Let ‘ball’ clean the sides and round the bowl between 20-25 times.

Place in greased bowl, cover and put in a warm place (85 degrees) until doubled in size.

Mixer & Hand Methods:
Mix yeast in with the flour and set aside. Mix all other ingredients in a large bowl until blended. Mix one cup of flour mixture in at a time until all incorporated. Knead 3-5 minutes until 2 finger poke test bounces back quickly.

Place in greased bowl, cover and put in a warm place (85 degrees) until doubled in size.

Forming:
Divide dough in to 2 (for large) or 4 (for small) balls of dough. Roll each out on to a floured surface and fill the center with a combination of cheeses: Ricotta, Mozzarella, Provolone and extra goodies such as mushrooms, peppers, pepperonis, cooked ground sausage (we like turkey sausage), onions (go light they get watery) and more.  The possibilities are almost endless.

Fold one side over the other (stuffing in the middle will move) and turn up the edges and seal with a fork. Prick a few holes in the top for steam to escape.

Place on a cookie sheet or pyrex dish and brush a light egg wash.

Forming:
Bake at 375F until golden brown. Remove to cool for just a little bit so no one gets burned cutting into the gooey goodies inside the tasty pockets!

Calzone2

Posted in Recipes | Tagged , , , , , , , , | Leave a comment

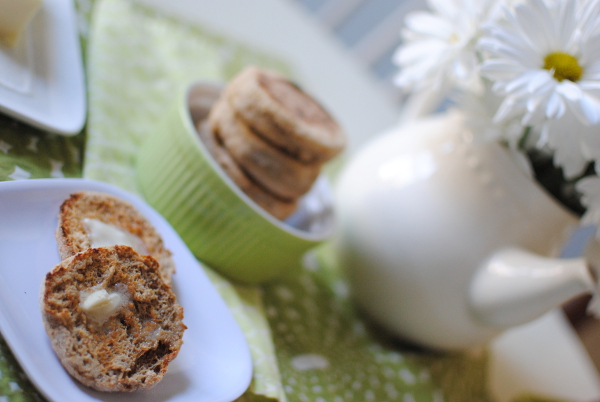
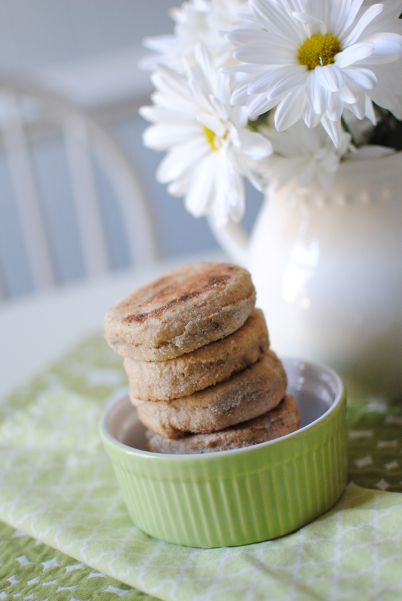
Whole Wheat English Muffins

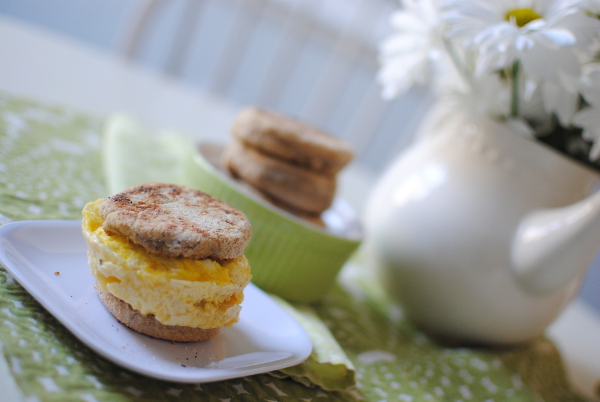
If you’ve never tried making homemade English muffins, it’s easier than you might think!  I’ve been keeping us “stocked” with these for a couple of weeks now so that my husband can have a quick “egg muffin” breakfast on the go.  They are so good when they are warm, so we usually toast them before serving.  You can certainly make them with half white flour if your family isn’t quite ready for 100% whole wheat (though try them… you may be surprised!).

Whole Wheat English Muffins

4 cups whole wheat flour, freshly ground (divided)
1/2 tsp. Real Salt
2 tsp. instant yeast (or 1 packet)
1 cup hot water
1/2 cup milk
2 tsp. honey
3 Tbsp. softened butter

cornmeal, for dusting surface

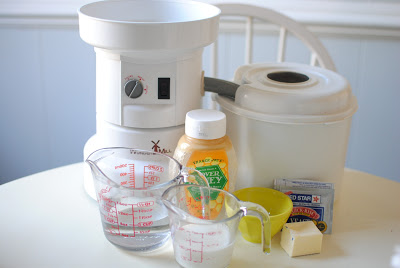
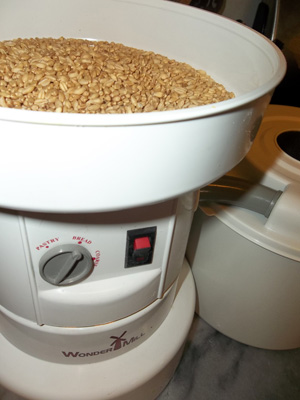
Grind wheat in the WonderMill.

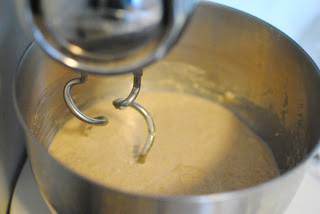
Combine 2 cups flour, salt, yeast, water, milk, and honey in the base of a stand mixer.  Mix until combined.  The “batter” will be thin and runny.

Cover and let rise for an hour.

Add remaining 2 cups of flour and softened butter and mix to combine.
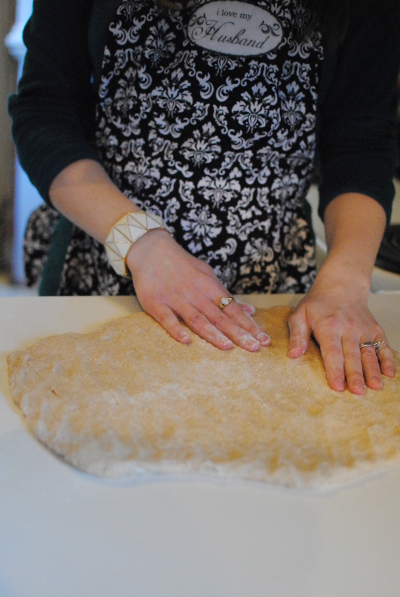
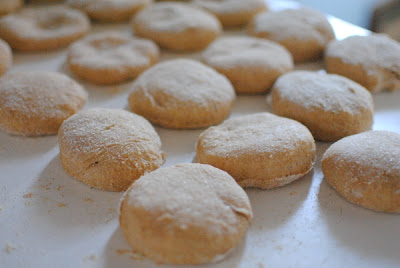
Turn dough onto a surface sprinkled with cornmeal and roll dough out (I just use my hands) to a 1/2 inch thickness.  Sprinkle the top of the dough with cornmeal as well.

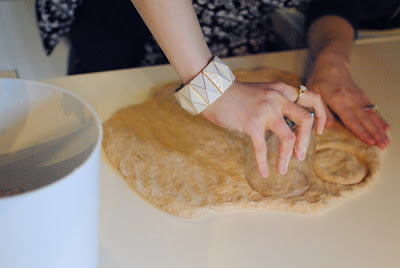
Using a biscuit cutter or a juice glass, cut out rounds from the dough.  Continue until all the dough has been cut.

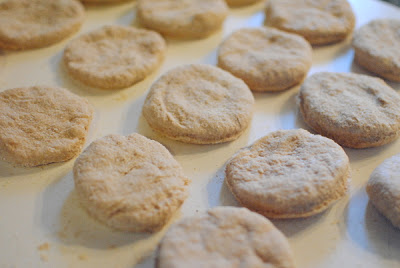
Let muffins rise until doubled, which is usually and hour or so (depending on the temperature of your kitchen).

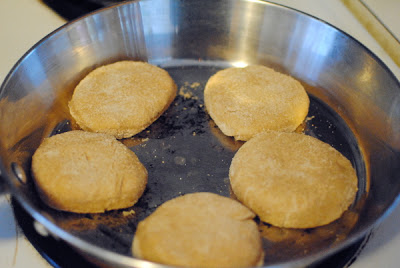
Heat a skillet over medium heat and cook the English muffins (in small batches) on each side until golden brown.  (Sometimes mine get to be a darker brown, but they still taste good!)  Repeat until all the English muffins have been cooked.

Allow to cool (or not), then enjoy!

We love using them to make egg breakfast sandwiches.  Delicious!

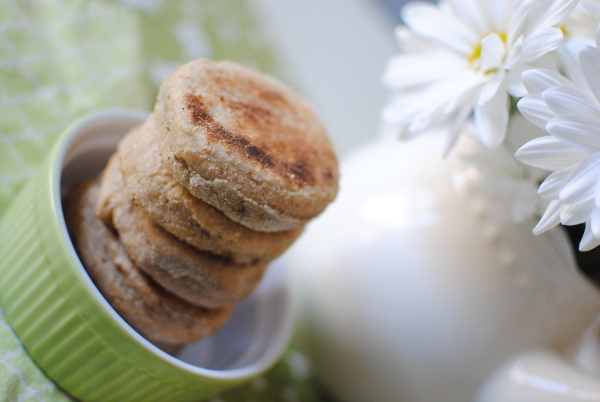
These also freeze beautifully if you can’t enjoy all of them before they’d get stale.

Makes about 16, depending on the size of your biscuit cutter.
Enjoy!

Posted in Recipes | Tagged , , , , , , , , | 15 Comments

Whole Grain Hamantaschen Cookies

Purim is the Biblical Feast of Esther celebrated all over the world. Some fun traditions include costumes, plays depicting the story from the book of Esther, “groggers” which are noisemakers for the purpose of making noise to drown out the name of the evil Haman. One of the more delicious traditions are the favorite filled cookie in the 3-cornered shape of Haman’s pockets, or ears or even hat. The word Hamantaschen can be traced back to all three. One thing we can all agree on, is that Hamantachen cookies are fabulous any time of year!

Whole Grain Hamantaschen (Dairy-Free)
Yield: approximately 5 dozen

Mill soft wheat (pastry berries) in the WonderMill   Mill 1

Place ingredients in the order listed into a large mixing bowl or the bowl of an electric mixer:

Cookies:
4 large pastured eggs
1 cup melted organic coconut oil
1 cup raw honey
1 Tablespoon baking powder
2 teaspoons homemade pure vanilla
1/2 cup organic orange juice
1 Tablespoon organic orange zest
1/2 cup water
1/2 teaspoon salt
6+ cups whole wheat pastry flour

Filling:
Homemade or natural, thick marmalade or jelly.

Mix well and keep mixing until all the ingredients are incorporated. Use additional flour if needed to produce a soft dough that is no longer sticky. Let dough sit covered at room temperature for 15 minutes.

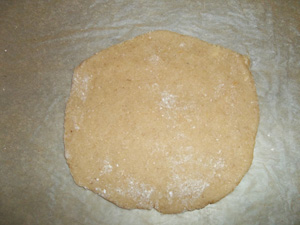
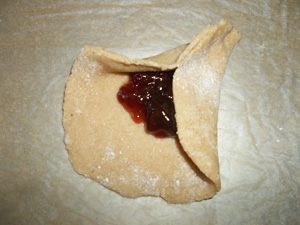
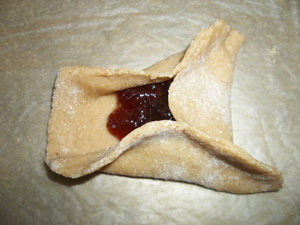
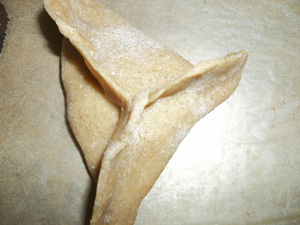
Divide the dough into four portions. Roll each portion out to about 1/4 inch thick. With a biscuit cutter, or a wide-mouth jar, cut circles in the dough. Remove the circles to a parchment-lined baking sheet. Place 1 teaspoon of filling in the middle and shape the circles into 3-point cookies and re-roll the dough scraps for more cookies until all the dough is rolled.

Cut rolled dough into circle 4 inches in diameter.

Cookies 4

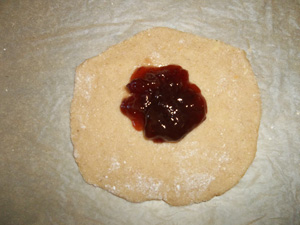
Place 1 teaspoon or more of the filling in the center of the circle.

Cookies 3

Pinch the top 2 sides together.

Cookies 5

Next pinch the side pieces together.

Cookies 6

Now pinch the remaining sides together for a 3-point shape.

Cookies 7

Bake in a preheated 350 oven until golden brown.

Cookies 1

B’Teavon! (Bon Appetit!)

Posted in Recipes | Tagged , , , , , | Leave a comment

Homemade Whole Grain Matzah

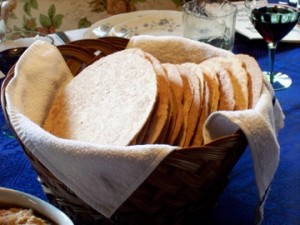
Unleavened bread is easy to make and perfect for many uses from Passover Matzah to Communion crackers. The best unleavened bread is, of course, made at home using the freshest ingredients and especially 100% whole grain flour, milled fresh using the WonderMill.

Matzah-1-300x225

Homemade Whole Grain Matzah

Vickilynn Haycraft
Yield: 20 matzah

2 cups hot water
2 tablespoons butter (or olive oil) *or good fat of choice
2 teaspoons salt
2 tablespoons honey – optional
4 1/2 cups whole wheat flour — more as need to make a sturdy dough *You can use sprouted flour here if desired.


Mill whole grain flour in WonderMill. WM 1

Mix hot water, butter, salt and honey in a mixing bowl and mix well. Add flour, 1 cup at a time until a sturdy but pliable dough is achieved.

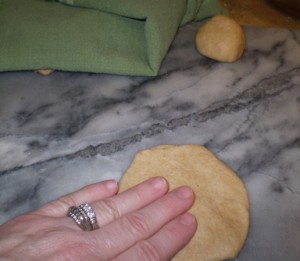
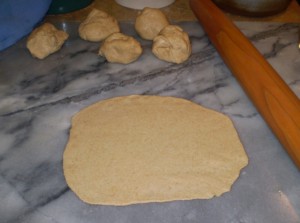
Knead for 6 minutes or until pliable and soft, but not sticky. Roll out on an oiled surface into small (6 -8 inch) circles, and flatten with palms. Roll thin for crispy matzah, a little thicker for softer ones. Each dough ball should weigh 2 ounces.

matzah-1-300x261
Pierce the circles with a fork to prevent bubbling.

Bake in a preheated 450 oven on a baking sheet for 8 minutes or until golden brown. Flip matzah over and bake 1-2 minutes more. Remove to a cooling rack and let cool completely.

matzah-2-300x223


Per Serving: 108 Calories; 2g Fat (12.9% calories from fat); 4g Protein; 21g Carbohydrate; 3g Dietary Fiber; 3mg Cholesterol; 227mg Sodium. Exchanges: 1 1/2 Grain(Starch); 1/2 Fat; 0 Other Carbohydrates.

matzah-4-300x140
Check out the video tutorial for more tips!

Part 1


Posted in Recipes | Tagged , , , , , , , | 1 Comment

Easy, Whole Grain Strawberry Short-Cake

Easy, Whole Grain Strawberry Short-Cake IMG_1698

 Sliced/Soaked Strawberries

Several hours or the day before having this dessert, you’ll want to slice and soak your strawberries.

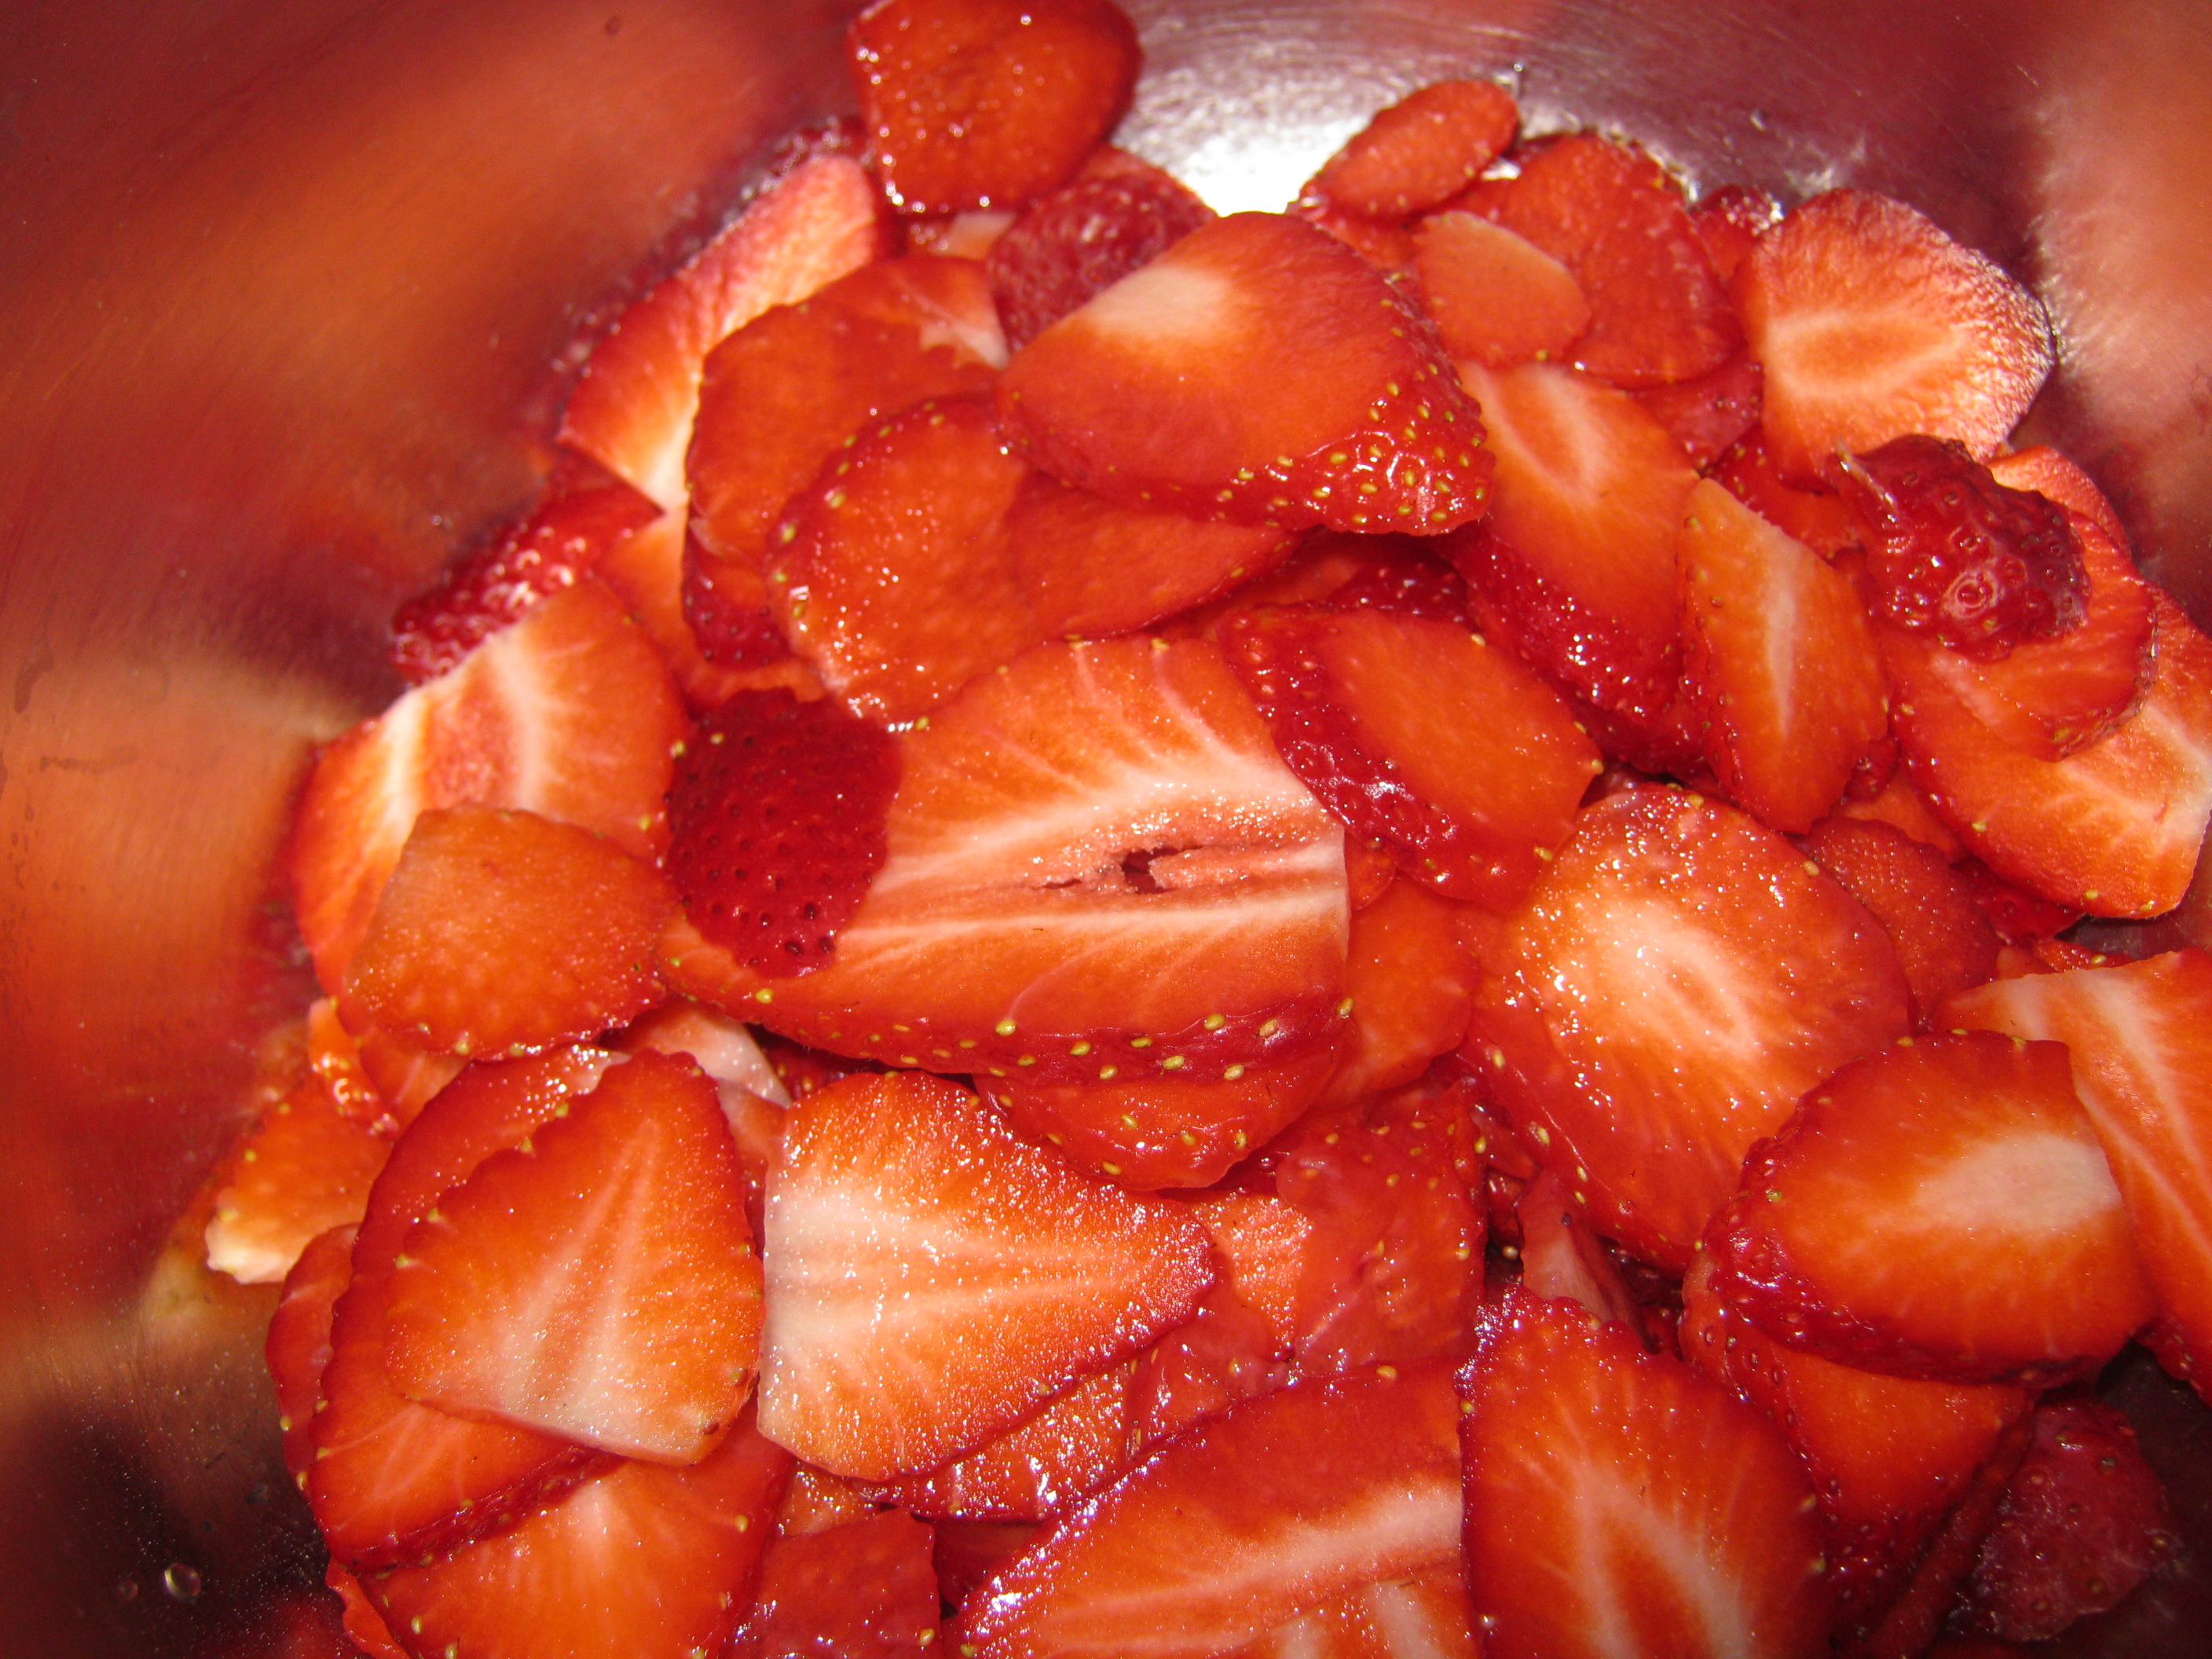
Start with a pint of fresh, ripe strawberries. Freshly picked are the best, but store bought will do. Remove the green tops and slice them vertically. IMG_1670Place all slices in a bowl or container and cover with just enough water to reach their top.

Sweeten with organic sugar or stevia (we like a little of both) and a dash of vanilla (we love our home-made vanilla)! IMG_1674Give this a pretty vigorous stir. It’s okay to mash up a few of the berries because you want the water to get red and absorb the strawberry flavor.

Cover and refrigerate if it’s more than 24hrs away from using these little beauties. But if you’re hours away, you can leave covered them on the counter.

Short-cake Biscuits

IMG_1694

Makes about 12-18 Short-cake Biscuits depending on size

Pre-heat oven to 400 degrees

Grease a baking dish


Dry Ingredients:

  • 1 Cup freshly milled Hard White Wheat Flour
  • 1 Cup freshly milled SOFT White Wheat Flour
  • 1 TBS Aluminum Free Baking Powder
  • 1/4 C Organic Evap Cane Crystals

Wet Ingredients:

  • 1/4 Cup Organic Canola Oil
  • 1 Cup Milk
  • 1 tsp vanilla extract

Combine all dry ingredients with a whisk or fork in a large mixing bowl.

Combine wet ingredients in a small bowl or measuring cup.

Make a well in the dry bowl ingredients and pour in wet mix.

Mix until just combined (still will be lumpy, don’t over mix or you get a tough biscuit)

For the DROP version simply drop by ‘ice-cream scoop’ or large spoon size on greased cookie sheet.

Otherwise…

You can turn these out on a floured surface and lightly ‘knead’ them no more than 20 times. Then cut with biscuit cutter.

IMG_1691

Place them close together but not yet touching for the oven to help them rise nice and tall.

Bake on middle rack for 10-12 minutes.

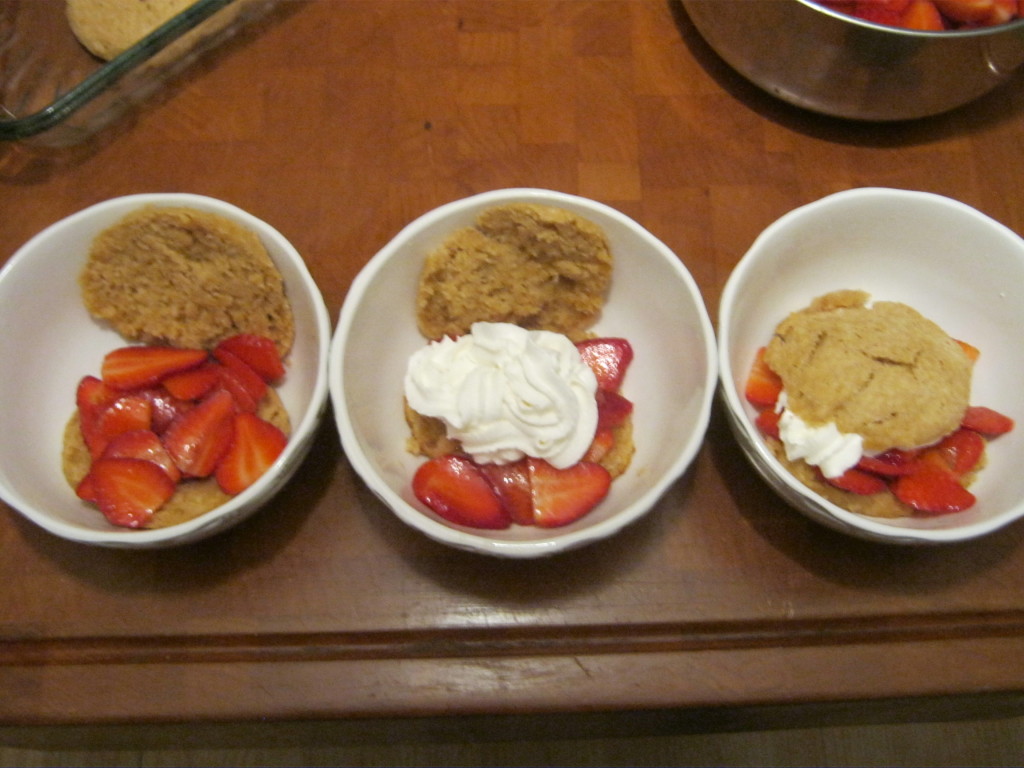
While still warm, split them in the middle and put the bottom half in the bowl.  Top with a little butter if desired.  Then spoon some of those awesome soaked strawberries over the top and whip cream the center if you’d like.

Put the ‘lid’ of the short-cake biscuit on top of that tasty center treat and repeat on the top.

One trick is to get enough of the ‘red sweet liquid’ ladeled over the whole thing to soak into the short-cake biscuit.

Ice cream can replace the whipped cream or be added for even more fun on a hot summer night! Serve while the short-cake biscuits are warm though!

EnJOY!

________________________________________________

Donna Miller is a wife of almost 28 years to the love of her life Joseph, a mother to three home-school graduates, teacher, author, sought-after speaker and trainer. She has been a both guest and host on internet and broadcast radio talk-shows and in television interviews.

She is the hostess of the radio show “Your Preparation Station”. She and her husband are the Organizers of WNC Preparedness Group in Asheville, NC.  She is an Adjunct Instructor for Frontier Christian University. She teaches local classes & ladies retreats for people to learn hands-on lost skills.

She and her husband are the founders of Millers Grain House and, Your Preparation Station and are on the board of PREPARE Magazine.

Joseph and Donna have been happily married for almost 28 years, live on an ancestral homestead, and have three adult children, and one daughter in-law.

_______________________________________

Posted in Recipes | Tagged , , , , , , , , | Leave a comment

HEALTHIER BROWNIES – BETTER THAN A BOX

HEALTHIER BROWNIES – BETTER THAN A BOX

Since our middle one was home from college this weekend – she ‘needed’ these home-made brownies. (: So it gave me the chance to get some photos for you!

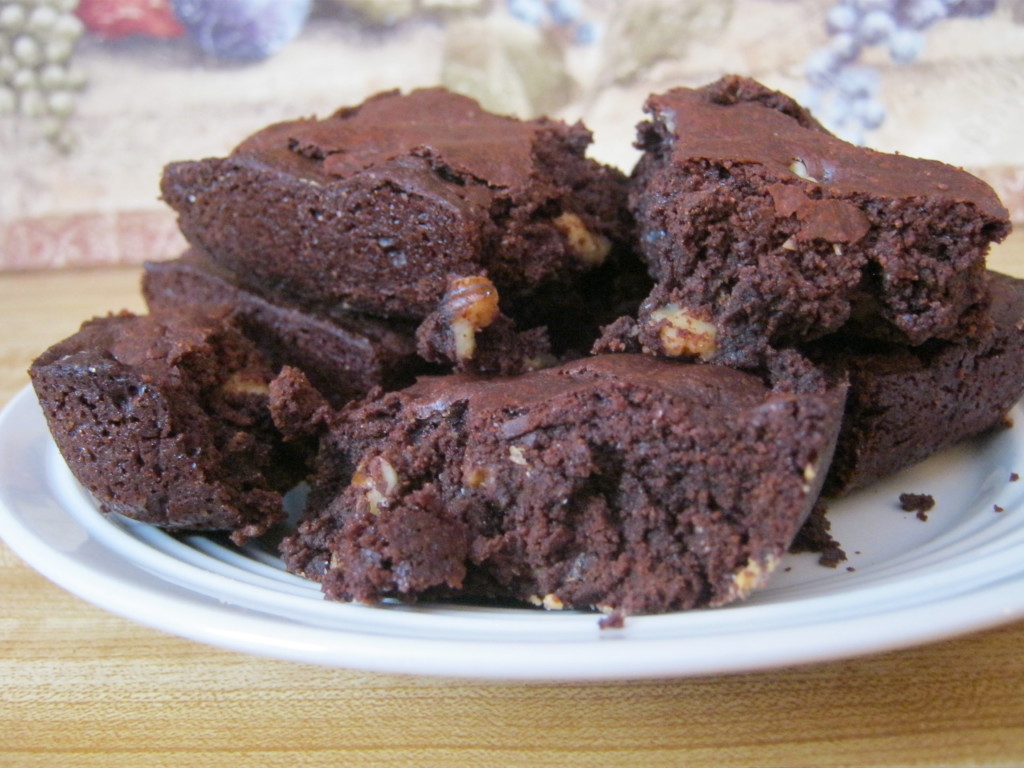
Using freshly milled whole soft white wheat makes this brownie packed with fiber and nutrients unlike their white dead flour counterpart from a box. This treat is not an everyday occurrence but it is still far more reasonable for your health and budget than a box mix! It’s every bit as tasty too.

IMG_1640

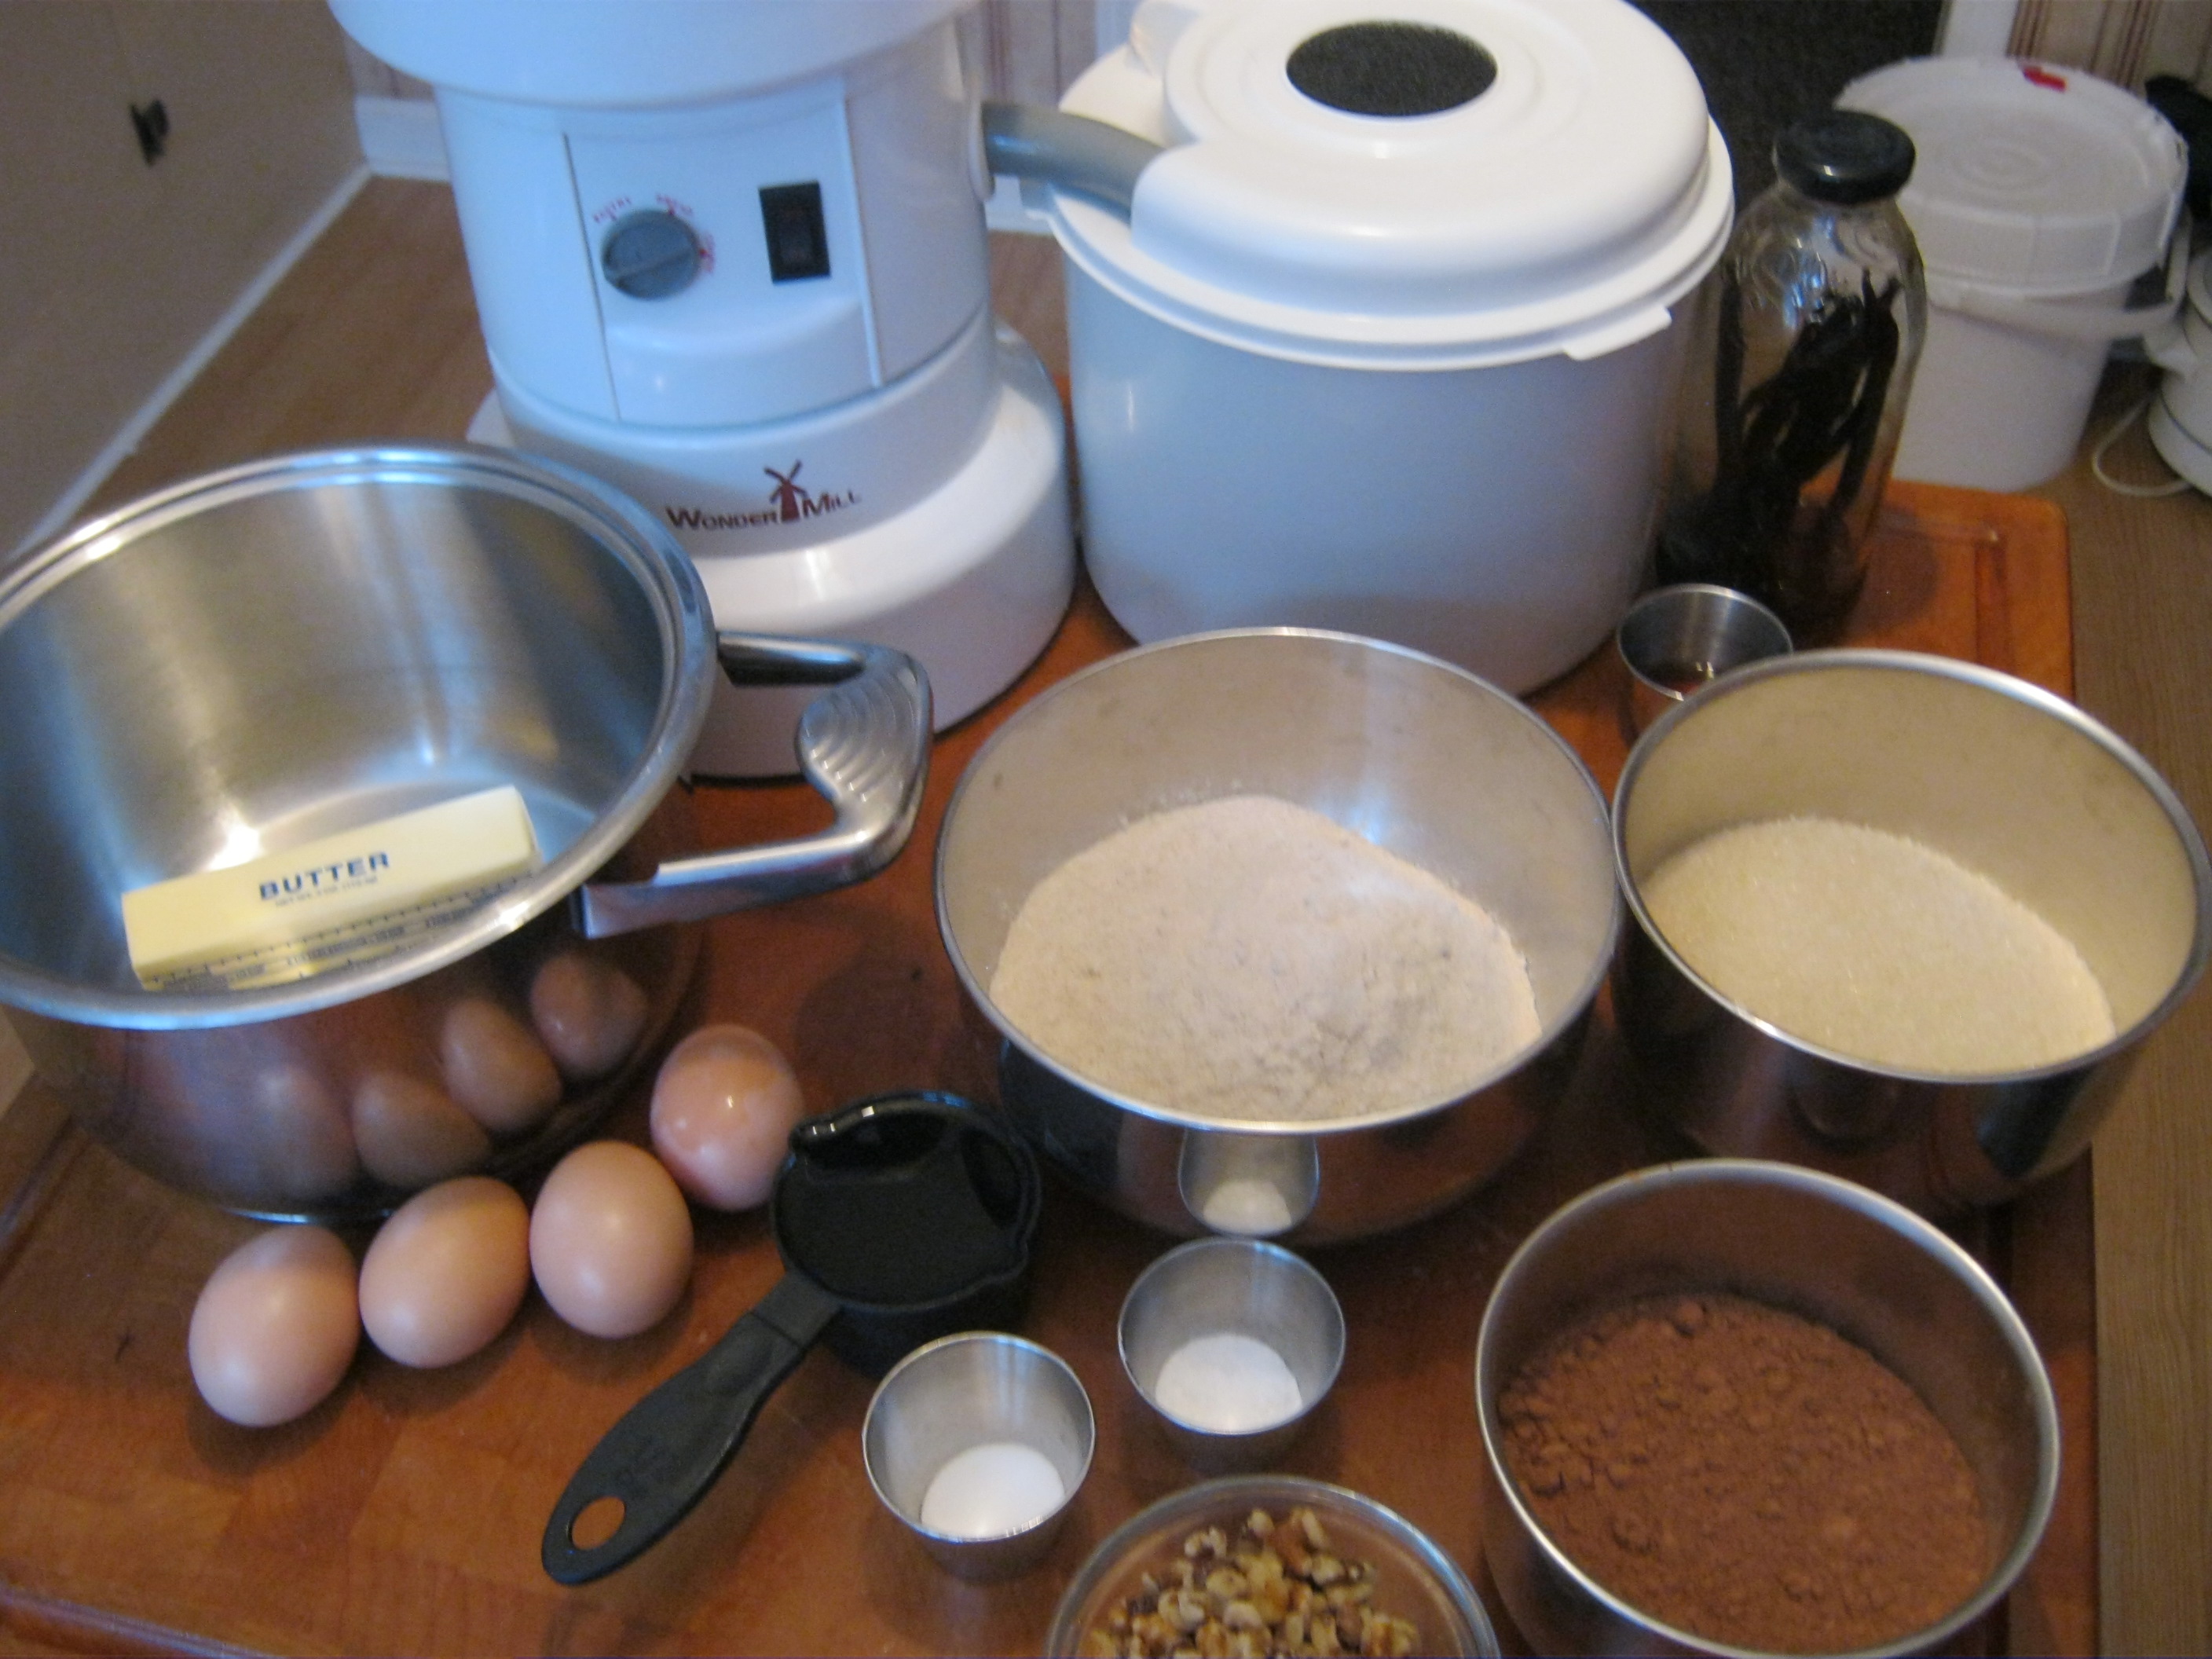
Ingredients:

  • 1 Cup (8oz/2 sticks) butter*
  • 2 Cups Organic Evaporated Cane Crystals
  • 1 1/4 Cups Dutch Processed (or Dark) unsweetened cocoa powder
  • 1/2 tsp sea salt**
  • 1 tsp baking powder
  • 1 TBS pure vanilla extract
  • 4 large eggs
  • 1 1/2  Cups fresh milled Soft White Wheat
  • 1/2-3/4 Cup walnuts (optional)

* Healthier option 1 – 1 stick butter, 1/2 Cup Coconut oil – photos in this recipe.

* Healthier option 2 – 1 stick butter, 1/2 Cup Applesauce (less fat & more cake-like brownie)

**If using unsalted butter increase salt to 1tsp.
Instructions:
Preheat oven to 350 degrees F.

Lightly butter or spray a 9 x 13 inch pan (dark pans bake 3-5 minutes less) or in our case with these photos two 9X9 square glass pans.

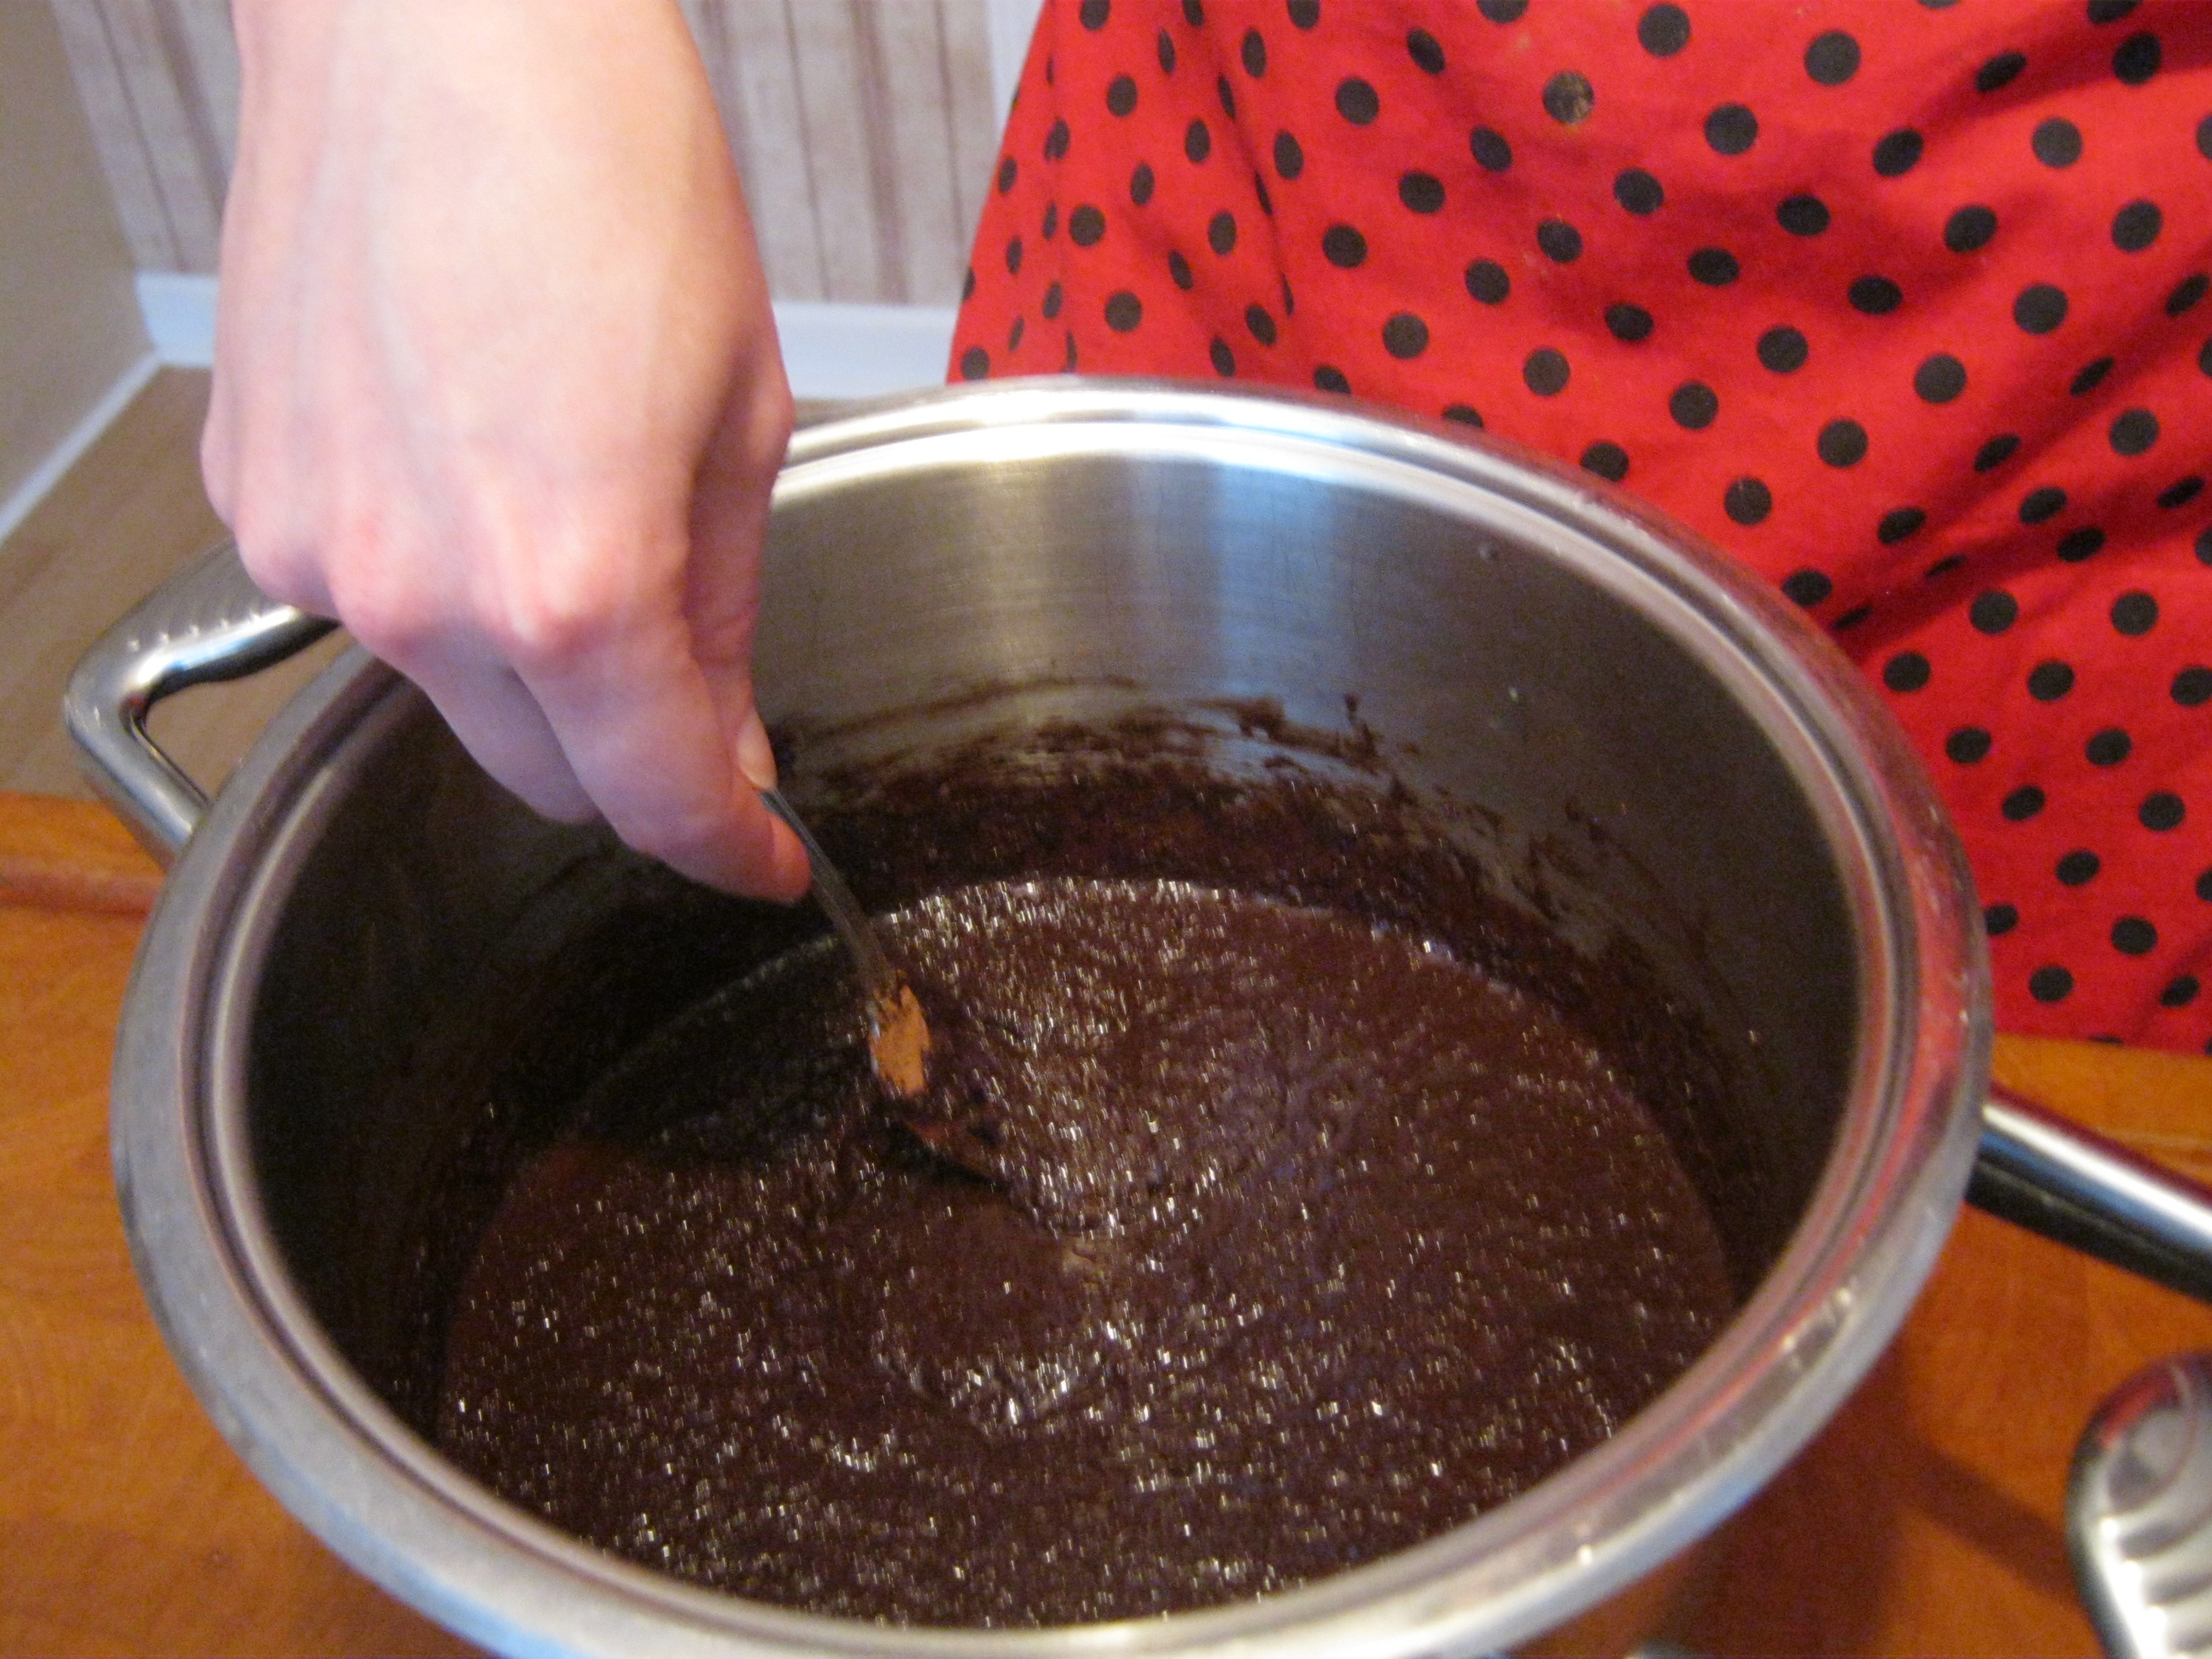
In a medium saucepan over low heat, melt butter (or healthier option 1 or 2 above – we have one stick butter and 1/2 C coconut oil)

IMG_1641

Then add the sugar and stir until combined. Turn off burner but leave on burner briefly until mixture looks slightly shiny (‘shiny’ may not happen with applesauce option). This helps the sugar to dissolve more while baking thus creating a shiny crust top for the brownies.

IMG_1642

In the same saucepan or you may transfer to a mixing bowl. Stir in the cocoa, salt, baking powder and vanilla.

IMG_1643

Add eggs beating one at a time until smooth.

IMG_1649

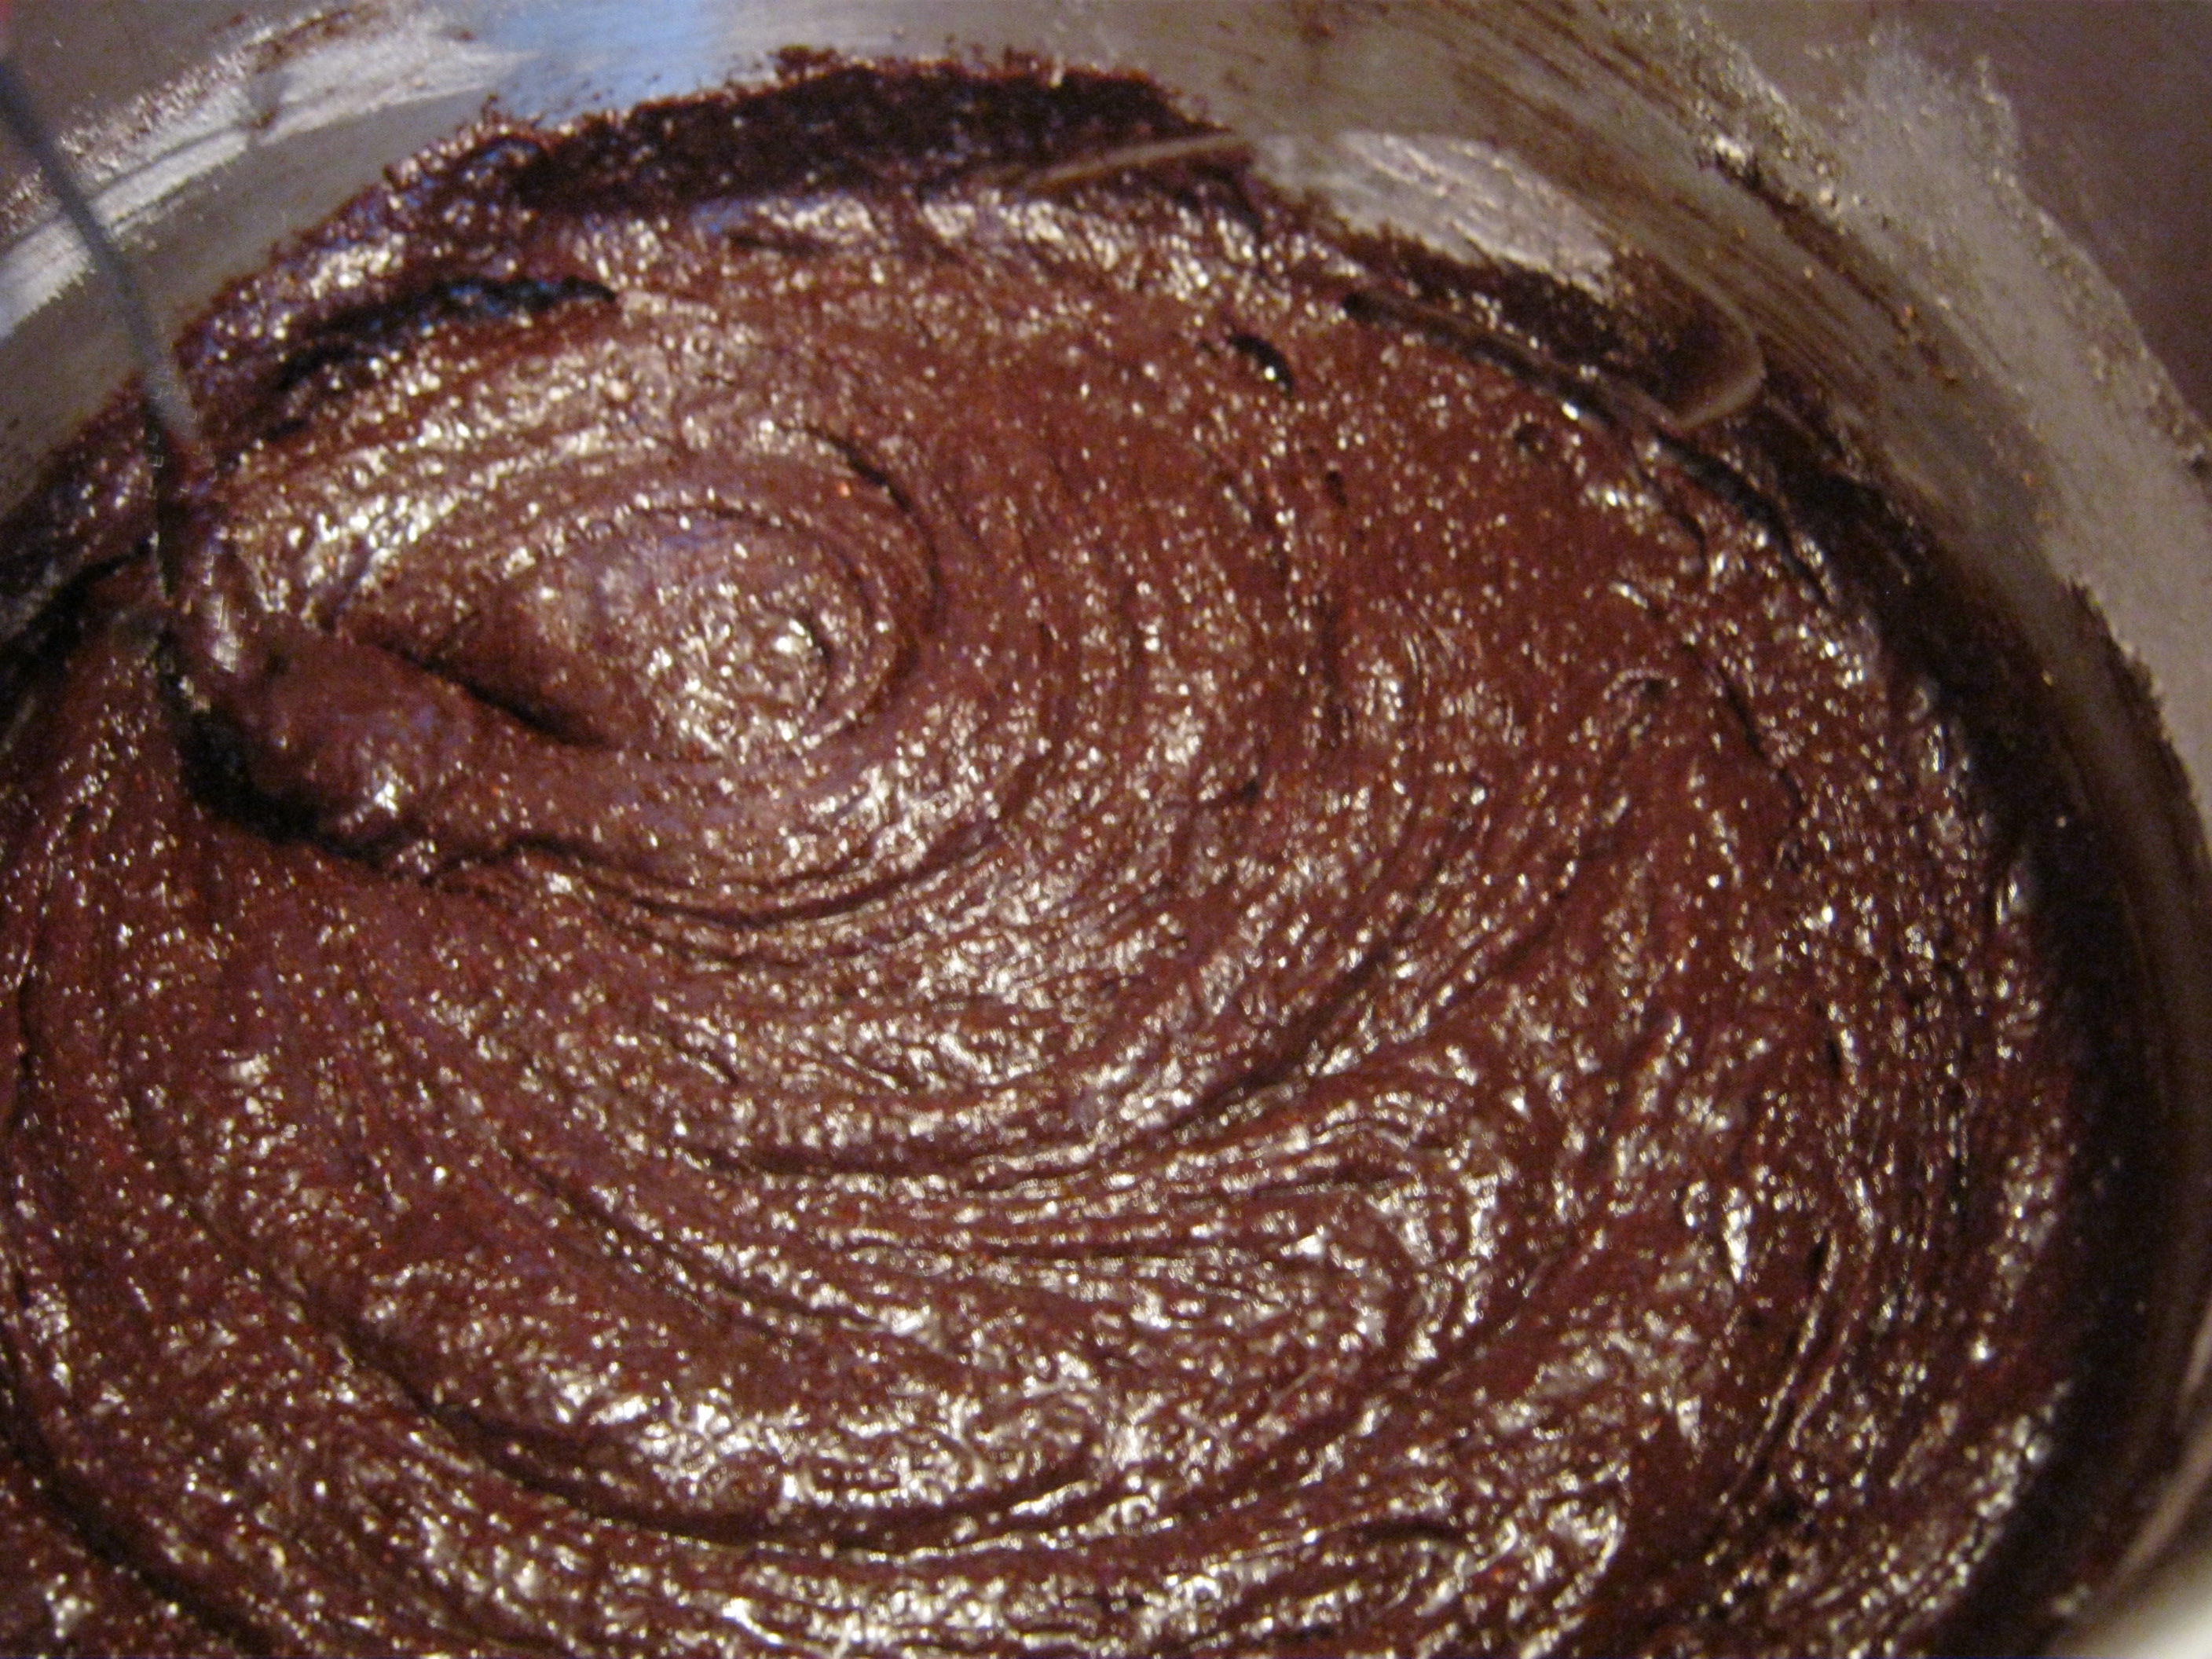
Add other dry ingredients to flour then add the flour mixture a little at a time to the chocolate goodness and stir until all well combined.

IMG_1646IMG_1651

Mix in walnuts in last. The batter will be thick!  Don’t worry.

IMG_1652

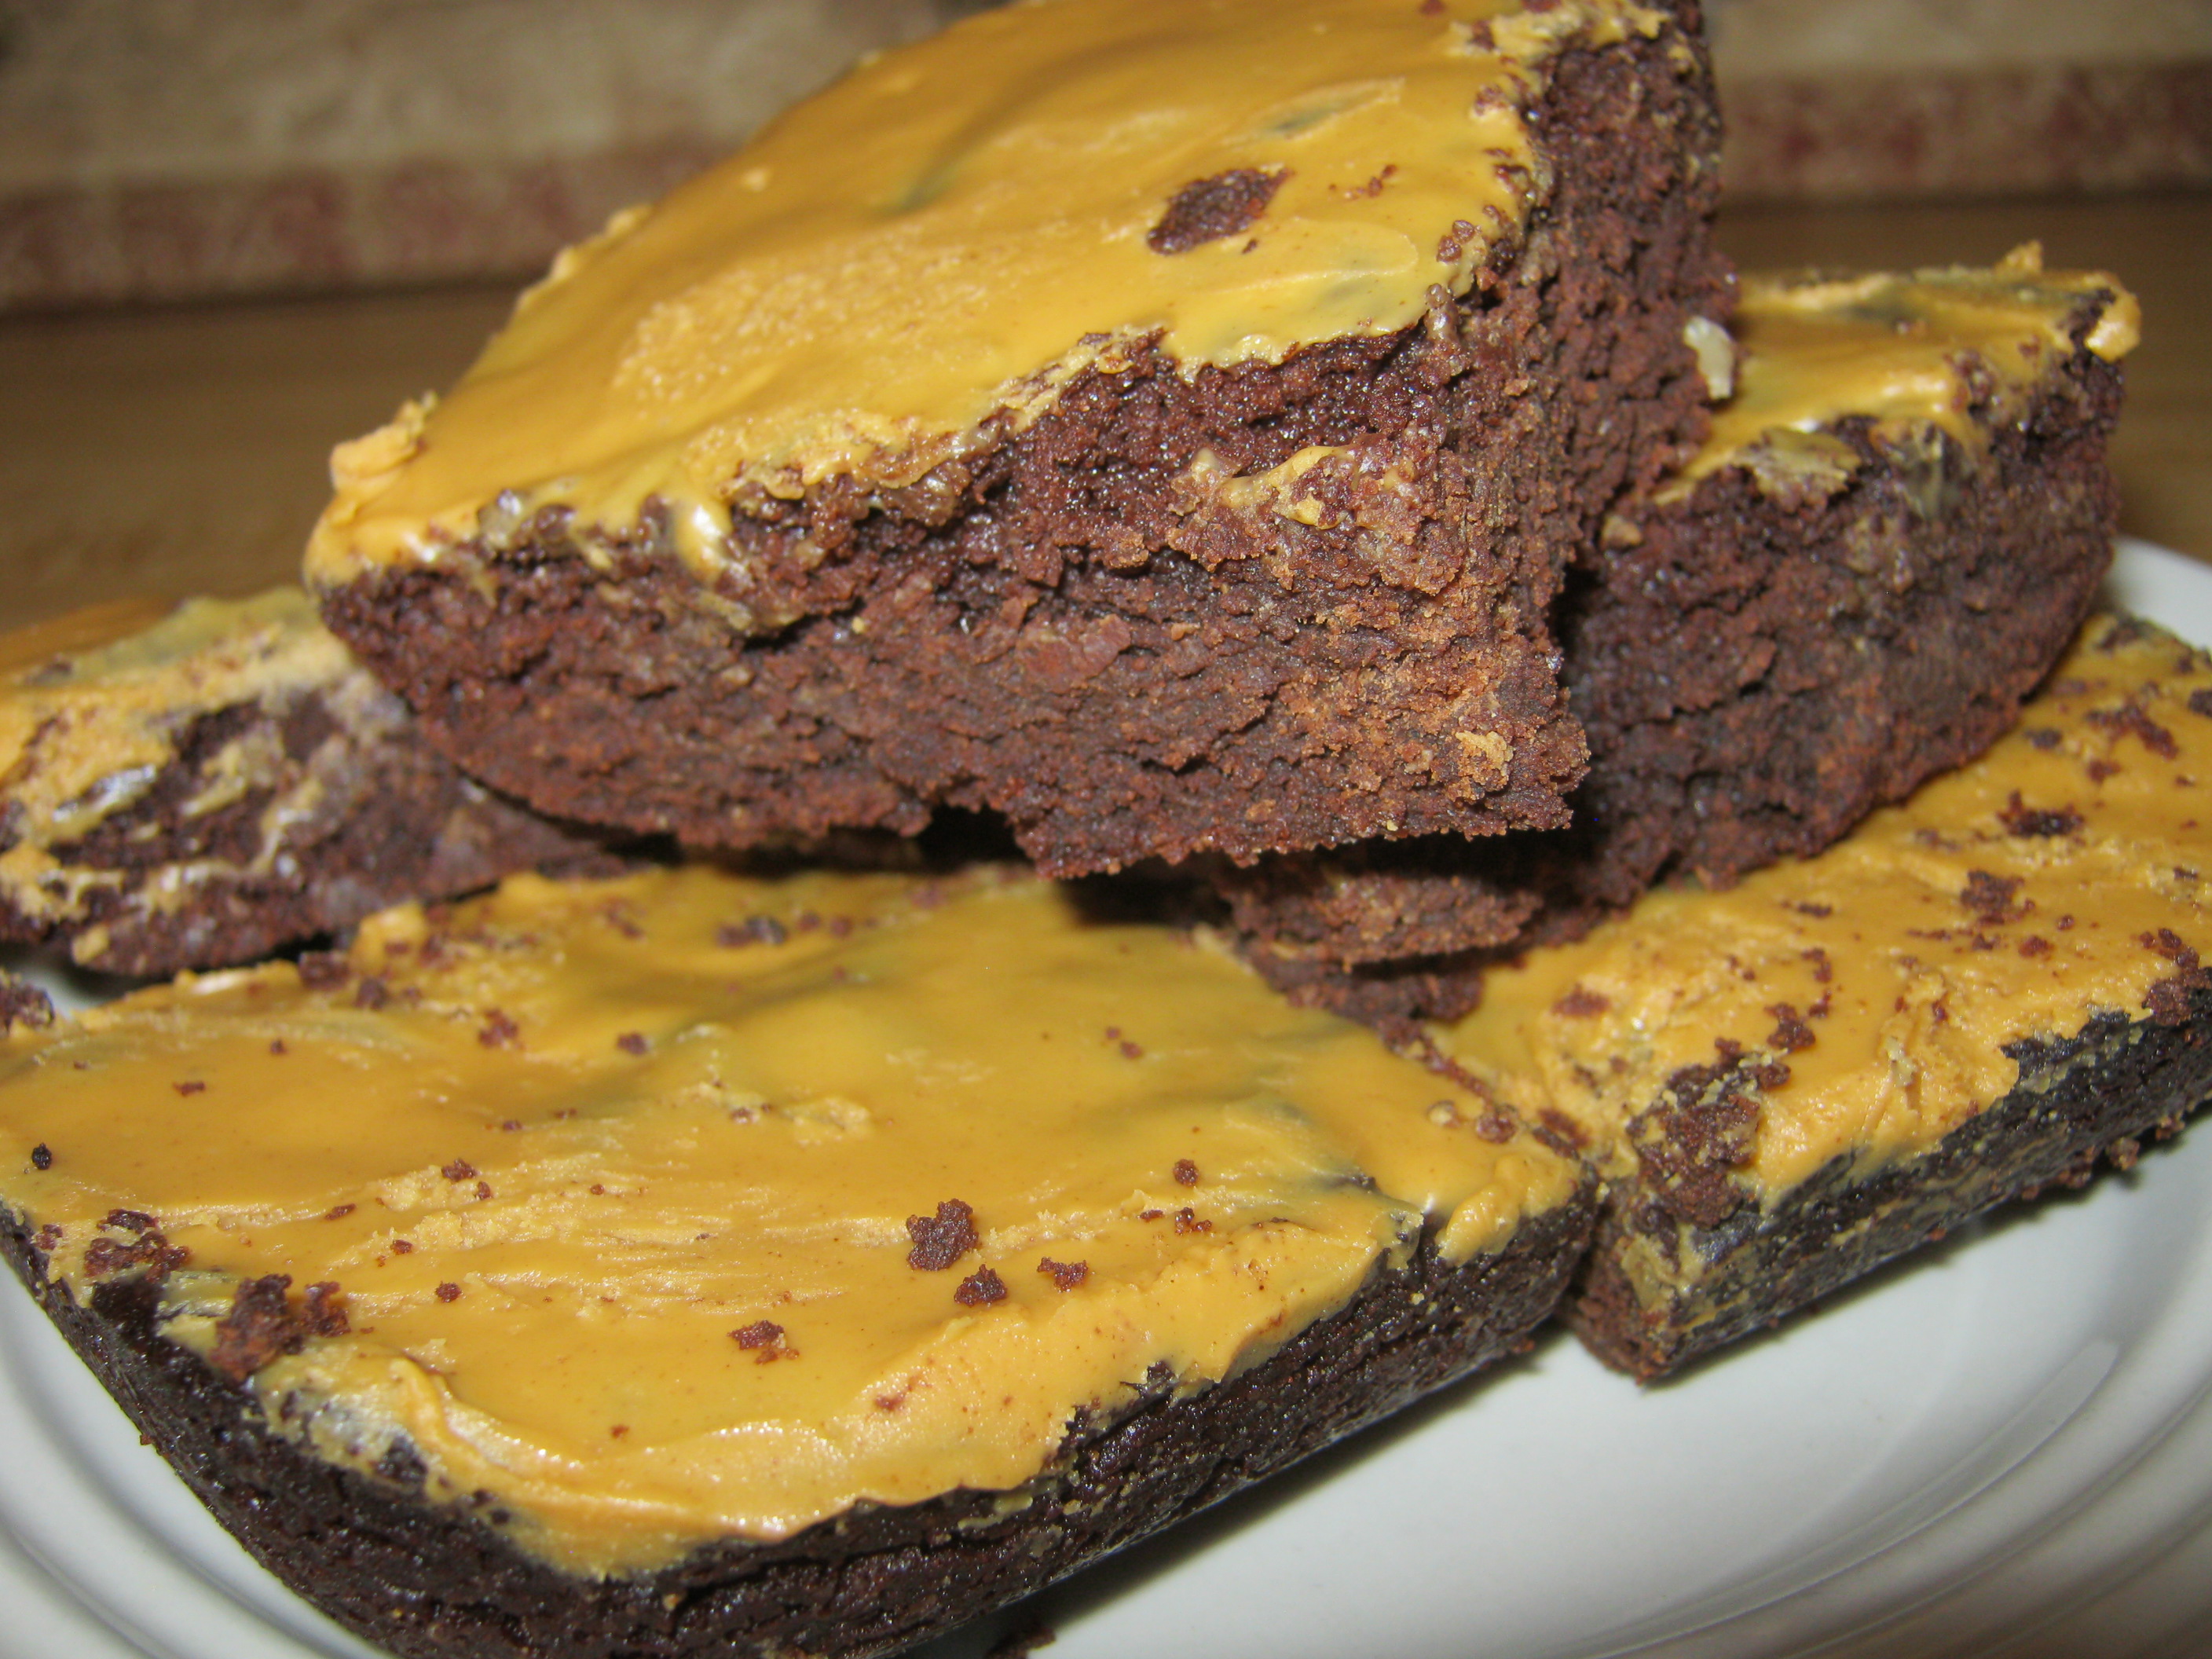
Spoon this thick batter out and smooth out top in 9 x 13 inch pan. Again in this case we did a batch with walnuts and a batch plain to top with peanut butter (:

IMG_1654

Bake for 28-30 minutes. The brownies should feel set both on the edges and in the center. Then remove from the oven and let rest for 10 minutes before cutting (if you can be patient due to the gorgeous smell!)

HEALTHIER BROWNIES with Whole Wheat

We topped one of the half batches with peanut butter and let it cool.Made a GREAT icing and no fuss twist to the brownies.

IMG_1659________________________________________________

Donna Miller is a wife of almost 28 years to the love of her life Joseph, a mother to three home-school graduates, teacher, author, sought-after speaker and trainer. She has been a both guest and host on internet and broadcast radio talk-shows and in television interviews.

She is the hostess of the radio show “Your Preparation Station”. She and her husband are the Organizers of WNC Preparedness Group in Asheville, NC.  She is an Adjunct Instructor for Frontier Christian University. She teaches local classes & ladies retreats for people to learn hands-on lost skills.

She and her husband are the founders of Millers Grain House and, Your Preparation Station and are on the board of PREPARE Magazine.

Joseph and Donna have been happily married for almost 28 years, live on an ancestral homestead, and have three adult children, and one daughter in-law.

_______________________________________

Posted in Recipes | Tagged , , , , , , , , , , , | Leave a comment

Whole Grain Pie Crust

Since transitioning our family to real food and whole grains, I have struggled to find a pie crust recipe that was delicious, flaky, and made with 100% whole grains!  This past weekend my daughter turned one and we celebrated with a “cutie pie” themed birthday party.  I experimented on all our guests by making wheat and spelt pie crusts, which, fortunately turned out GREAT!

The key to a beautiful, flaky pie crust is not mixing in your butter fully (you want to see flecks of butter in your dough when you roll it out).

Whole Grain Pie Crust
adapted from here

2 1/2 cups whole wheat or spelt flour, freshly ground (I’ve used wheat and spelt and liked both)
1 Tbsp. organic evaporated cane juice (or sugar)
1 tsp. sea salt (like Real Salt)
2 sticks butter, chilled
up to 1 cup ice water

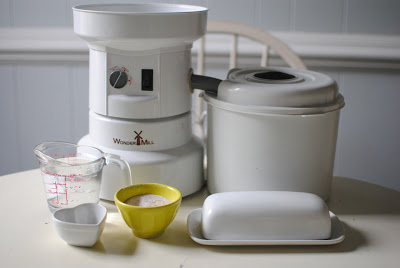
Grind wheat or spelt in the WonderMill.

In a mixing bowl, combine flour, evaporated cane juice, and sea salt using a whisk.

Cut butter into cubes and add to the dry ingredients.  Using a pastry cutter, cut in the butter until the lumps resemble large peas.

Add 1/2 cup very cold water and mix with a rubber spatula.  Add water, 1 Tbsp. at a time, as needed until crust comes together but is not sticky.

Place dough onto a sheet of plastic wrap, form into a disc, wrap up, and place in the fridge.  Let dough chill for 2 hours.

When dough is chilled, sprinkle flour on your work surface.  Divide dough into two halves.  With a floured rolling pin, roll it out.  Smitten Kitchen has a great tutorial for rolling out a pie crust.

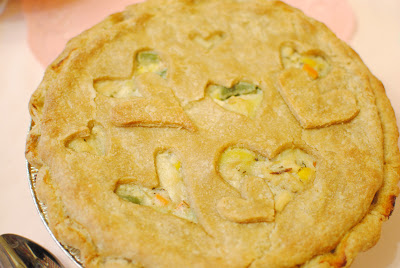
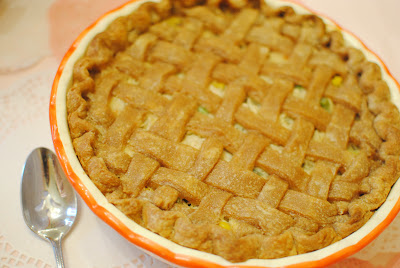
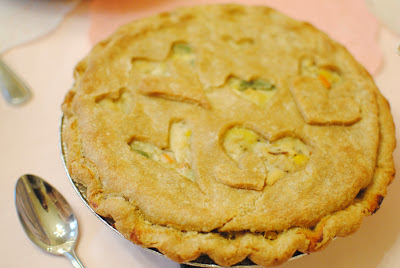
Place crust in pie tin, fill with chicken pot pie filling, and top with the second crust.  (You can also use this recipe for a sweet pie, shown below.)  I like doing a lattice weave or something fun like that.

Bake as recipe directs.

mini blueberry pies


Enjoy!

Posted in Recipes | Tagged , , , , , , , , , | 2 Comments

Whole Wheat, Healthier Iced Cinnamon Swirls

These are by far the very favorite treat to serve to my family and guests for breakfast. They are so good, that no one even thinks about how healthy they are! They ask because they can’t believe it (o:
I hope you enjoy sharing these with your family this coming month. Food does not exactly equal ‘love’ but…when you take the time to make it not only tasty but also healthy, it sure comes close!
Hope you enJOY!
Best Blessings!
Donna
~~~~~~~~~~~~~~~~~~~~~~~~~~~~~~~~~~~~~~~~~~~~~~~~~~~~
Healthy (and still tasty) Whole Wheat Cinnamon Buns
with Cream Cheese Frosting
(freezer tips and more)
~~~~~~~~~~~~~~~~~~~~~~~~~~~~~~~~~~~~~~~~~~~~~~~~~~~~
(Makes two round 9-inch cake pans of approx 8-9 Twirls per each pan)
First find and then make the following changes to my Virtually ‘Fool Proof’ Simple Loaf Bread Recipe found HERE
Use Prairie Gold Hard White Wheat milled in your Wondermill or Wondermill Jr.
IMG_1387Lower the water amount in the above recipe to:
  • 1 ¼ C of Warm water

Add to the following to the wet ingredients:

  • 1 tsp Vanilla Extract
  • 1 (more) TBS Organic Eco Sweet Sugar
  • 1 Egg

Proceed with instructions for the Loaf Bread until the dough has risen once, been punched down and then ready to be formed.

Meanwhile, back at the ranch, while the dough is rising, make the filling and cream cheese frosting (recipes below)! YAY!

Forming Cinnamon Buns:

Divide dough in exactly half.

Roll out into two rectangular jelly rolls approximately ½ inch thick.

Spread filling (recipe below) to cover all three edges but the back (should be a long side) leaving a one inch seam.  Leave this uncovered with the mixture so the twist will seal when rolled.

Beginning with the longer edge that has mixture covering it mostly (leaving the more bare edge to seam last), roll the dough in to form a long tube of the twists. This gives you two tubes of sweet twisted goodness!

Cut with dental floss by putting the string under the tube, bringing both ends up and crossing atop the tube and puling.  Then place the cut twist in a greased 9 inch circular cake pan. Make sure they edges are touching.

When baking these fresh, let rise for approximately 30 minutes before baking.

Bake at 350 for 12-18 minutes (keep an eye on them). When done, take them out to only slightly cool in the pan and spread the Cream Cheese Frosting on the top. Serve FAST before the neighbors smell these and invade for breakfast.

~~~

Fast tip: To make a busy morning special:  Make this ahead and cover with wax or cellophane to fit down right on the roll tops. I also like another layer atop the whole pan secured with a lid or rubber band. Put in the fridge, in the pan as soon as they are shaped.  In the morning, take out of fridge and place a cool oven on center rack (with one rack all the way on the bottom for pan to hold boiling water) fill a pan of boiling water on the lower rack. Allow rolls to rise for 30 minutes.

Remove rolls and pan of hot water from oven and preheat to 350.

Bake 15-18 minutes until golden and gooey!

Ice as usual!

cinnamonroll

~~~

Freezing Tip: I like to freeze one pan of these to use at a later date.  Cover tightly with cellophane right ON the dough itself. I also like another layer atop the whole pan secured with a lid or rubber band and then also place the entire pan in a large plastic bag. Freeze until ready to use.  Yes, that is three layers of ‘sealing’ (o:

When ready to use thaw first overnight in the fridge and then follow directions for Fast Tip (above) but leave the hot water pan IN if you’ve frozen the Cinnamon Buns – this helps to keeps them moist!

Bake 15-18 minutes until golden and gooey!

Ice as usual!

~~~

Filling Recipe:

  • 1 C softened butter or margarine (or healthy butter mix from our youtube channel – http://www.youtube.com/user/thewheatguy
  • ½ C Organic Sucanat (or brown sugar)
  • ¼ C Organic Evaporated Cane Juice Crystals (or sugar)
  • ¼ tsp Vanilla Extract
  • ½ C Chopped Pecans (optional)

Blend all together until mixed and set aside to spread on the rolled out dough later. Half of the mixture is used for each rectangle.

~~~

Cream Cheese Frosting Recipe:

  • 1 package of softened Nuefatchel (lower fat) cream cheese
  • 3 TBS Milk or Almond or Rice Milk (for thinner frosting, increase this liquid after mixing and testing consistency)
  • 3-4 TBS Organic Agave Nectar

Blend all together until mixed and set aside to spread on warm and tasty rolls (if you can avoid eating it right out of the bowl.)

I certainly hope you enJOY this recipe

Posted in Recipes | Tagged , , , , , , , , | 1 Comment