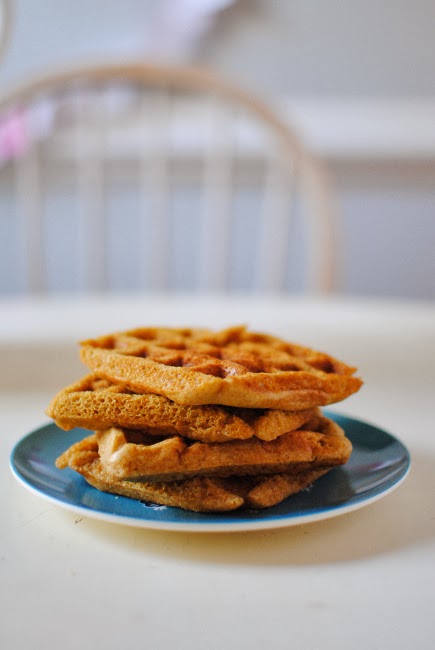
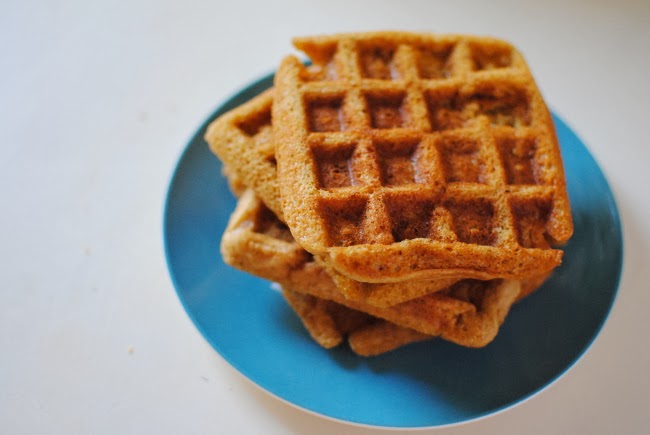
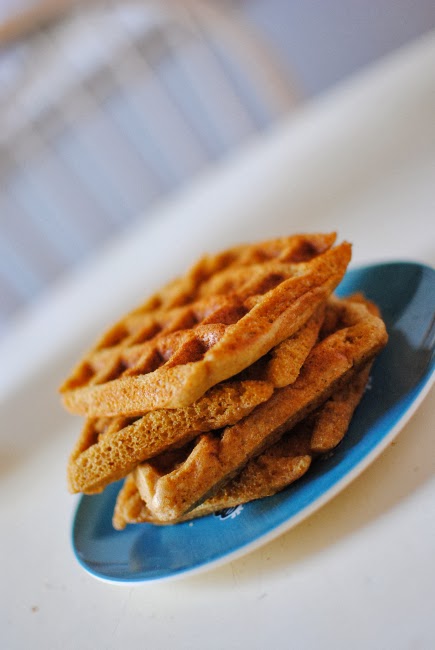
When I was compiling recipes for this post on go-to whole grain recipes, I realized I had never blogged my favorite EVER waffle recipe! Just this one, this one, and this one. (All good, but not my favorite one!)
You can easily add mix-ins to this recipe, such as nuts, blueberries, lemon zest, chocolate chips, etc. It’s a great starting point for creating waffles your family will love!
I’m starting to shop around for a new waffle iron, since ours only makes two at a time so it takes waaaay to long to make all the waffles for our family (my girls can EAT)! Do you have a waffle iron (that makes 4 waffles or more) that you particularly love?
Go-To Whole Wheat Waffles
adapted from here
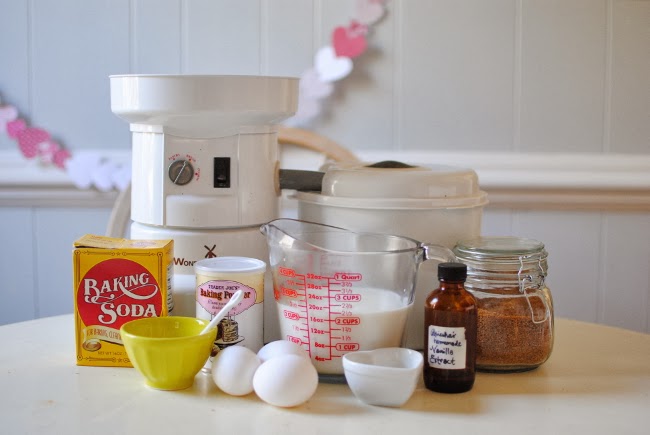
3 cups whole wheat flour, freshly ground
1/2 cup sucanat
3 tsp. baking powder
1 1/2 tsp. baking soda
3/4 tsp. salt
1 Tbsp. melted butter, plus more for waffle iron
3 eggs
1 1/2 tsp. vanilla
2 1/4 cups buttermilk, see note*
Grind wheat in the WonderMill.
Preheat waffle maker.
In a large mixing bowl, whisk together flour, sucanat, baking powder, baking soda, and salt.
In a smaller bowl, mix together 1 Tbsp. melted butter, eggs, vanilla, and buttermilk.
Add wet ingredients to dry ingredients and stir just until combined.
Grease waffle iron by brushing with melted butter (or you can use cooking spray).
Fill waffle iron with batter and cook according to manufacturer’s directions. I like to underfill my waffle maker so the batter doesn’t leak down the edges!
*Note: Add 2 Tbsp. lemon juice to a glass measuring cup, then add enough milk to make 2 1/4 cups. Allow to sit for 5 minutes, then use in recipe in place of buttermilk.
Makes 18 waffles
We like to top it with honey (or maple syrup) mixed with melted butter (equal parts) to help it go further! It tastes amazing!
Enjoy!
Sacca7Review by Sacca7Rating: I have been making and frzenieg waffles for my family (teenagers included) for about 10 years now and this is the best waffle maker yet. I’ve gone through about 3 electric ones over the years, so it’s nice to know I’ll never need another!It can seem to need a lot of attention, but it’s really worth it. 1) The most important thing to know is: Are you familiar with working with iron skillets? You’ll need to know how to season the iron and keep it seasoned throughout its lifetime of use. This could be the waffle iron’s down-fall if you don’t know how to do this.~~~To season this I first burned off the paraffin coating in my oven with double aluminum foil under it. Then I washed it in the dishwasher. Then I heated it on the stove-top with a heavy brushing of canola oil and then let it cool completely. I did this about 4 times. This takes a day or two because of cooling times. Then I washed it again.2. Once seasoned, I use it on my gas stove top at a flame set just less than medium. I have a bowl with several Tbsp. of canola oil next to the stove and a basting brush. I lightly brush the skillet before each waffle. I sometimes use spray oil and that is easier, but doesn’t really help season it in the beginning.3. Pouring 1/3 to 1/2 a cup of batter on the iron, then I use a countdown timer (Timex Ironman watch: it counts down and repeats automatically) set for 2 minutes. At 2 minutes, using oven mitts, I turn it over for another 2 minutes.4. After 4 minutes total, the waffle is done and ready for eating, or let cool and then freeze.5. After use, I may give the iron a light coating of oil, or simply let cool and store. Every two or three uses I place it in the dishwasher without any ill affects to the seasoning.This waffle iron makes the best waffles: light thin, and fluffy. No uncooked parts as with an electric iron. I like the beautiful simplicity of this iron, and I like that it also is a good source of dietary iron.
Excellent post. I’m experiencing a few of these issues as well..