 Bread-baking is a complicated process, and sourdough bread baking is even more so. At least at first glance. When I was first married, I actually tried getting a sourdough starter going twice, and completely gave up because I had absolutely no idea what I was doing (even though I was trying to follow the directions in a book exactly).
Now that I’ve been around the kitchen block – so to speak – a few times, I got up enough courage to give sourdough another go. This time, I read up the instructions on a few blogs (namely, this great tutorial at Creating Naturally) and armed myself with more information and know-how from the get-go. And this time, I had success!
And I discovered that sourdough is not as complicated as it seems. Once you learn the basic procedure, it’s actually – in my humble opinion – a super simple way to make a delicious and healthy loaf of whole-grain bread. 
Of course, you’re going to need a sourdough starter if you want to make sourdough bread. I’ve got some instructions to get you going on your sourdough here. You will also need a scale. While you can begin your starter using measuring cups, this particular method of baking a loaf of sourdough bread requires a scale. Thankfully, they’re relatively inexpensive and have lots of uses in the kitchen, so it’s a worthy investment. 
And now, let’s get started on our whole-grain sourdough bread. This recipe is based on a formula originally found on a French blog, which I’ve used almost exclusively for the past 7-8 months in my bread-baking. I’ve even baked it in the crock pot!
- 250 grams sourdough starter
- 500 grams de-chlorinated water
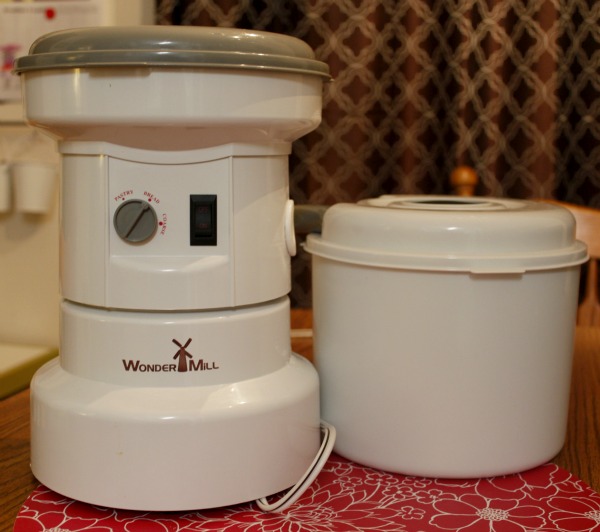
- 750 grams freshly ground wheat or spelt flour
- 5 grams sea salt
- Set a large mixing bowl on the scale and pour in the required amount of starter. Zero out the scale and add the water. Stir the water into the starter.
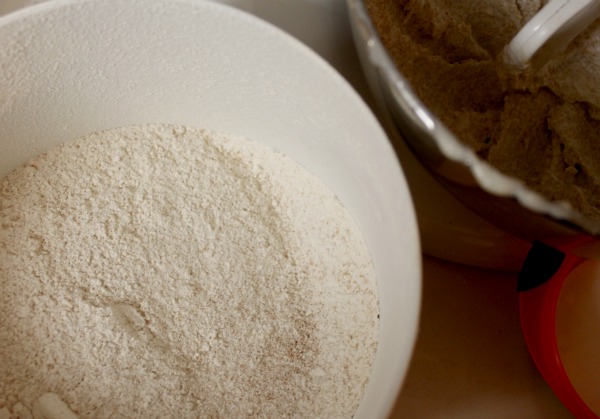
- Zero out the scale and measure in the freshly ground flour. Stir until all ingredients are combined and you have a soft, sticky dough.
- Let the dough rest for 10-15 minutes.
- Add the salt and then knead the dough until it passes the “window pane test” (To perform the window pane test, grab a generous pinch of dough, and press it between your fingers like you’re making a mini pizza crust. Keep pressing it, and turning it in circles as you go. If you can press it thin enough that you can see through it, it’s passed the window pane test, but if it breaks before you get to that point, it needs to be kneaded a little longer.)
- Grease a large bowl and place the dough in it, then flip the dough so the greased side is on top. Allow to rise until doubled (I usually let mine rise 6-8 hours or even more).
- Grease a loaf pan well. Punch down the dough and shape it into a loaf and place it in the pan. Allow it to rest for 30 minutes or so.
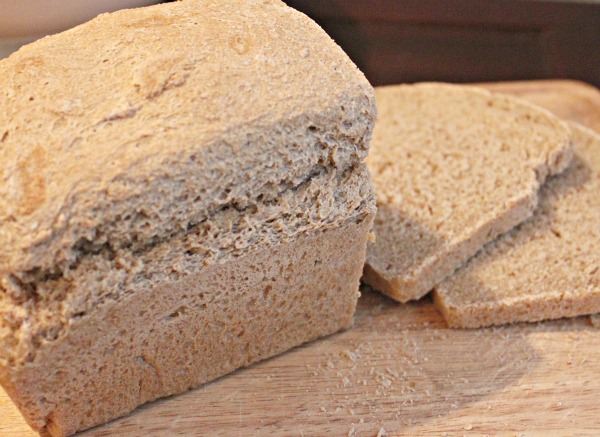
- Bake at 400F for 25-30 minutes or until bread is golden brown on top and smells like heaven. Let it cool for 10-15 minutes then remove from pan to cool completely on a wire rack.
A few notes about this recipe:
- I’ve used both spelt and wheat (and even random mixtures but mostly wheat- or spelt-based) flours with great success. Spelt flour makes a slightly stickier and looser dough, so sometimes I’ll reduce the water just by a bit when using spelt. Or, if it’s really sticky, I add a little bit of extra flour (a tablespoon at a time) during the kneading process, until I get the desired texture.
- You can make this dough into dinner rolls, too, just be sure to brush some butter on the tops right after baking to soften them a little. And, clearly, don’t bake them for quite as long.
- You can mix this dough up in a bowl with a spoon and knead it by hand… but a stand mixer makes it a LOT easier! This amount of dough is about the maximum my mixer can handle so this is the size of loaf I typically make.
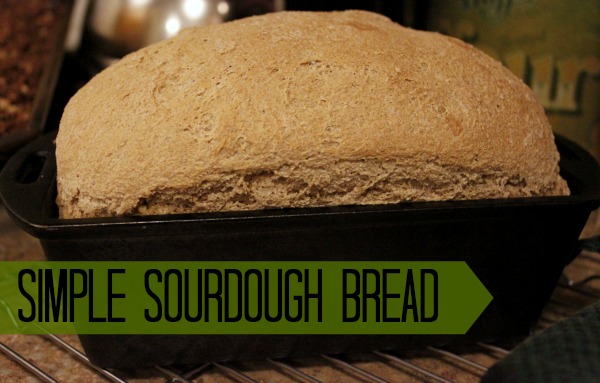
- A cast iron loaf pan makes an amazing loaf of bread. Just sayin’. If you don’t have one, you want one.


One Response to Super Simple Sourdough Bread